How to add a horizontal line in a Google doc
Discover how to add horizontal lines in Google Docs to improve content readability and emphasize key sections for better document organization at rrtutors.com
You can visually separate the sections of your Google Docs document in a number of ways. One of these ways is to add a horizontal line. By using it judiciously, it enhances the look of your text and marks the beginning of a new section.
Making a good first impression on your readers begins with the structure of your document. Of course, everyone enjoys the ease of reading a well-formatted document. You can improve the quality of your content by adding page breaks and horizontal lines. You can make content more aesthetically appealing with the horizontal line by dividing your work into bite-sized readable contents.
How to add a horizontal line in a Google doc
It's pretty easy to add a horizontal line to a Google Docs document. To do so, just follow these steps.
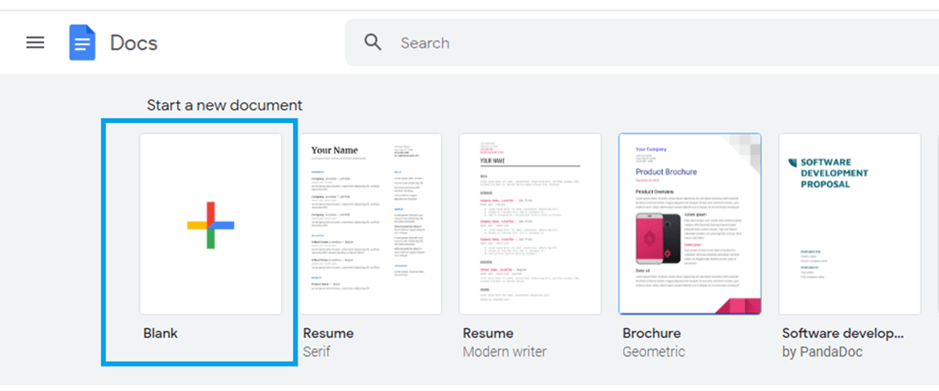
Step 1: Open your document on your Google Docs
 |
image text: open-a-Google Docs-document-1
alt text: open a Google Docs document
Step 2: Place the cursor where you would like the horizontal line to appear on your document
 |
image text: insert-cursor-2
alt text: insert cursor
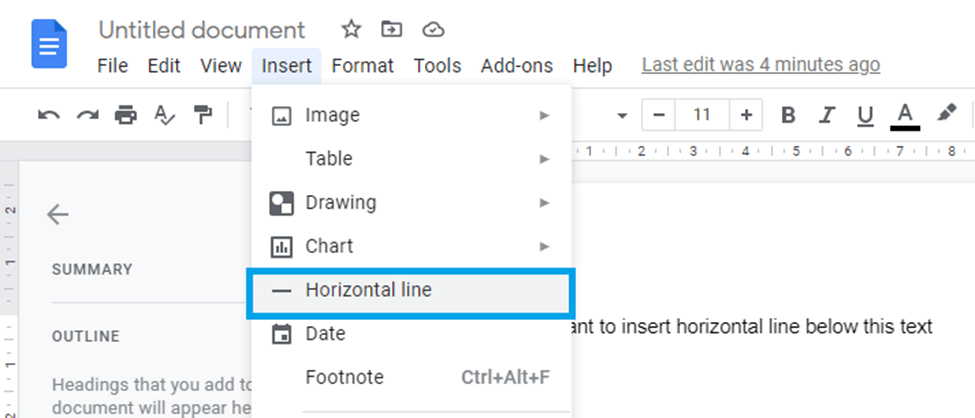
Step 3: Click on "insert" from the Google Docs menu.
 |
Step 4: Choose "Horizontal line"
 |
Your document will instantly display a horizontal line
 |
Conclusion
That's how the horizontal line is added to Google Docs. If you wish to remove it, you can double-click on the line and press the "delete" or "backspace" key on your keyboard