How to add watermark in Google Doc
Adding watermarks to your Docs files is a good idea to prevent copying or usage of your documents without your consent. Learn how to add watermarks in Google Docs in this article
With the addition of the new watermark feature in Google Docs, users can now add watermarks to their document to safeguard them. Users will be able to design their own watermarks and apply them to documents in a matter of seconds. Users of Google Docs will no longer have to rely on third-party tools to add watermarks to their documents. I'll show you how to add a watermark to a Google Docs document in this post.
How to add a Watermark in Google Doc
Now, it’s very easy to add a watermark to a Google Doc document. Simply take these few steps:
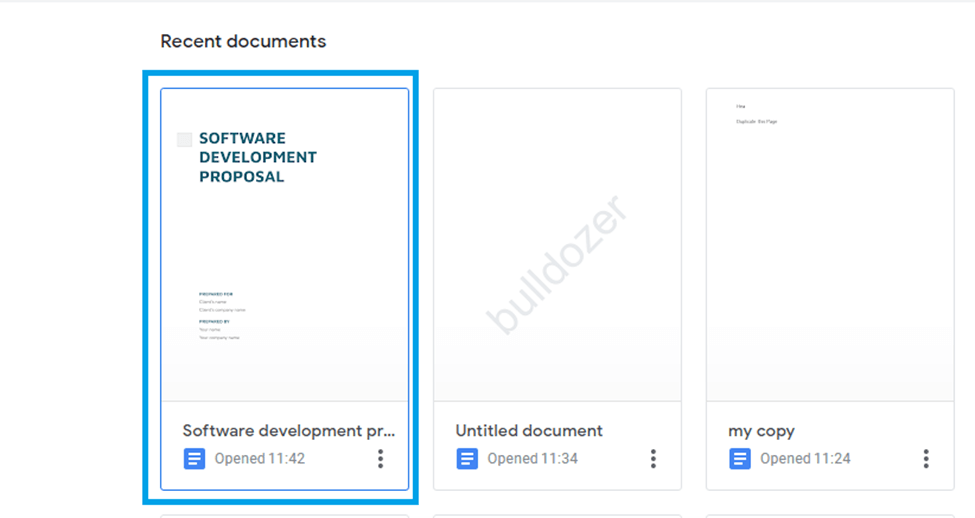
Step 1: Open the Google Docs document to which you want to apply the watermark.
 |
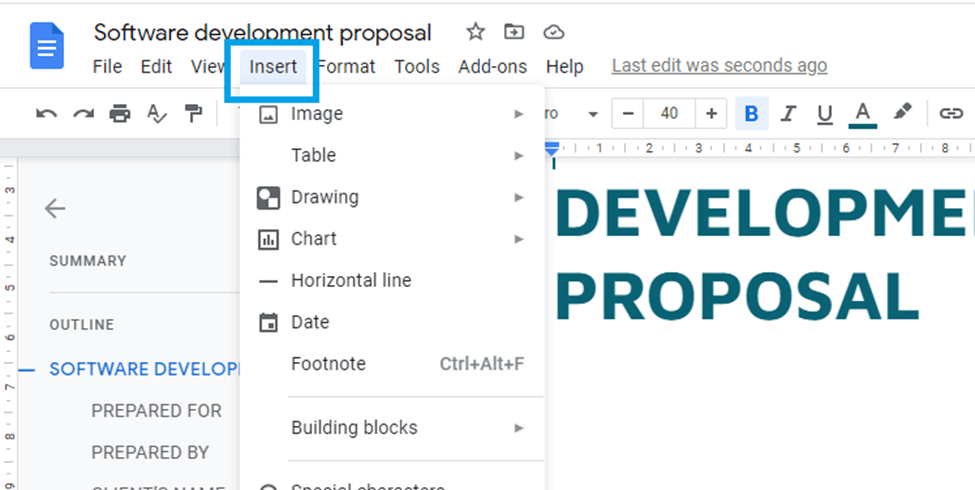
Step 2: Go to the Google Docs menu and select the "Insert" option.
 |
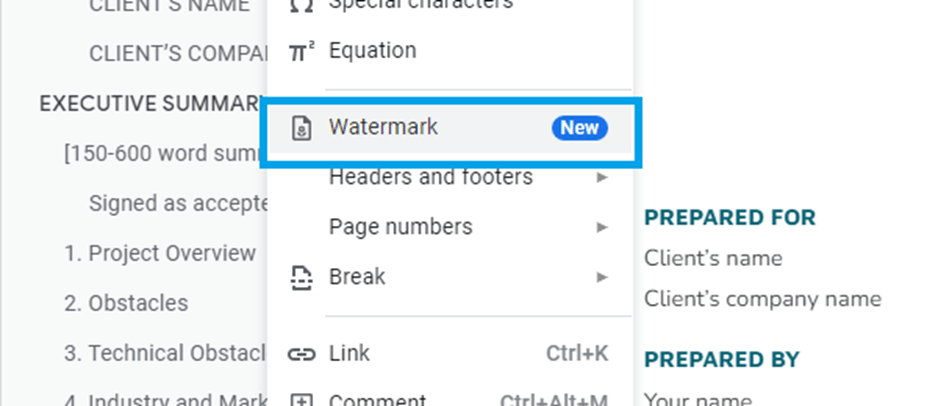
Step 3: Select "watermark" from the "insert" submenu.
 |
Step 4: A watermark insertion pane will appear on the right side of your Google Doc page. This pane lets you change the look of your watermark. It allows customizing of both pictures or text watermarks. Now enter the wording that will appear on our watermark.
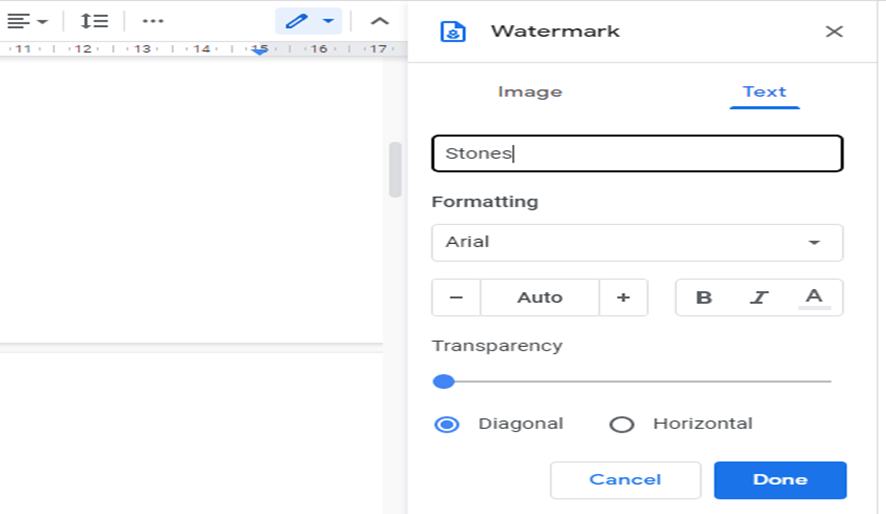 |
Step 5: To finish adding a watermark to the document, click "Done."
 |
The watermark has been successfully added, and it appears on all pages of our document
Tags: Google Doc, add watermark on google pages, googledoc watermark