How to draw a shape on Google Docs
Learn how to draw a shape on Google Docs with this step-by-step guide. Add custom shapes to your documents easily with RRTutors. Check it out today!
Despite the fact that Google Docs isn't designed for drawing shapes and charts, you can use its drawing tool to add whatever shape you want to your document. You can easily draw shapes, lines, callouts, and arrows using it.
Let’s explore how to draw a shape over a text in Google Docs and customize it to exactly what we need.
How to draw a shape on Google Docs
It's pretty easy to draw a shape on the Google Docs document; just follow these simple steps:
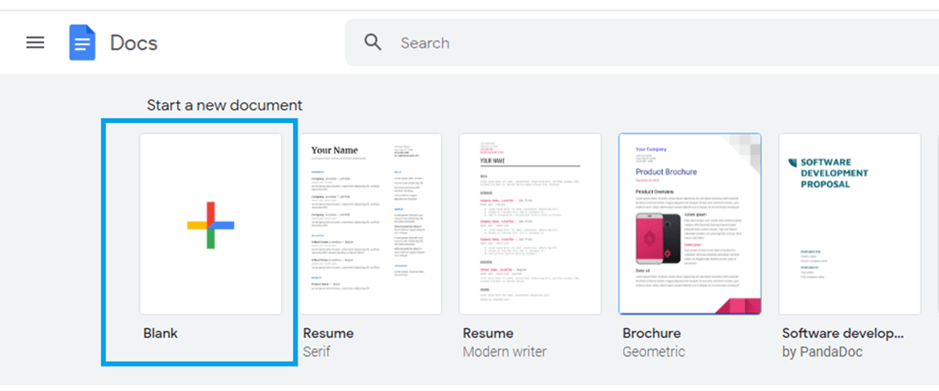
Step 1: Open a Google Docs document on which you would like to draw a shape. The document can be a new one or an existing one.
 |
Step 2: Go to your document menu and click "insert"
 |
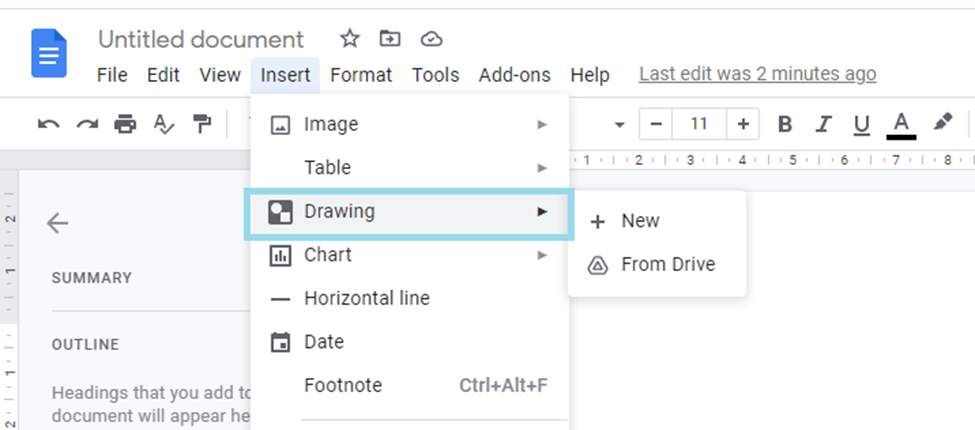
Step 3: Navigate to the "Drawing" option.
 |
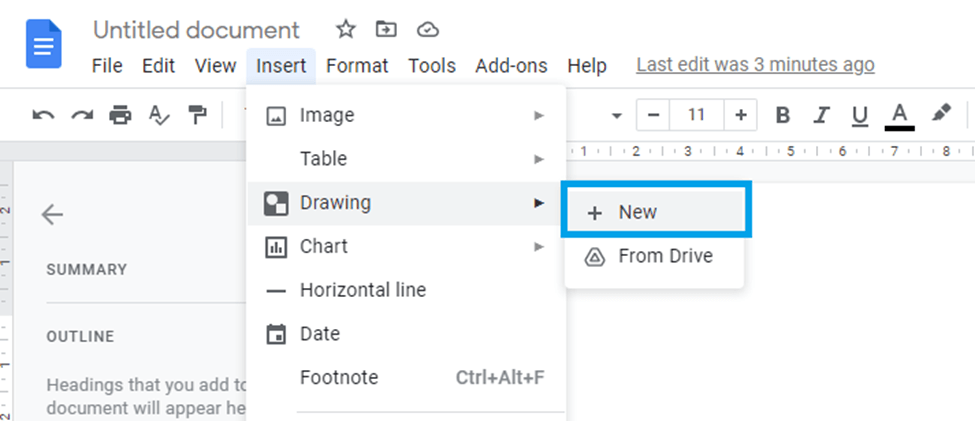
Step 4: Now, click “new”.
 |
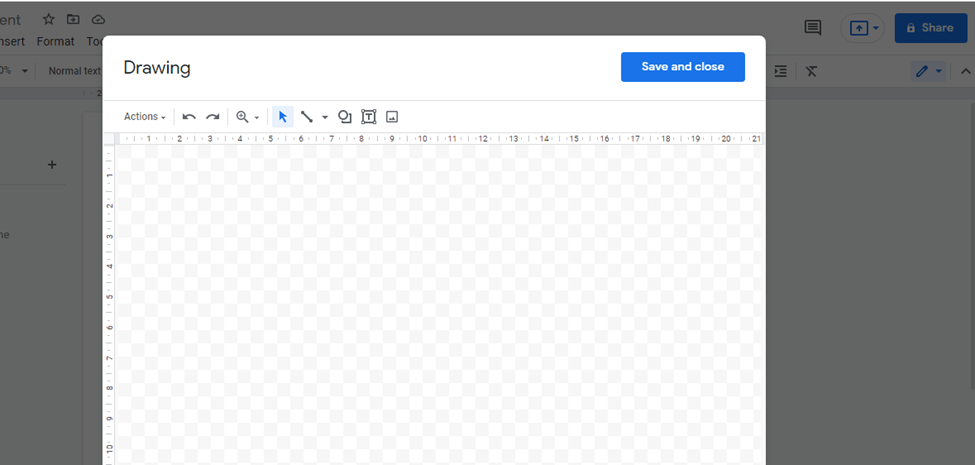
On your screen, you'll see a drawing dialog box. You will use this window to draw your shapes. From here, you can add shapes, lines, and pictures.
 |
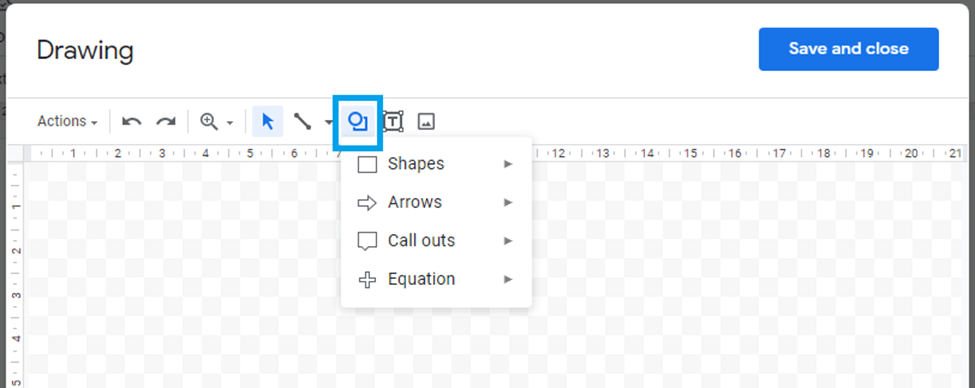
Step 6: Click on the "shapes" icon.
 |
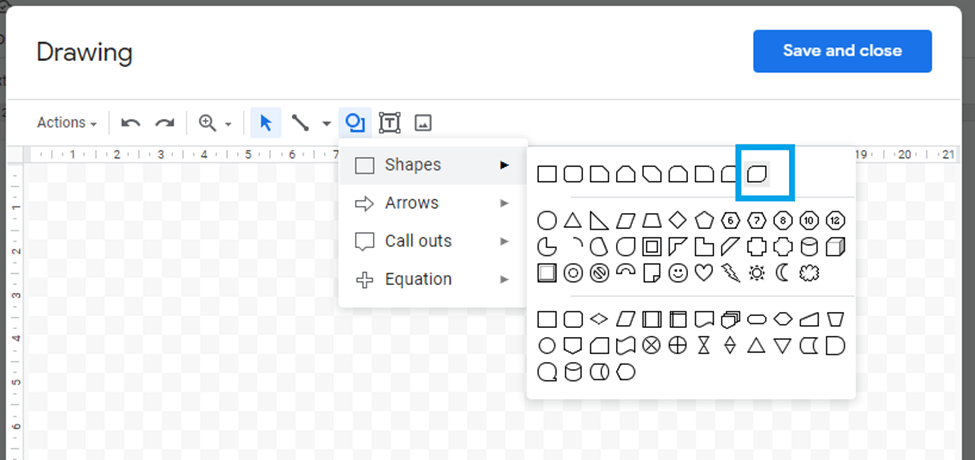
Step 7: Hover your mouse over the "shapes" dropdown menu options and then click the shape you want to draw.
 |
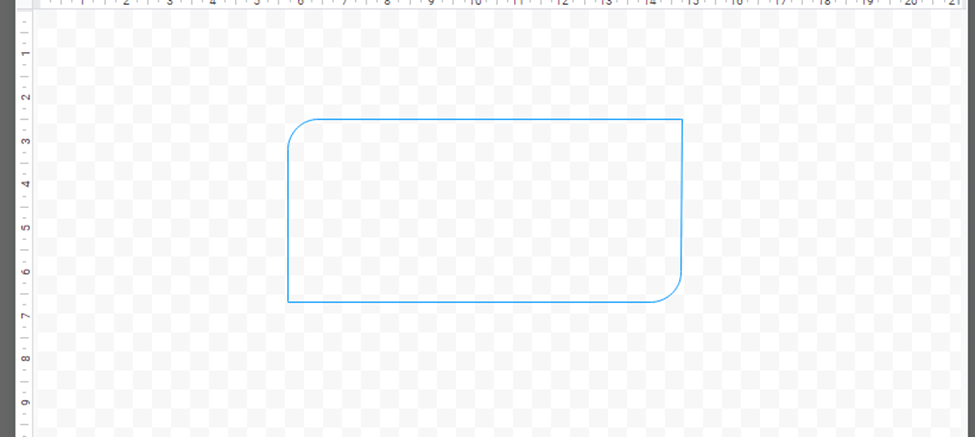
Step 8: Now, use your mouse to draw the shape that you selected
 |
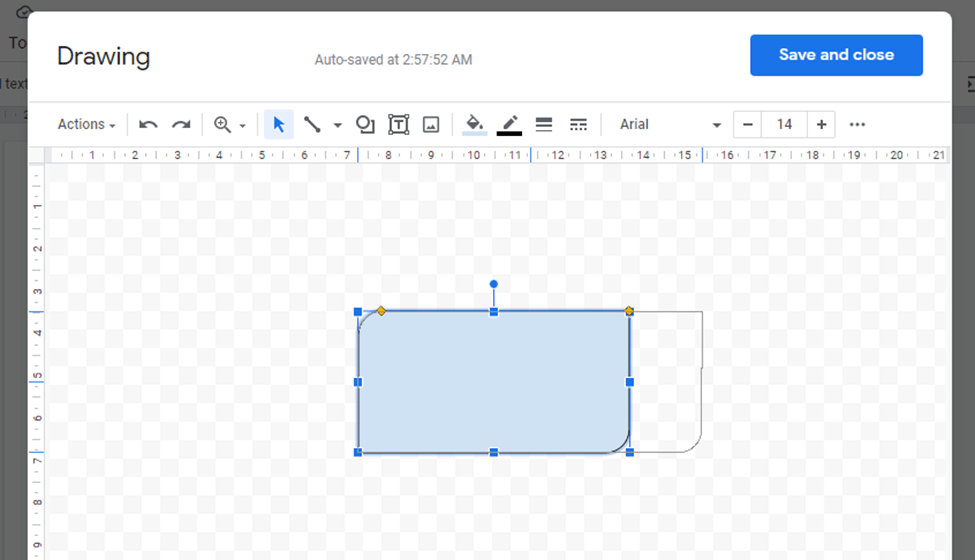
Step 9: Customize your shape to meet your needs. You can change its color, size, border color, border-weight etc.
To change the size of your shape, click on your shape. A series of blue points will appear around it. Click and drag these points to change the size of your shape.
 |
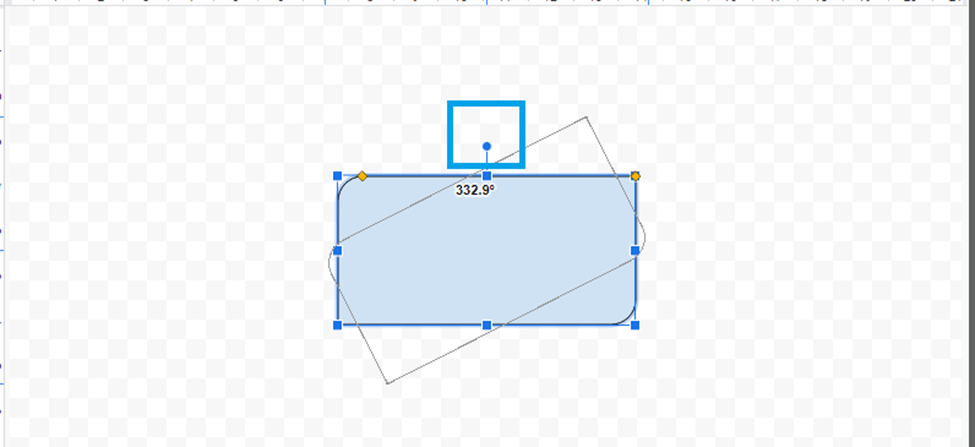
To rotate your shape, simply click and hold on a circular point above your shape and then rotate left or right to suit your needs.
 |
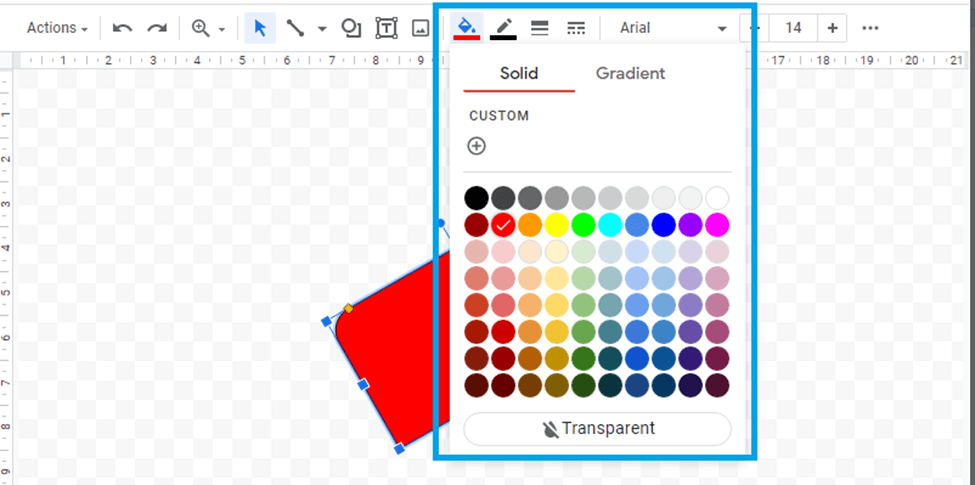
For different background colors, click on "fill color" and then choose the color you want for your shape.
 |
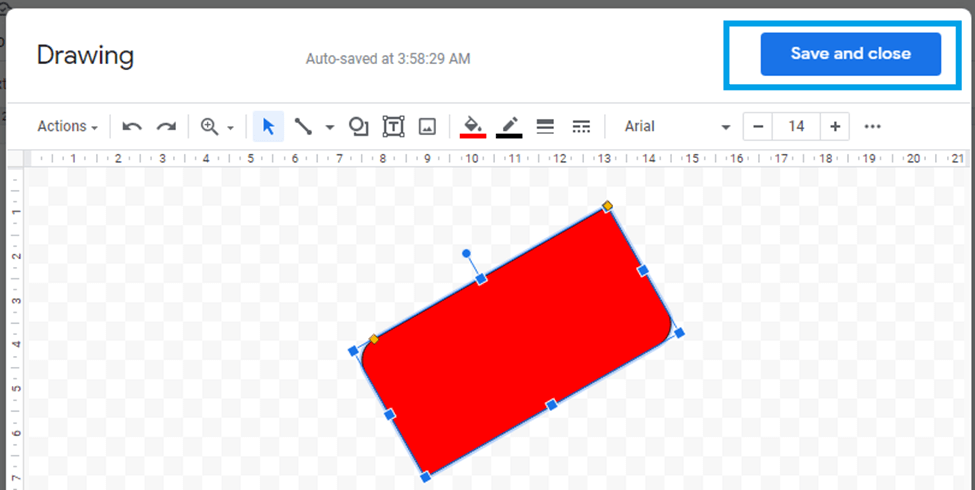
Step 10: Once you have drawn and customized your shape, click on "save and close" to save your shape in your Google Doc
 |
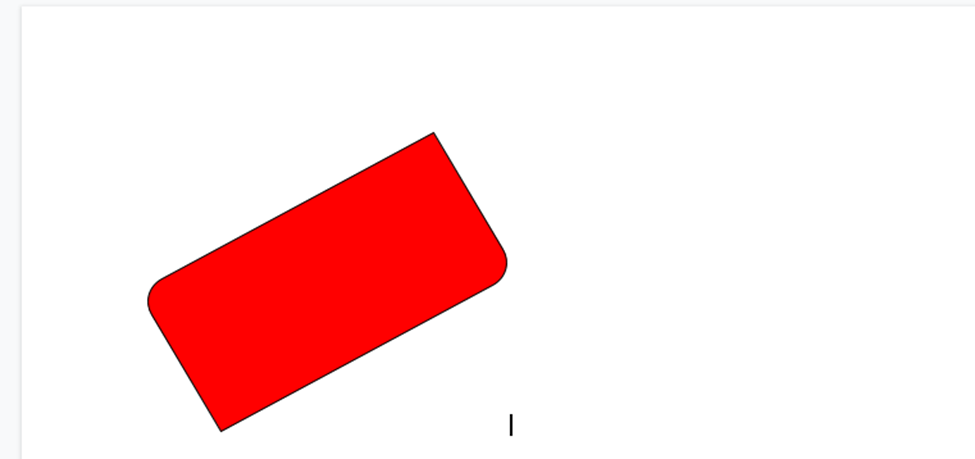
Now your shape is added to the text in Google Docs.
 |
Conclusion
To end this tutorial, we’ve discussed how to draw the shape of your choice in a Google Doc. Now you can draw and customize the shape of your choice using the Google Doc drawing tool. To delete the shape you have drawn, simply click on it and press the backspace key