How to insert an image into a Google sheet
Learn how to insert an image into a Google Sheet with RRTutors. Understand the steps to add images into cells or over cells for enhanced spreadsheet visuals.
In most cases, when you want to insert an image into a Google Sheets cell, you normally do it by choosing "insert->image" and then selecting the picture or entering the URL. While this approach works, it has a number of downsides. The primary problem with this technique is that Google Sheets interprets the picture you've placed as an object which floats on your worksheet, so it doesn't resize, move, or delete with the Google sheet cell.
This makes working with several photos in a single Google Sheet challenging. As a result, we can conclude that this is not the right method to use to insert images into Google Sheets, and we need to use the alternative method of inserting images into Google Sheet cells. In this article, we are going to learn how to insert Google Sheets using the image function method.
How to insert an image Google Sheets
Inserting images in Google Sheets is quite easy; you simply need to follow the simple steps below:
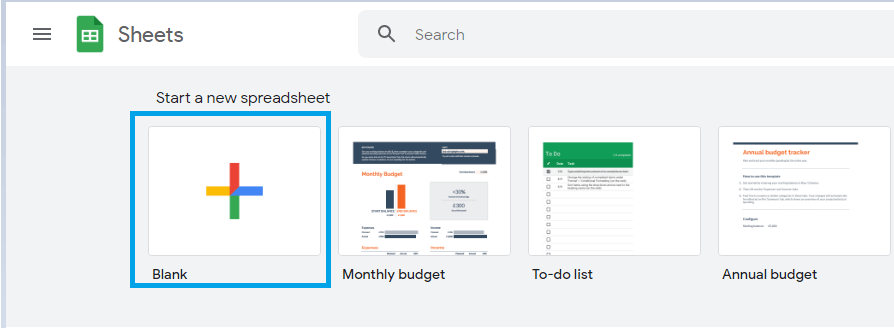
Step 1: Open a new or an existing Google Sheets document.
 |
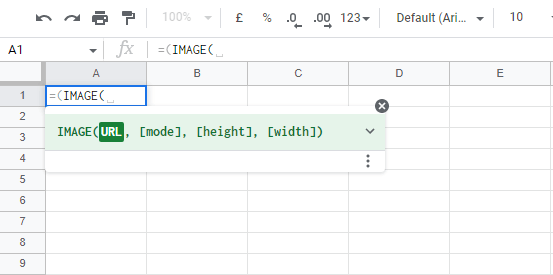
Step 2: Now click on the Google sheet cell that you would like to insert your image. Now write the image function on the cell using the following format: =(IMAGE(URL, [mode], [height],[width]))
 |
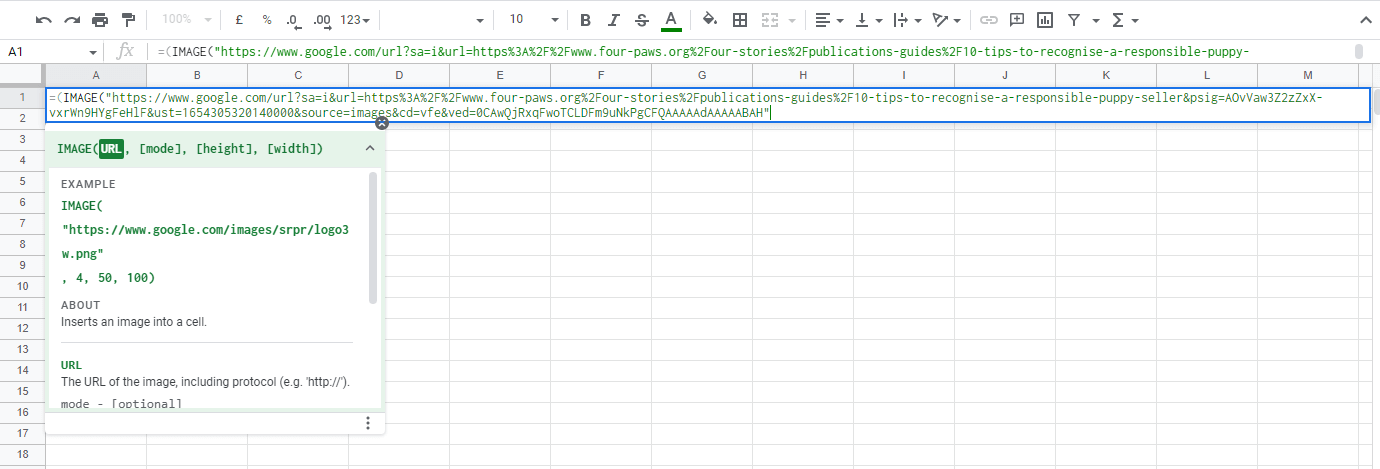
Step 3: Enter the image URL to insert the image into the Google sheet cell.
 |
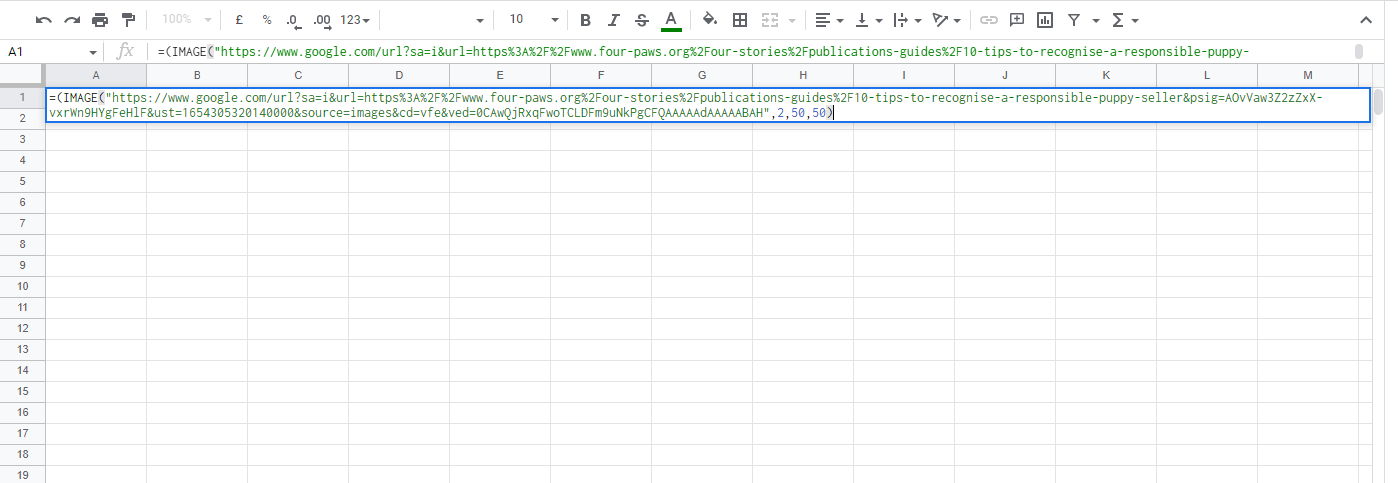
Step 4: You can specify the image mode, height, and width to specify the image size
 |
Step 5: Our image is now inserted into our selected cell.
The image now resizes with the cell, and if you delete the cell, the image will be deleted too