How to select a cell, row, column, cell range, and all cells in Google Sheets
Learn how to select cells in Google Sheets, an essential skill for writing, editing, and formatting your data - RRTutors. Check it out today!
In Sheets, selecting cells is an important skill. In sheets, most of the information is contained in individual cells. Before you can write text, edit it, or format it, you have to know how to select a cell or a range of cells.
In this article, we will learn how to select cells and cell ranges in Google Sheets. Let's begin by learning how to select a single cell, a row, a column, a range of cells, and finally, all cells. Here we go.
How to select a cell
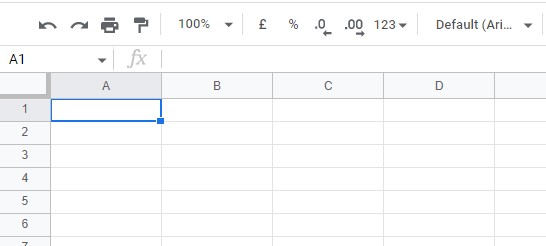
You must first select a cell to perform any activity on Google Sheet cells. To select a cell, all you need to do is click on it. A blue border will surround the selected cell.
 |
How to select a row
To perform an action on an entire row, you must select it first. To select a row, you just need to click on a row header, and the row is selected. A blue border and blue background will mark the selected row.
 |
How to Select a Column
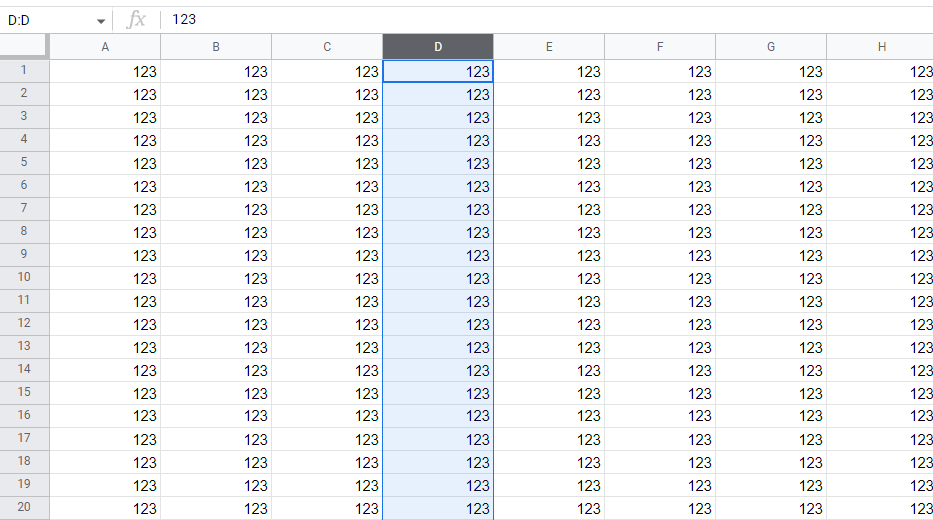
In order to perform an action on the entire column, you will first have to select it. To select a column, simply click the column header. There will be a blue border and blue background around the selected column.
 |
If you want to select multiple columns, choose a column header, hold the Shift key, and press the Left or Right arrow keys.
 |
How to select a Range of Cells
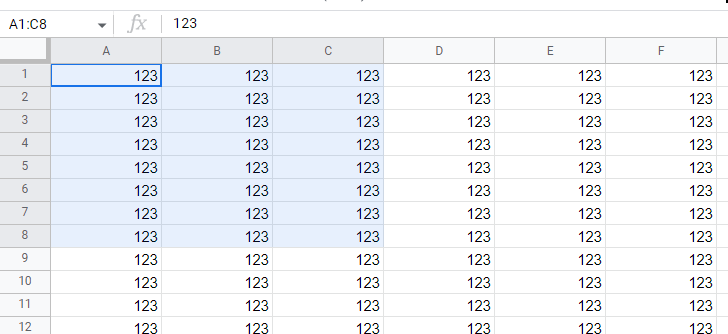
A cell range can also be selected by selecting the first cell of the range, pressing and holding the Shift key, and selecting the last cell of the range. A cell range will be selected.
 |
How to Select all Cells
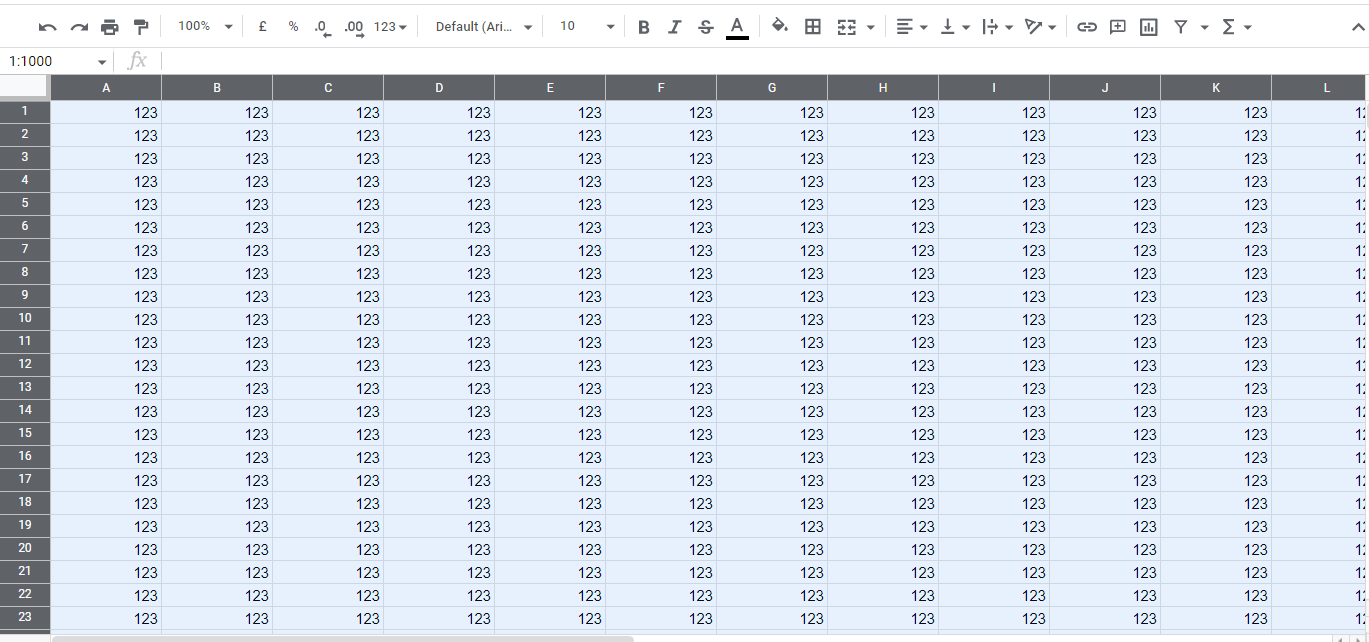
By pressing Ctrl+A, you can select all rows in a spreadsheet.
 |
Conclusion
The first step towards performing any activity on Google sheets is to select cells. The actions such as copying, pasting, cutting, etc., are performed on the selected cell, row, column, cell range, or all cells