Android Job Scheduler with Kotlin
Android job scheduler example, creating JobService, configuring JobIno, about various job settings, scheduing job using JobScheduler
In this post we are going to learn What is JobScheduler, why to go for JobScheduler and how to use JobScheduler in Android.
What is Jobscheduler
JobScheduler API is for schedule different types of jobs inside our application
Android Introduced JobScheduler API in Lollipop version for scheduling backgroud tasks.
This Jobscheduling API can be used to run short and long running tasks like downloading data, clearing cache data.
Jobscheduler API consist of below classes
- JobService
- JobInfo
JobService is Android service component which the JobScheduler calls when a job needs to run.
This JobService has callback methods.
When we need to run a job, that job class should be extends with this JobService and implements callback methods
|
@RequiresApi(Build.VERSION_CODES.LOLLIPOP) override fun onStartJob(p0: JobParameters?): Boolean { |
In the above i have creates a Job class name MyJobScheduler which is extended by JobService and implemented its callback methods.
Here the callback method contains JobParameters which is passed by JobScheduler.
These JobParameters contains info about Job, when to schedule job and other constrains.
The OnstartJob contains return value bool, which tells that the Job canclled by process after Job completed or not
- If our task is short and simple, let implement the logic directly in onStartJob() and return false when you are finished, to let the system know that all work has been completed
- If we want to close the job by process we need to pass the value as false;
- If we need to long running tasks like connection network, download files etc then run tasks on separate thread and return true to let system know that work is running on separate thread.
finish the Job by calling jobFinished() method which has parameters JobParameters and boolean value which tell the job need to reSchedule
OnStopJob contains parameters of JobParameters and returns boolean value, which tells that the Job needs to reschedule or not.
We know Jobservice is extends from Service means this JobService will run on main thread
So we need to maintain asynchronous tasks ourself with Thread/Async Task
jobFinished() is not a method you override, and the system won’t call it. That’s because you need to be the one to call this method once your service or thread has finished working on the job
if we forgot to call this method our app will get performance issue like battery damage
The onStopJob will called by the system if the job is canceled before being finished
As we know any service in the application need to add it in manifest.xml file
To add JobService in the manifest.xml file we need to add permission to allow JobScheduler to call our jobs
<service android:name=".MyJobScheduler"
    android:permission="android.permission.BIND_JOB_SERVICE"/>
|
Now create JonInfo object to call MyJobScheduler file and add this to jobscheduler object
|
var component=ComponentName(this,MyJobScheduler::class.java) var jobScheduler=getSystemService(Context.JOB_SCHEDULER_SERVICE) as JobScheduler |
Main advantage of JobScheduling is The work will be performed based on Condition not on time
We can apply different type constraints on JobInfo object
- Network type (metered/unmetered)
- Charging and Idle
- Content Provider update
- Backoff criteria
- Minimum latency and override deadline
- Periodic
- Persistent
- Extras
Creating JobInfo with different constraints
JobInfo is created using JobInfo.Builder class by using its setter methods, following are the details.
To create a job that runs every time after elapsing of a specified time, we can use setPeriodic method passing time in milliseconds.
|
JobInfo jobInfoObj = new JobInfo.Builder(1, componentName) |
To create a job that needs to be rerun if it fails, we need to use setBackOffCriteria() method passing time interval for the first time retry and retry policy which is used to calculate time interval for retries after first retry.
|
JobInfo jobInfoObj = new JobInfo.Builder(1, componentName) |
we can make a job delayed by specified amount of time by setting minimum latency and we can also specify maximum delay by calling setOverrideDeadline. These two setting are applicable for only non-periodic jobs.
|
JobInfo jobInfoObj = new JobInfo.Builder(1, componentName) |
To create a job that stays as scheduled even after device reboots, we need call setPersisted() method on JobInfo.Builder passing true as value to it. This setting requires RECEIVE_BOOT_COMPLETED permission.
|
JobInfo jobInfoObj = new JobInfo.Builder(1, componentName) |
If wer job needs network connection and we want to run the job when network of specified kind is used, then we need to specify required network type by calling setRequiredNetworkType() method passing network type.
|
JobInfo jobInfoObj = new JobInfo.Builder(1, componentName) |
Complete Sample
MainActivity.kt
import android.app.job.JobInfo
import android.app.job.JobScheduler
import android.content.ComponentName
import android.content.Context
import android.os.Build
import android.support.v7.app.AppCompatActivity
import android.os.Bundle
import android.view.View
class MainActivity : AppCompatActivity() {
override fun onCreate(savedInstanceState: Bundle?) {
super.onCreate(savedInstanceState)
setContentView(R.layout.activity_main)
}
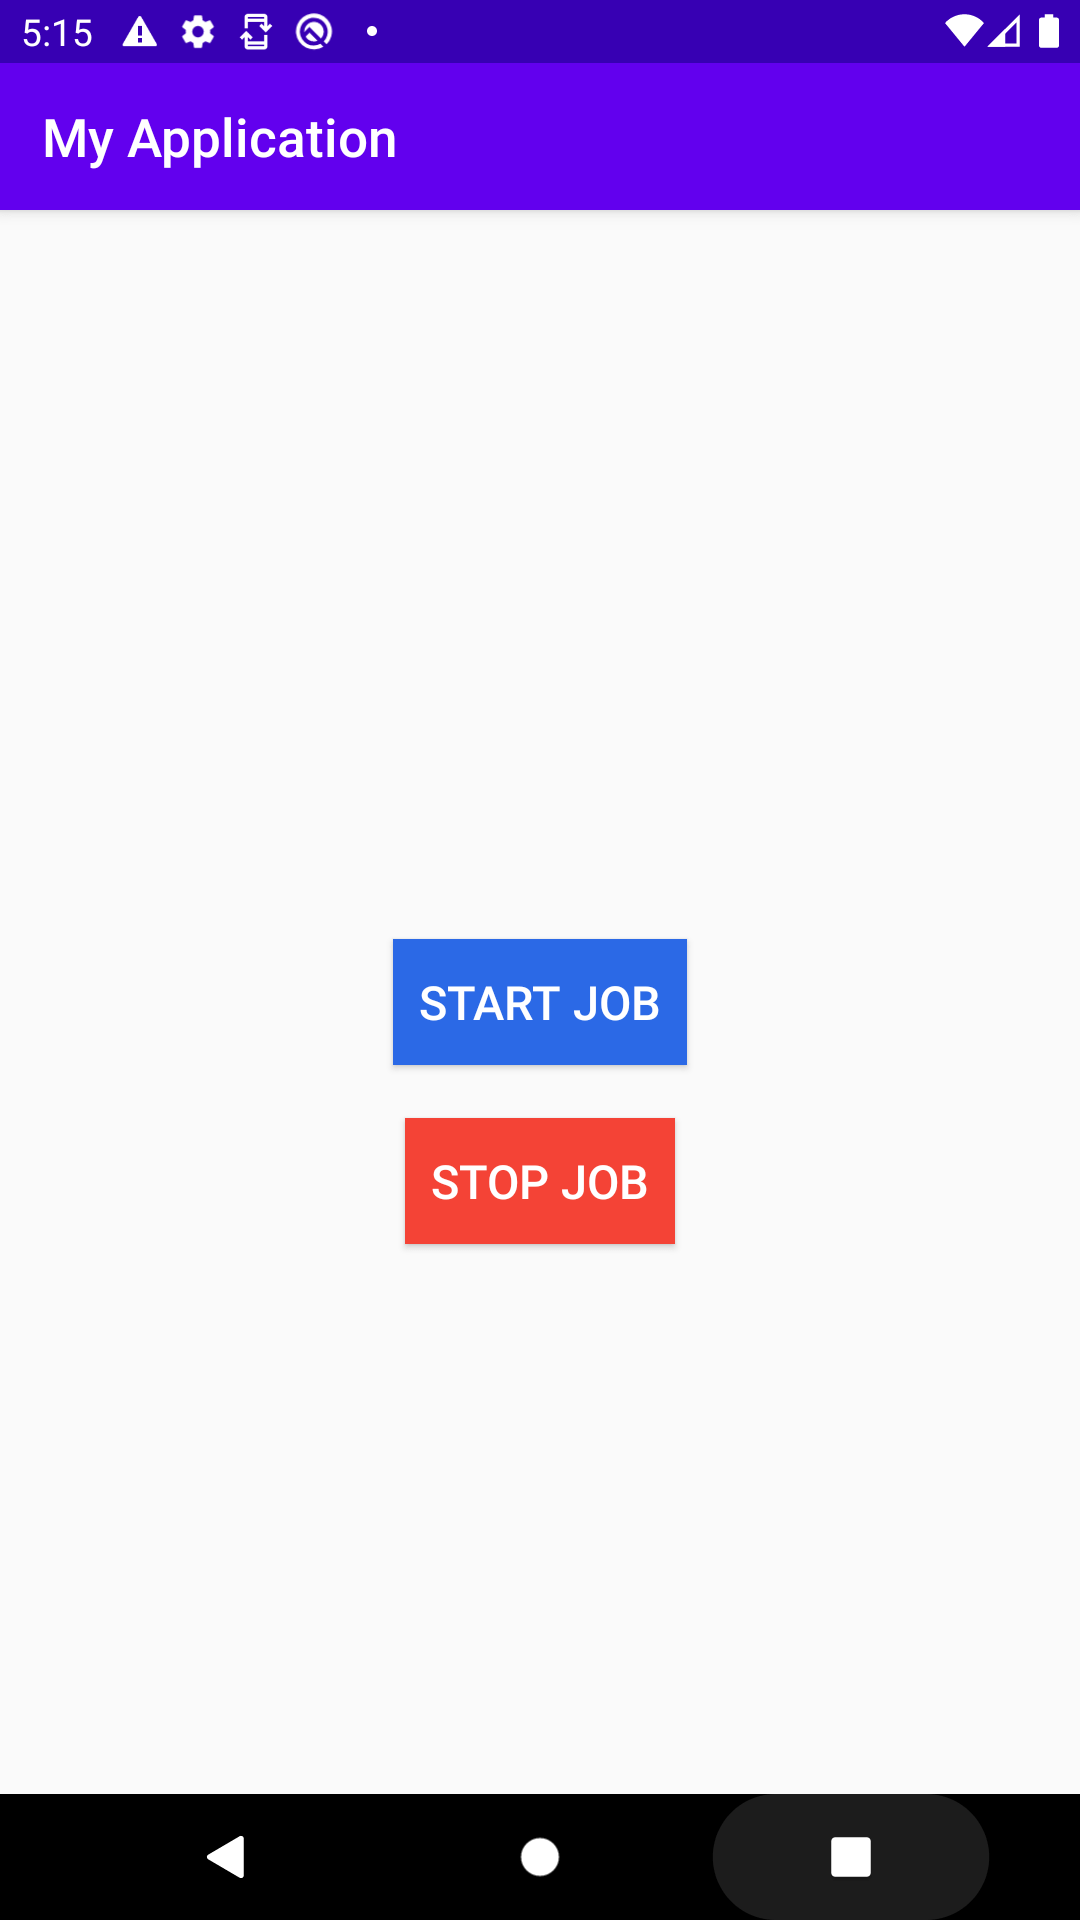
fun stopJob(view: View) {
if (Build.VERSION.SDK_INT >= Build.VERSION_CODES.LOLLIPOP) {
var jobScheduler= getSystemService(Context.JOB_SCHEDULER_SERVICE) as JobScheduler
jobScheduler.cancel(1)
} else {
}
}
fun startJob(view: View) {
var component=ComponentName(this,MyJobScheduler::class.java)
if (Build.VERSION.SDK_INT >= Build.VERSION_CODES.LOLLIPOP) {
var jobInfo= JobInfo.Builder(1,component)
.setMinimumLatency(5000)
.build()
var jobScheduler=getSystemService(Context.JOB_SCHEDULER_SERVICE) as JobScheduler
jobScheduler.schedule(jobInfo)
} else {
}
}
}
|
MyJonScheduler.kt
package com.rrtutors.jobscheduler

import android.app.job.JobParameters
import android.app.job.JobService
import android.os.Build
import android.support.annotation.RequiresApi
import android.util.Log
import android.widget.Toast

@RequiresApi(Build.VERSION_CODES.LOLLIPOP)
class MyJobScheduler : JobService() {
    override fun onStopJob(p0: JobParameters?): Boolean {

        Toast.makeText(applicationContext,"Job Canclled ",Toast.LENGTH_SHORT).show()
        return false
    }

    override fun onStartJob(p0: JobParameters?): Boolean {
       var k=0;
        Toast.makeText(applicationContext,"Job Running ",Toast.LENGTH_SHORT).show()
        for ( k in 0..10)
        {
            Log.v("JobScheduler","Running Job $k")
        }
        Toast.makeText(applicationContext,"Job Finished ",Toast.LENGTH_SHORT).show()
        return false
    }


}
|
Conclusion
JobScheduler is becoming the good answer for performing background work in Android
Android Nougat introduced several background optimizations, for that JobScheduler is the good solution