Flutter GridView and Different ways of Constructors
Create GridView with Different Constructors
In this example we are going to learn how to create a Grid List in flutter.
Flutter Provided GridView Widget to arrange the data in grid.
Below are the different contructors to use the GridView widget.
- GridView()
- GridView.builder()
- GridView.count()
- GridView.custom()
- GridView.extent()
We will create Grid with all above types. Click here to check GridView.builder() constructor
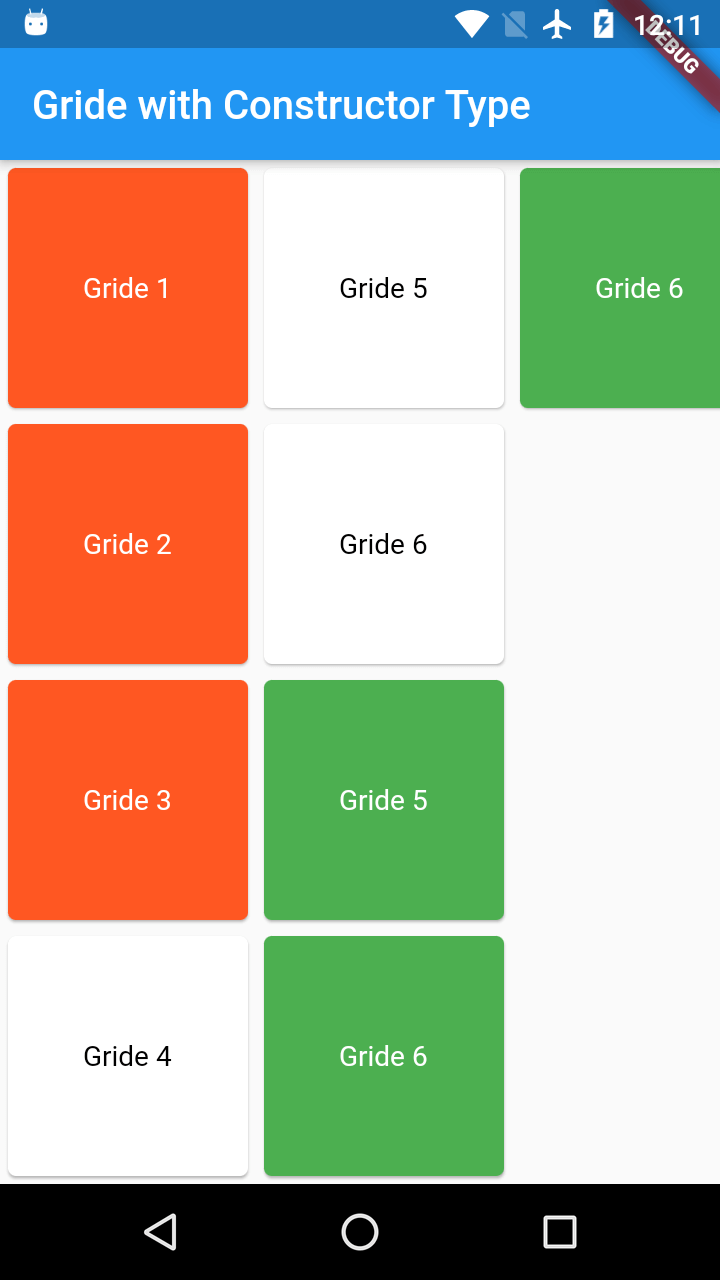
Here we are going with GridView() default constuctor
GridView()
|
class GridConstructor extends StatelessWidget{
Card( ],), } |
here SliverGridDelegateWithFixedCrossAxisCount will manage the Grid items with below properties.
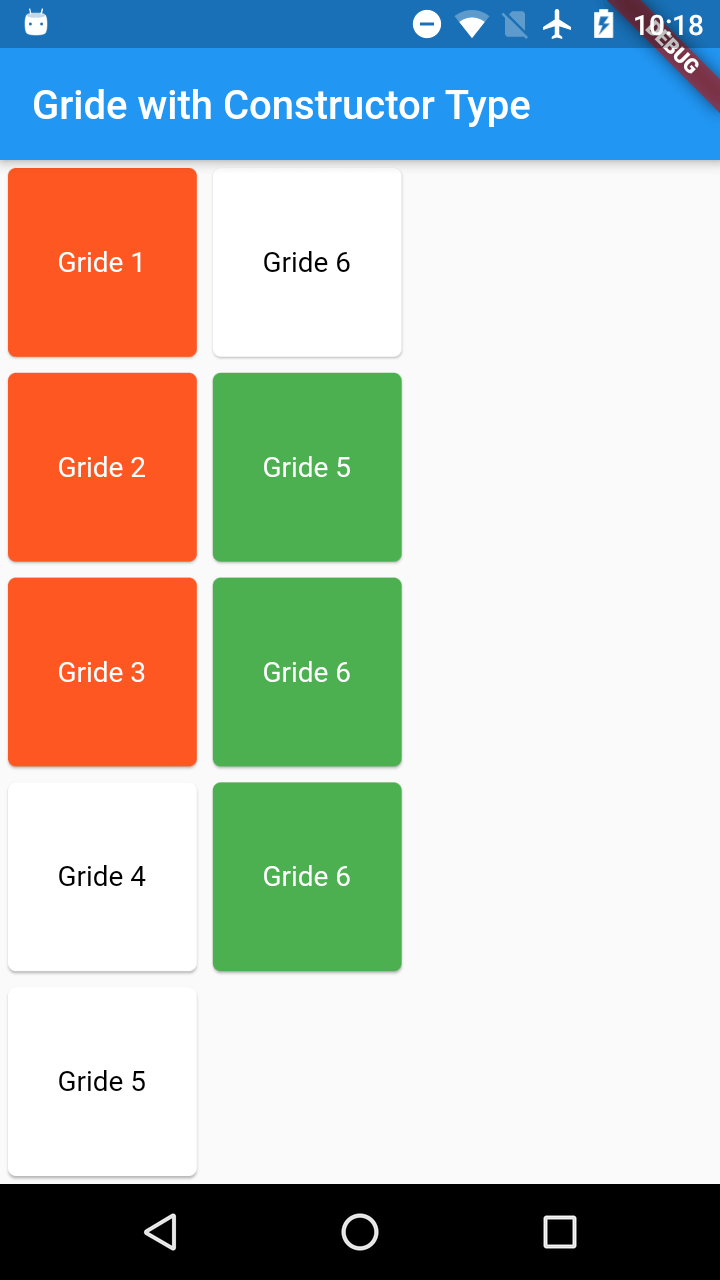
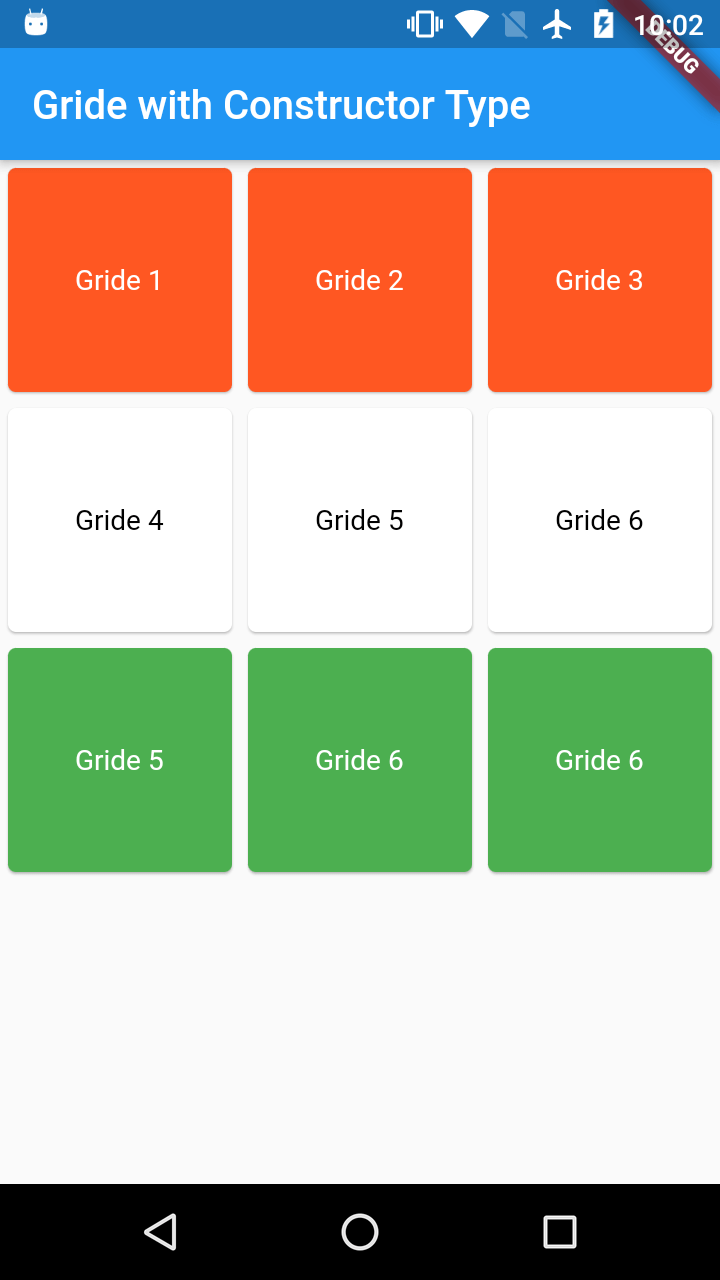
crossAxisCount: Sets the grid items with required count.
if scrollDirection is Axis.vertical then arrange the grid items vertically with coloumn count.
Ex: if crossAxisCount is 2 and Total gride items 9, then 5 rows will generates each with 2 coloumns.
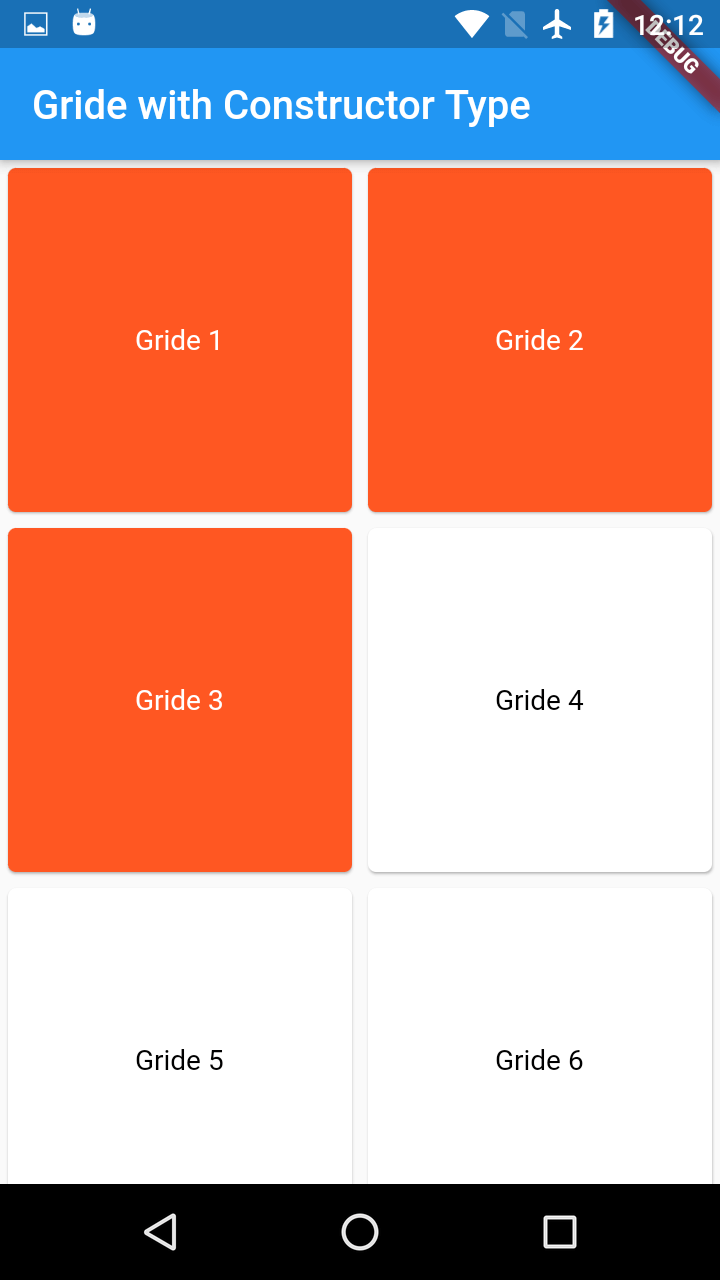
if crossAxisCount is 5 and Total gride items 9, then 2 rows will generates each with 5 coloumns
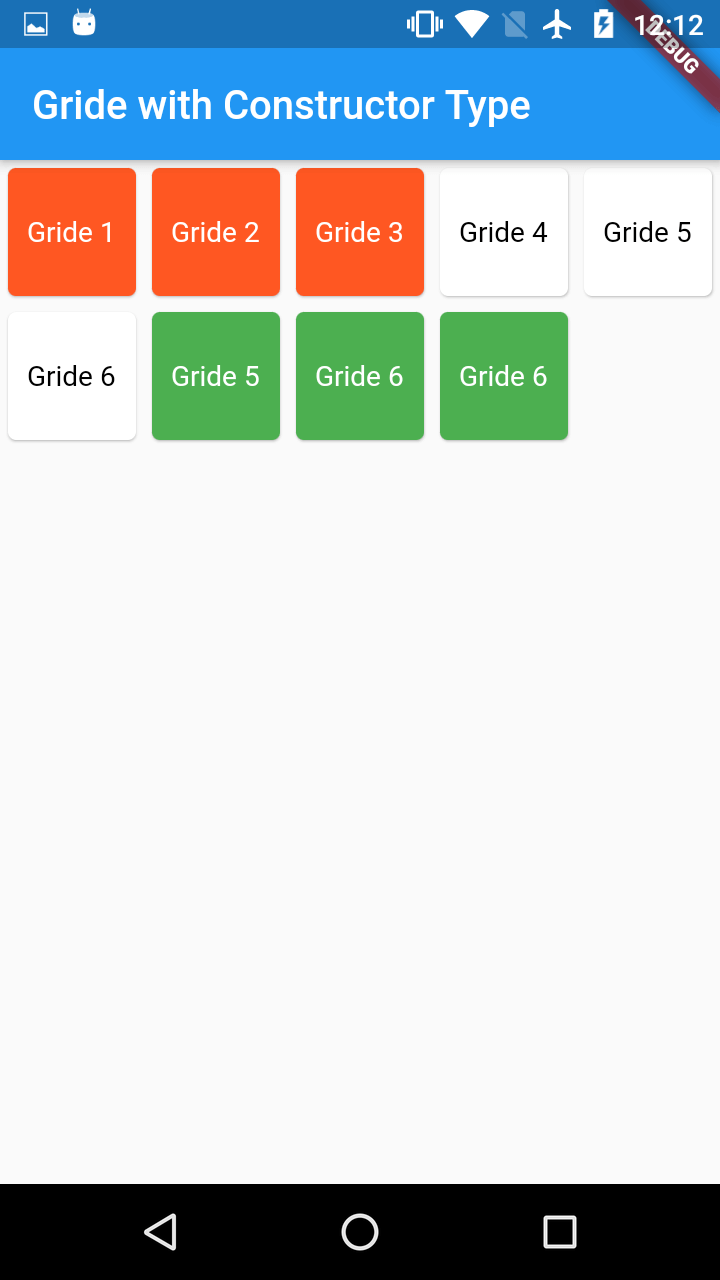
if scrollDirection is Axis.horizontal then arrange the grid items horizontally with coloumn count.
check the above scenario with horizontal direction
if crossAxisCount is 2 and Total gride items 9, then 2 rows will generates each with 5 coloumns
if crossAxisCount is 5 and Total gride items 9, then 5 rows will generates each with 2 coloumns.
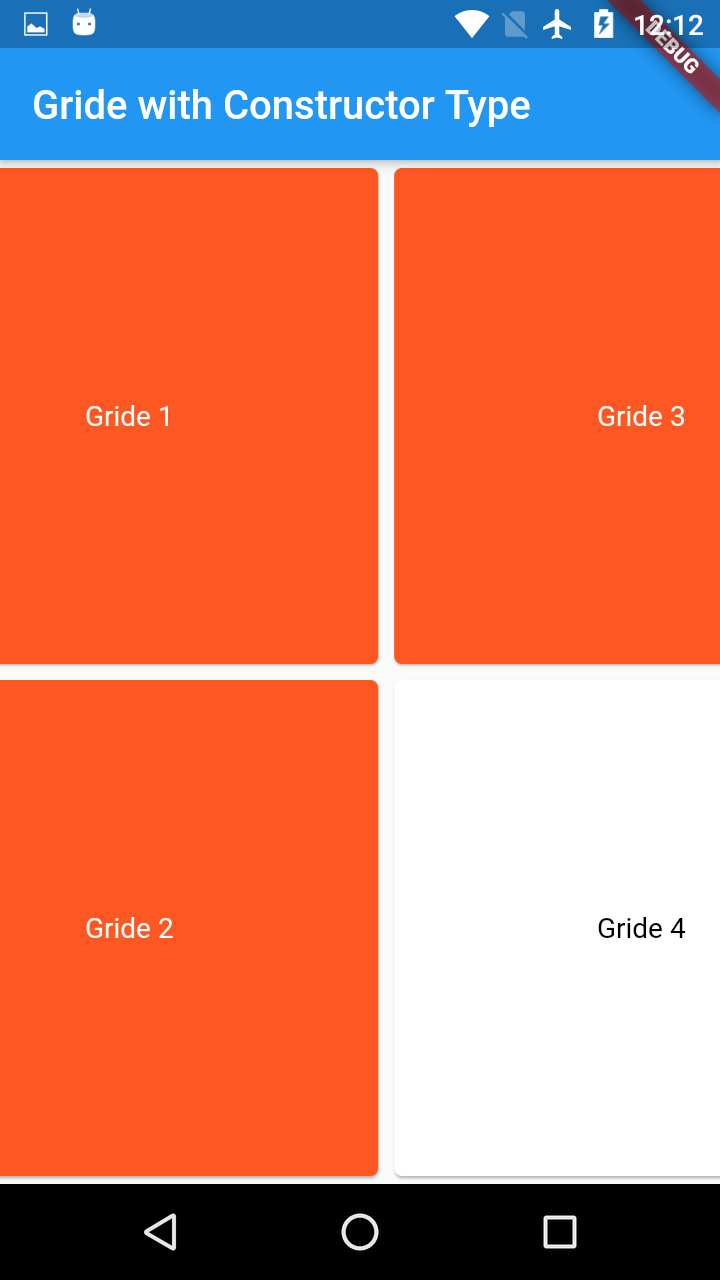
SliverGridDelegateWithMaxCrossAxisExtent:
This will allow the grid item to set the max dimension.
EX:
gridDelegate: SliverGridDelegateWithMaxCrossAxisExtent(maxCrossAxisExtent: 120)
So the Each Grid item will set to max 120 width & height
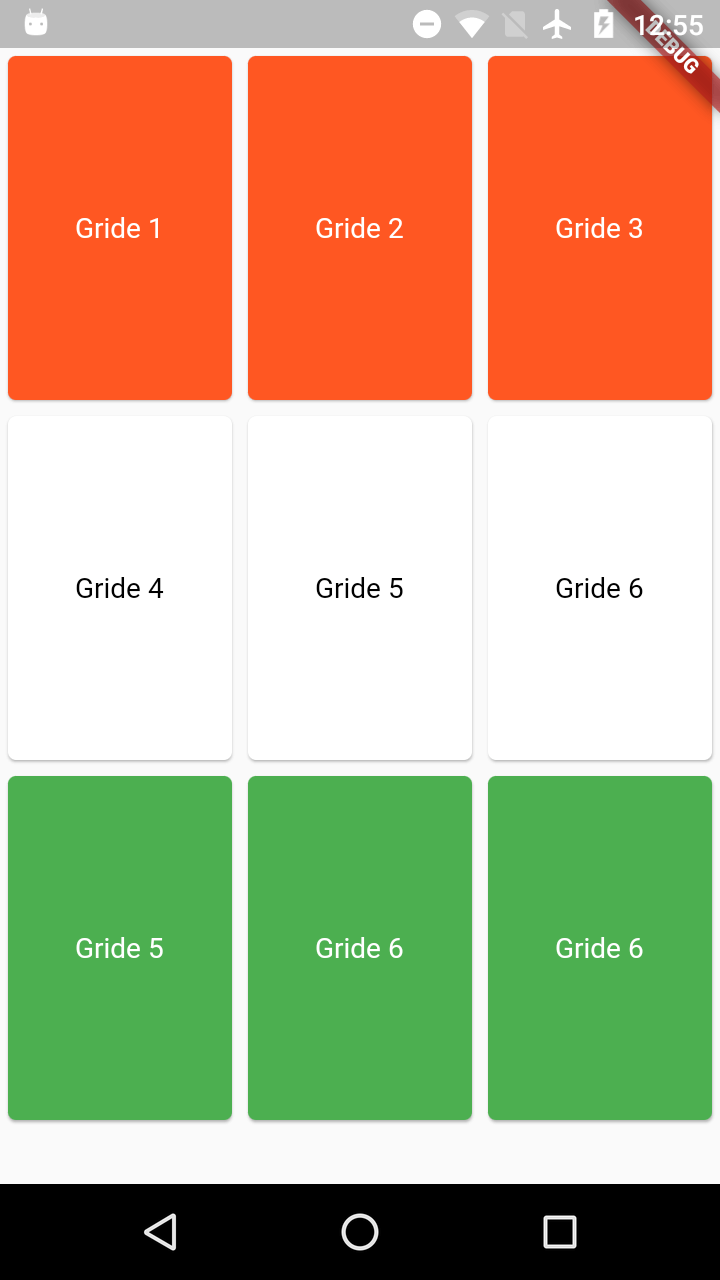
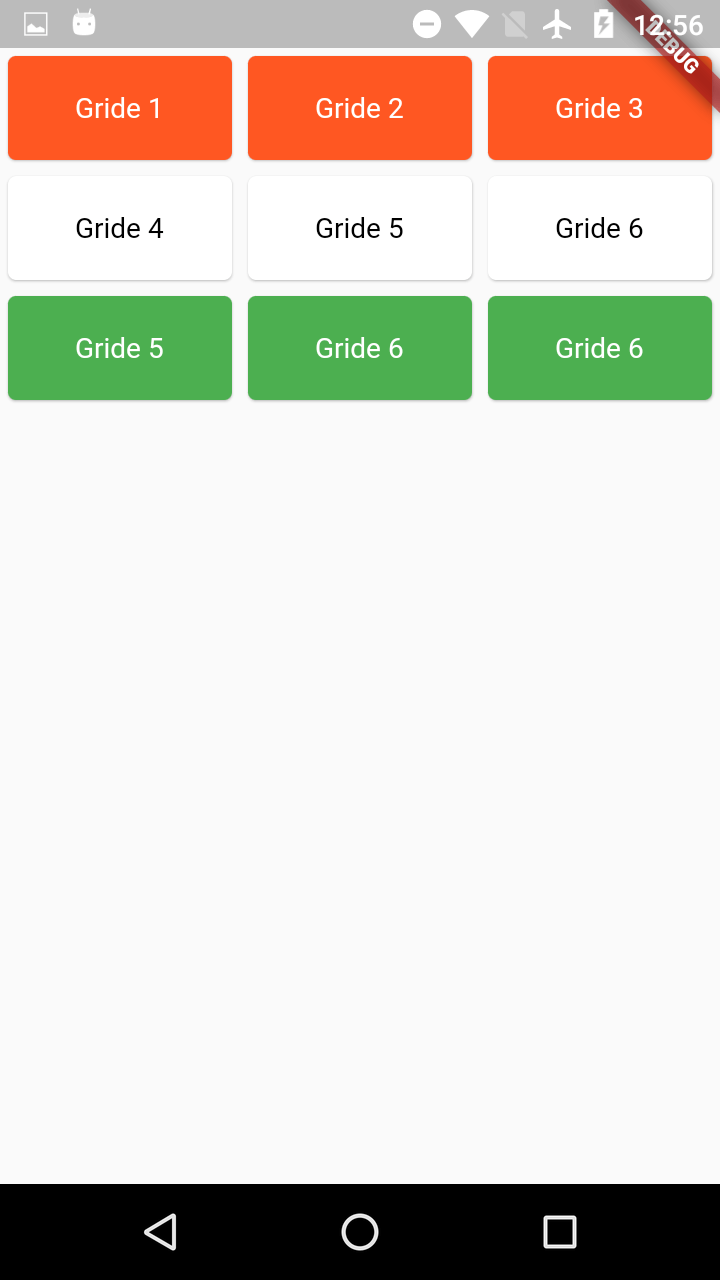
2) GridView.count()
Most Commonly used grid layout is GridView.count()
which creates a layout with fixed number of grid items.
unlike SliverGridDelegateWithMaxCrossAxisExtent, GridView.count doesn't have CrossAxisExtent, instead we will use the childAspectRatio property .
Below screens we can find the differnce AspectRatio
|
AspectRatio 2.0 / 3.0 |
AspectRatio 4.0 / 2.0 |
|
|
|
Properties
physics:
This Property will handle the scrolling behaviour of the GridView.
- physics:AlwaysScrollableScrollPhysics()-> Will scroll the entire tiles.
- physics: ScrollPhysics(),-> Will scroll the tiles based on velocity of fling.
- physics: NeverScrollableScrollPhysics(),-> Tiles never scroll
- physics: PageScrollPhysics(),-> Scroll the tiles in page wise
- physics: BouncingScrollPhysics(),-> Scroll will show the bounce at the bottom/top like iOS
controller :
Controll the scroll behviour
- controller:PageController(initialPage:1)-> Scroll the tiles as page and scroll to 1 page position
- controller: ScrollController(initialScrollOffset: 100) scroll the tile to 100 offset distance.