Flutter Switch Example
Flutter Switch example. Learn how to handle switch widget events in Flutter with step-by-step guides on rrtutors.com. Start coding now!
In Flutter, Switch is used to toggle the on/off state of a single setting. i.e widget used to select between two options, either ON or OFF.
So in this tutorial, we will see how you can use Switch in Flutter Let's Start
Step 1: Create a new Flutter Application.
Step 2: We need to declare a bool variable that will be used to track the state of our switch for example
bool isSwitched; if it's true it will be in ON state else it will be in OFF state and this will be called using onChanged property.
Step 3: Now you can use Switch widget inside your app, Once declare value and onChanged property as required. Our bool variable will be our value and we can change the state in the onChanged method as
|
onChanged: (value) { setState(() { isSwitched = value; print(isSwitched); }); }, |
There are various other propertied as:
-
activeColor
-
inactiveThumbColor
-
thumbColor
-
materialTapTargetSize
-
focusColor
and many more you can discover in your app.
Step 4: Using all the above steps you can create a Switch with a value and an onChanged property inside your body of the app.
for example:
|
Switch( value: isSwitched, onChanged: (value) { setState(() { isSwitched = value; print(isSwitched); }); }, activeTrackColor: Colors.lightGreenAccent, activeColor: Colors.green, ), |
Full Source Code to try
|
import 'package:flutter/material.dart';
void main() { runApp(MaterialApp( home: MyApp(), )); }
class MyApp extends StatefulWidget { @override _State createState() => _State(); }
class _State extends State<MyApp> { bool isSwitched = false;
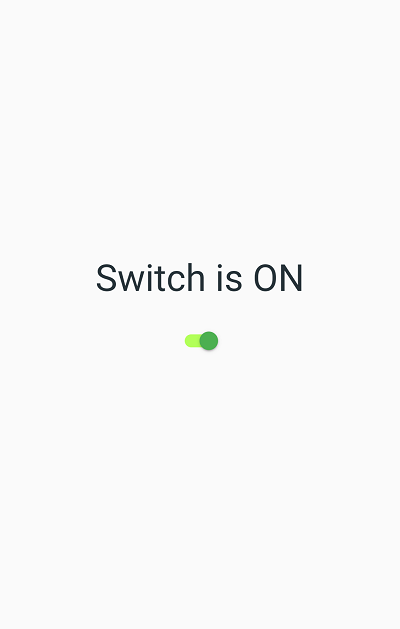
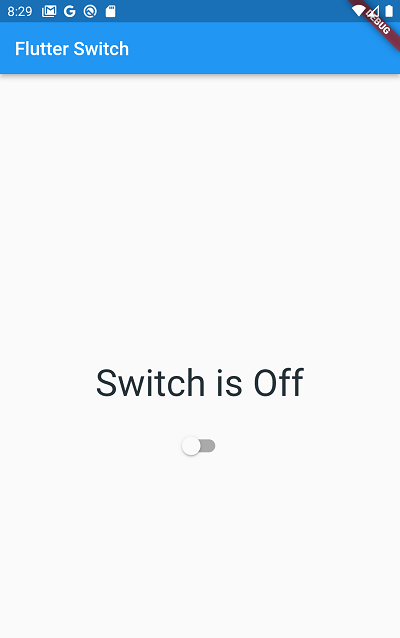
@override Widget build(BuildContext context) { return Scaffold( appBar: AppBar( title: const Text('Flutter Switch'), ), body: Column( mainAxisAlignment: MainAxisAlignment.center, children: [ Center( child: Text( isSwitched ? 'Switch is ON' : 'Switch is Off', style: TextStyle(fontSize: 40, color: Colors.blueGrey.shade900), ), ), const SizedBox( height: 20, ), Center( child: Switch( value: isSwitched, onChanged: (value) { setState(() { isSwitched = value; print(isSwitched); }); }, activeTrackColor: Colors.lightGreenAccent, activeColor: Colors.green, ), ), ], )); } }
|
Output:
 |
 |
Conclusion: In this tutorial, we have learned how you can use a switch to toggle a single state in Flutter.