How to use navigation using GetX in Flutter
Implement navigation in Flutter using GetX for a simple and efficient routing system. Learn to navigate between screens easily. Visit rrtutors.com.
What is GetX?
GetX is an extra-light and powerful solution for Flutter. It combines high-performance state management, intelligent dependency injection, and route management quickly and practically.
GetX has 3 basic principles. This means that these are the priority for all resources in the library:
- PRODUCTIVITY,
- PERFORMANCE
- ORGANIZATION.
So in today's tutorial, we will see how we can use the navigation using GetX in Flutter, Let's Start
Step 1: Create a new Flutter Application.
Step 2: Add a line like this to your package's pubspec.yaml
|
Step 3: Now when it gets installed, we have to replace our MaterialApp to GetMaterialApp for example
|
MaterialApp( debugShowCheckedModeBanner: false, home: DemoApp(), ); |
To
|
GetMaterialApp( debugShowCheckedModeBanner: false, home: DemoApp(), ); |
Step 4: Now for the Navigation, we will create a button that will take us to next screen/page when pressed, So In Flutter we use Navigator.push(MaterialPageRoute((context)=> NextScreen)) to Navigate to Next Screen But using GetX is get better as we only have to write Get.to(Page)
for Example
|
ElevatedButton( onPressed: () { Get.to(NextScreen(), transition: Transition.cupertino, duration: Duration(seconds: 1)); }, child: const Text('Next Screen')), |
Get.to(Page) has many parameter such as transition, curve, duration which can directly used to create different transition animations.
Another example for Navigation is when you want to remove the last screen/page when you navigate to next screen is use Get.off(page) method to remove the pervious page example used during splashscreen
|
ElevatedButton( onPressed: () { Get.off(NextScreen()); }, child: const Text('Next Screen and Remove Previous Screen')) |
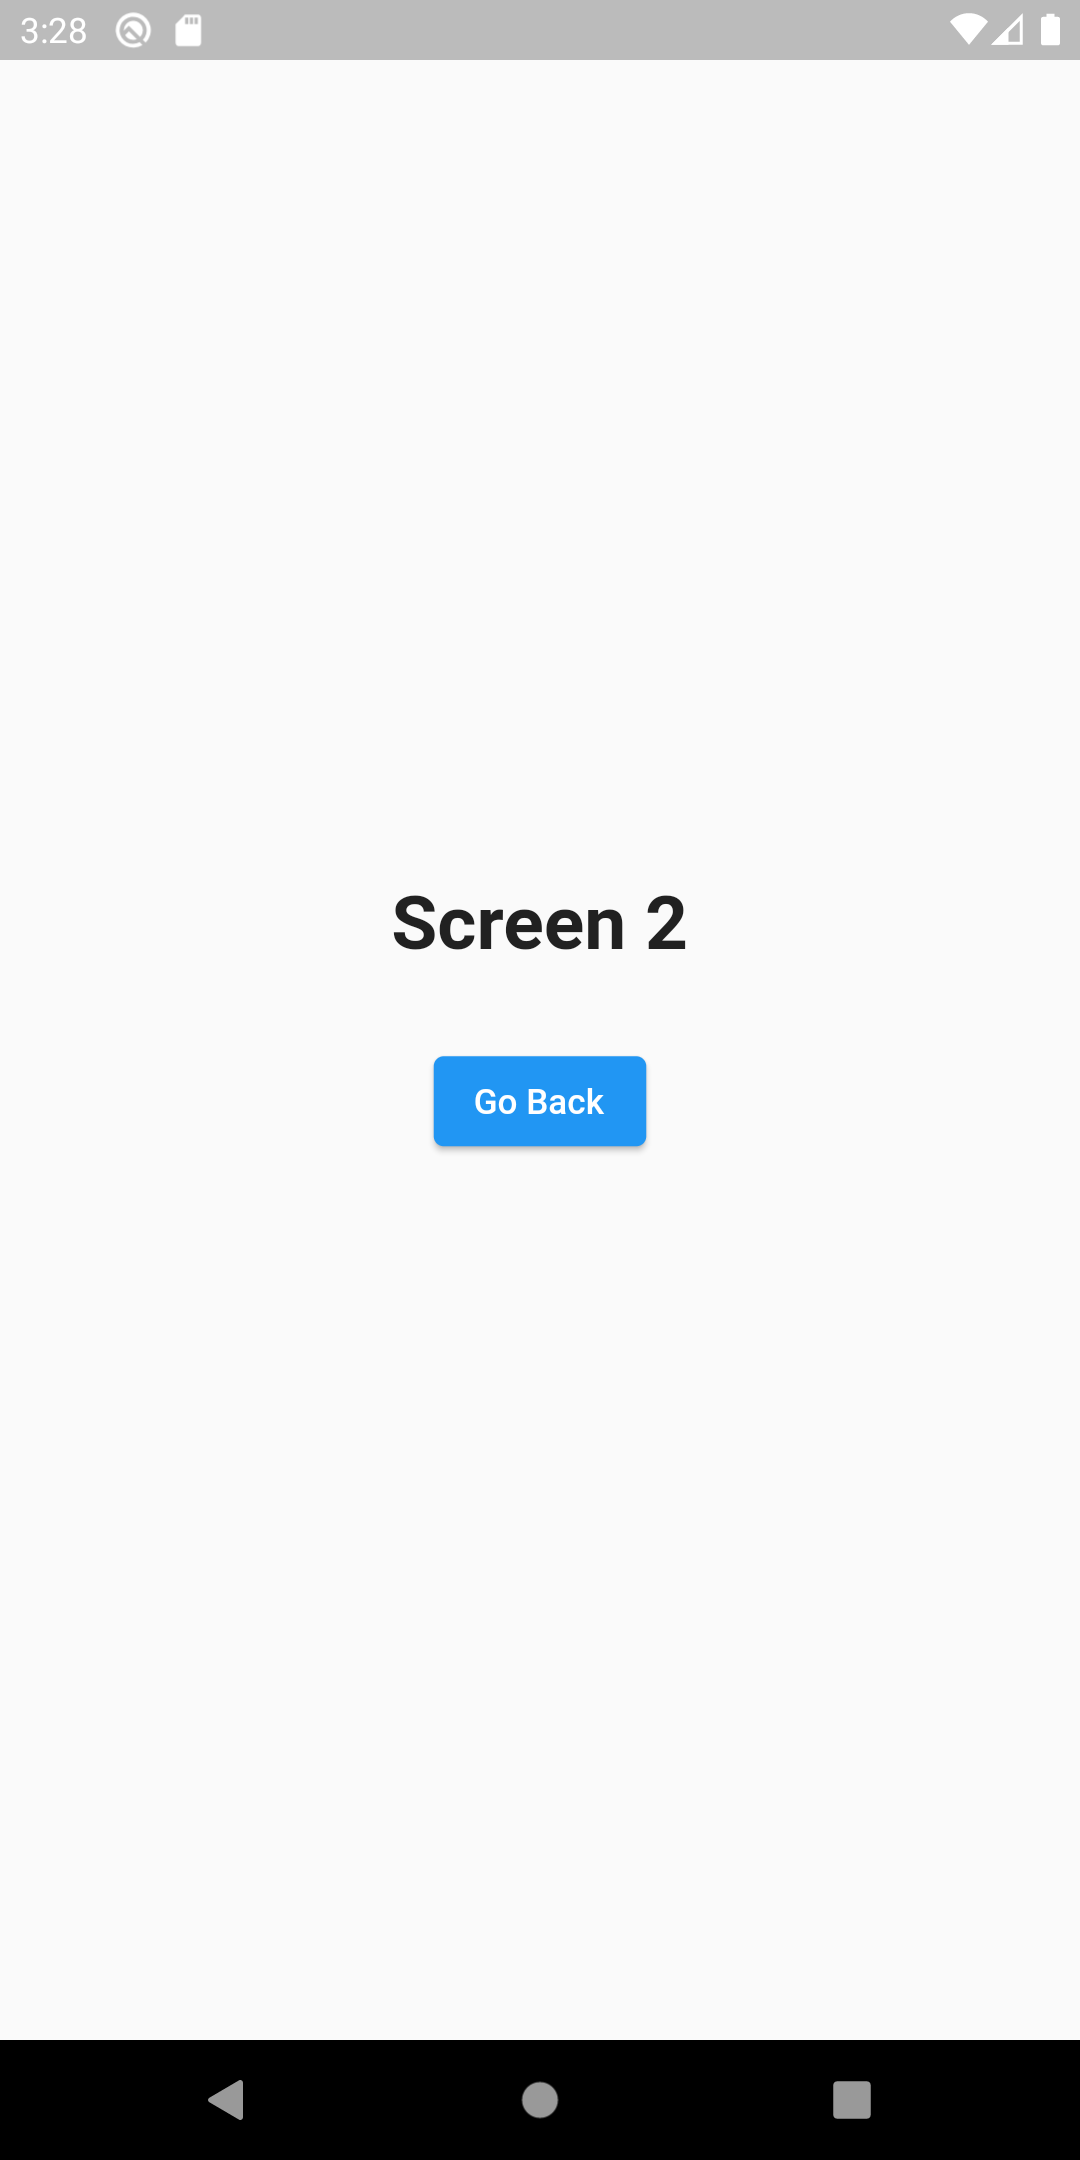
Step 5: Now once you navigate to next screen/page how to get back So, In traditional way we use Navigator.pop(context) But using GetX we only have to write Get.back()
for example
|
ElevatedButton( onPressed: () { Get.back(); }, child: const Text('Go Back')) |
Full Source Code to try
|
import 'package:flutter/cupertino.dart'; import 'package:flutter/material.dart'; import 'package:get/get.dart';
void main() { runApp(const MyApp()); }
class MyApp extends StatelessWidget { const MyApp({Key? key}) : super(key: key);
@override Widget build(BuildContext context) { return const GetMaterialApp( debugShowCheckedModeBanner: false, home: DemoApp(), ); } }
class DemoApp extends StatelessWidget { const DemoApp({Key? key}) : super(key: key);
@override Widget build(BuildContext context) { return Scaffold( appBar: AppBar( title: const Text('Getx Tutorial in Flutter'), ), body: Column( mainAxisAlignment: MainAxisAlignment.center, children: [ const Center( child: Text( 'Screen 1', style: TextStyle(fontSize: 30, fontWeight: FontWeight.bold), ), ), const SizedBox( height: 30, ), ElevatedButton( onPressed: () { Get.to(NextScreen(), transition: Transition.cupertino, duration: Duration(seconds: 1)); }, child: const Text('Next Screen')), const SizedBox( height: 30, ), ElevatedButton( onPressed: () { Get.off(NextScreen()); }, child: const Text('Next Screen and Remove Previous Screen')) ], ), ); } }
class NextScreen extends StatelessWidget { const NextScreen({Key? key}) : super(key: key);
@override Widget build(BuildContext context) { return Scaffold( body: Column( mainAxisAlignment: MainAxisAlignment.center, children: [ const Center( child: Text( 'Screen 2', style: TextStyle(fontSize: 30, fontWeight: FontWeight.bold), ), ), const SizedBox( height: 30, ), ElevatedButton( onPressed: () { Get.back(); }, child: const Text('Go Back')) ], ), ); } }
|
Output:
 |
 |
Conclusion: So in this way, we have learned how we can get better navigation result using GetX in Flutter.