Android Bottom Navigation: Best Practices Explained
Discover how Android bottom navigation can improve user experience in your apps. Learn best practices to implement it effectively today!
Bottom navigation bar gives easy way for users to explore and switch between top-level views in a single tap. We can use them when when an application has three to five top-level destinations.
The bar contents can be populated by specifying a menu resource file. Each menu item contains title, icon and enabled state. This enabled state will be used for displaying bottom navigation bar items
Navigation Bar Attributes
Color of the icon when inactive
app:itemIconTint="@color/black"
Color of the text when inactive
app:itemTextColor="@color/black"
To show text labels at all times
app:labelVisibilityMode="labeled"
In this android example tutorial we are going to learn how to use BottomNavigationView in android with Kotlin Language. Let get started
1. Launch Android Studio and Create a new Android Studio project with an Empty Activity. Name the project as your wish, here i have given name as BottomNavigationView.

Choose a location on your computer where you want to save the application. If you click on the open folder you can choose a location. Now let select source language as Kotlin. Pick a minimum SDK of API 21: Android 5.0 (Lollipop). Here we no need any legacy android support libraries. Now click finish, it will create an application with default files.
Create Menu for Navigation Bar
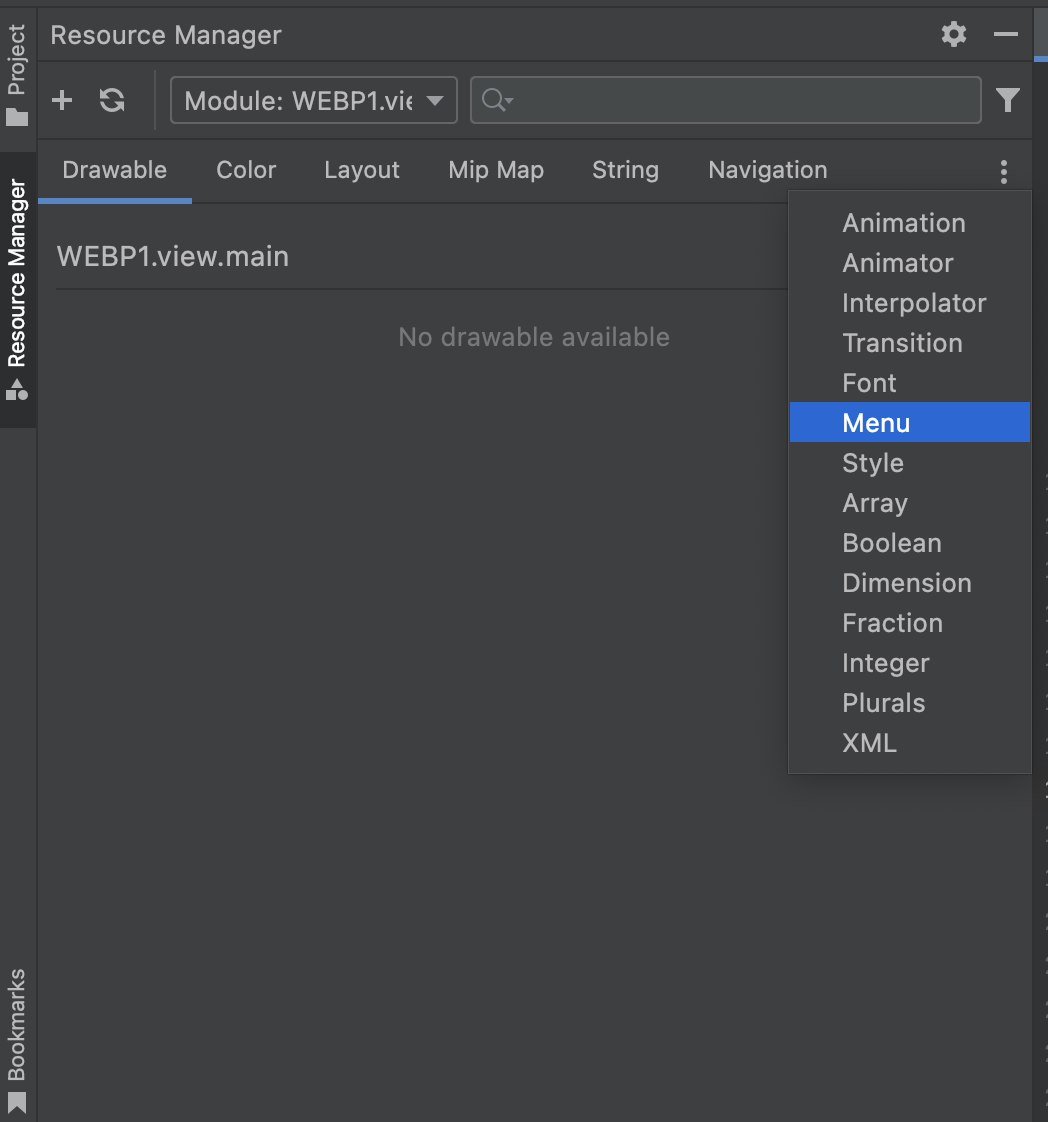
Click on Resource Manager Tab on Left side of the Studio, if you not find this ResourceManager Tab then select it through Navigate to View->Tool Windows -> Resource Manager
Now choose Menu tabs inside Resource Manager Tab and create a Menu file. Name it as bottom_navigation_menu.xml
 |
Add below code inside menu file
<?xml version="1.0" encoding="utf-8"?>
<menu xmlns:android="http://schemas.android.com/apk/res/android">
              <item
                          android:id="@+id/navigation_home"
                          android:icon="@drawable/outline_home_black_48"
                          android:title="Home"/>

              <item
                          android:id="@+id/navigation_explore"
                          android:icon="@drawable/outline_explore_black_48_48"
                          android:title="Explore"/>

              <item
                          android:id="@+id/navigation_subscriptions"
                          android:icon="@drawable/outline_subscriptions_black_48"
                          android:title="Subscriptions"/>

              <item
                          android:id="@+id/navigation_library"
                          android:icon="@drawable/outline_video_library_black_48"
                          android:title="Library"/>

</menu>
|
Create a bottom navigation view
Now add BottomNavigation view inside activity xml file. Add FragmentContainer to it and give an id. We will need to use it in code when switching fragments
What is FragmentContainer
FragmentContainerView is a customized Layout designed specifically for Fragments. It extends FrameLayout, so it can reliably handle Fragment Transactions, and it also has additional features to coordinate with fragment behavior.
FragmentContainerView should be used as the container for Fragments, commonly set in the xml layout of an activity, e.g.:
<?xml version="1.0" encoding="utf-8"?>
<androidx.constraintlayout.widget.ConstraintLayout xmlns:android="http://schemas.android.com/apk/res/android"
            xmlns:app="http://schemas.android.com/apk/res-auto"
            xmlns:tools="http://schemas.android.com/tools"
            android:layout_width="match_parent"
            android:layout_height="match_parent"
            tools:context=".MainActivity"
           >
              <androidx.fragment.app.FragmentContainerView
                          android:id="@+id/container"
                          android:layout_width="match_parent"
                          android:layout_height="match_parent"/>

              <com.google.android.material.bottomnavigation.BottomNavigationView
                          android:id="@+id/bottomNavigationView"
                          android:layout_width="match_parent"
                          android:layout_height="wrap_content"
                          app:menu="@menu/bottom_navigation_menu"
                          app:layout_constraintBottom_toBottomOf="parent"
                          app:itemIconTint="@color/black"
                          app:itemTextColor="@color/black"
                          app:labelVisibilityMode="labeled"
                          />

</androidx.constraintlayout.widget.ConstraintLayout>
|
Create Fragments for Each NavigationBar Items
Let Create fragments to match each Navigation icon: HomeFragment, ExploreFragment, SubscriptionsFragment, VideoFragment.
To create a fragment right click on your package name, select
Access BottomNavigationView
We declared BottomNavigationView inside xml file, now access it inside MainActivity.kt by using below code
val bottomNavigationView: BottomNavigationView bottomNavigationView = findViewById(R.id.bottomNavigationView) |
Handle Navigation Items click events
To receive click events for each Navigation item we need to set ItemSelected Listener to the NavigationView
bottomNavigationView.setOnItemSelectedListener(NavigationBarView.OnItemSelectedListener {
    false
})
|
Switch Between Fragments
Now Based on selected NavigationBar item we will load respected fragment
bottomNavigationView.setOnItemSelectedListener(NavigationBarView.OnItemSelectedListener {
    when(it.itemId)
    {
        R.id.navigation_home->loadFragment(HomeFragment())
        R.id.navigation_explore->loadFragment(ExploreFragment())
        R.id.navigation_subscriptions->loadFragment(SubScribeFragment())
        R.id.navigation_library->loadFragment(VideoFragment())
    }
    false
})
|
Create loadFragment
Let create loadFragment method and load respected fragment based on NavigationBar item click
To load Fragments inside the Container we will use the FragmentTransaction class.
private fun loadFragment(fragment: Fragment) {

    val transaction: FragmentTransaction = supportFragmentManager.beginTransaction()
    //this is a helper class that replaces the container with the fragment. You can replace or add fragments.
    //this is a helper class that replaces the container with the fragment. You can replace or add fragments.
    transaction.replace(R.id.container, fragment)

    transaction.addToBackStack(null) //if you add fragments it will be added to the backStack. If you replace the fragment it will add only the last fra
    transaction.commit()
}
|
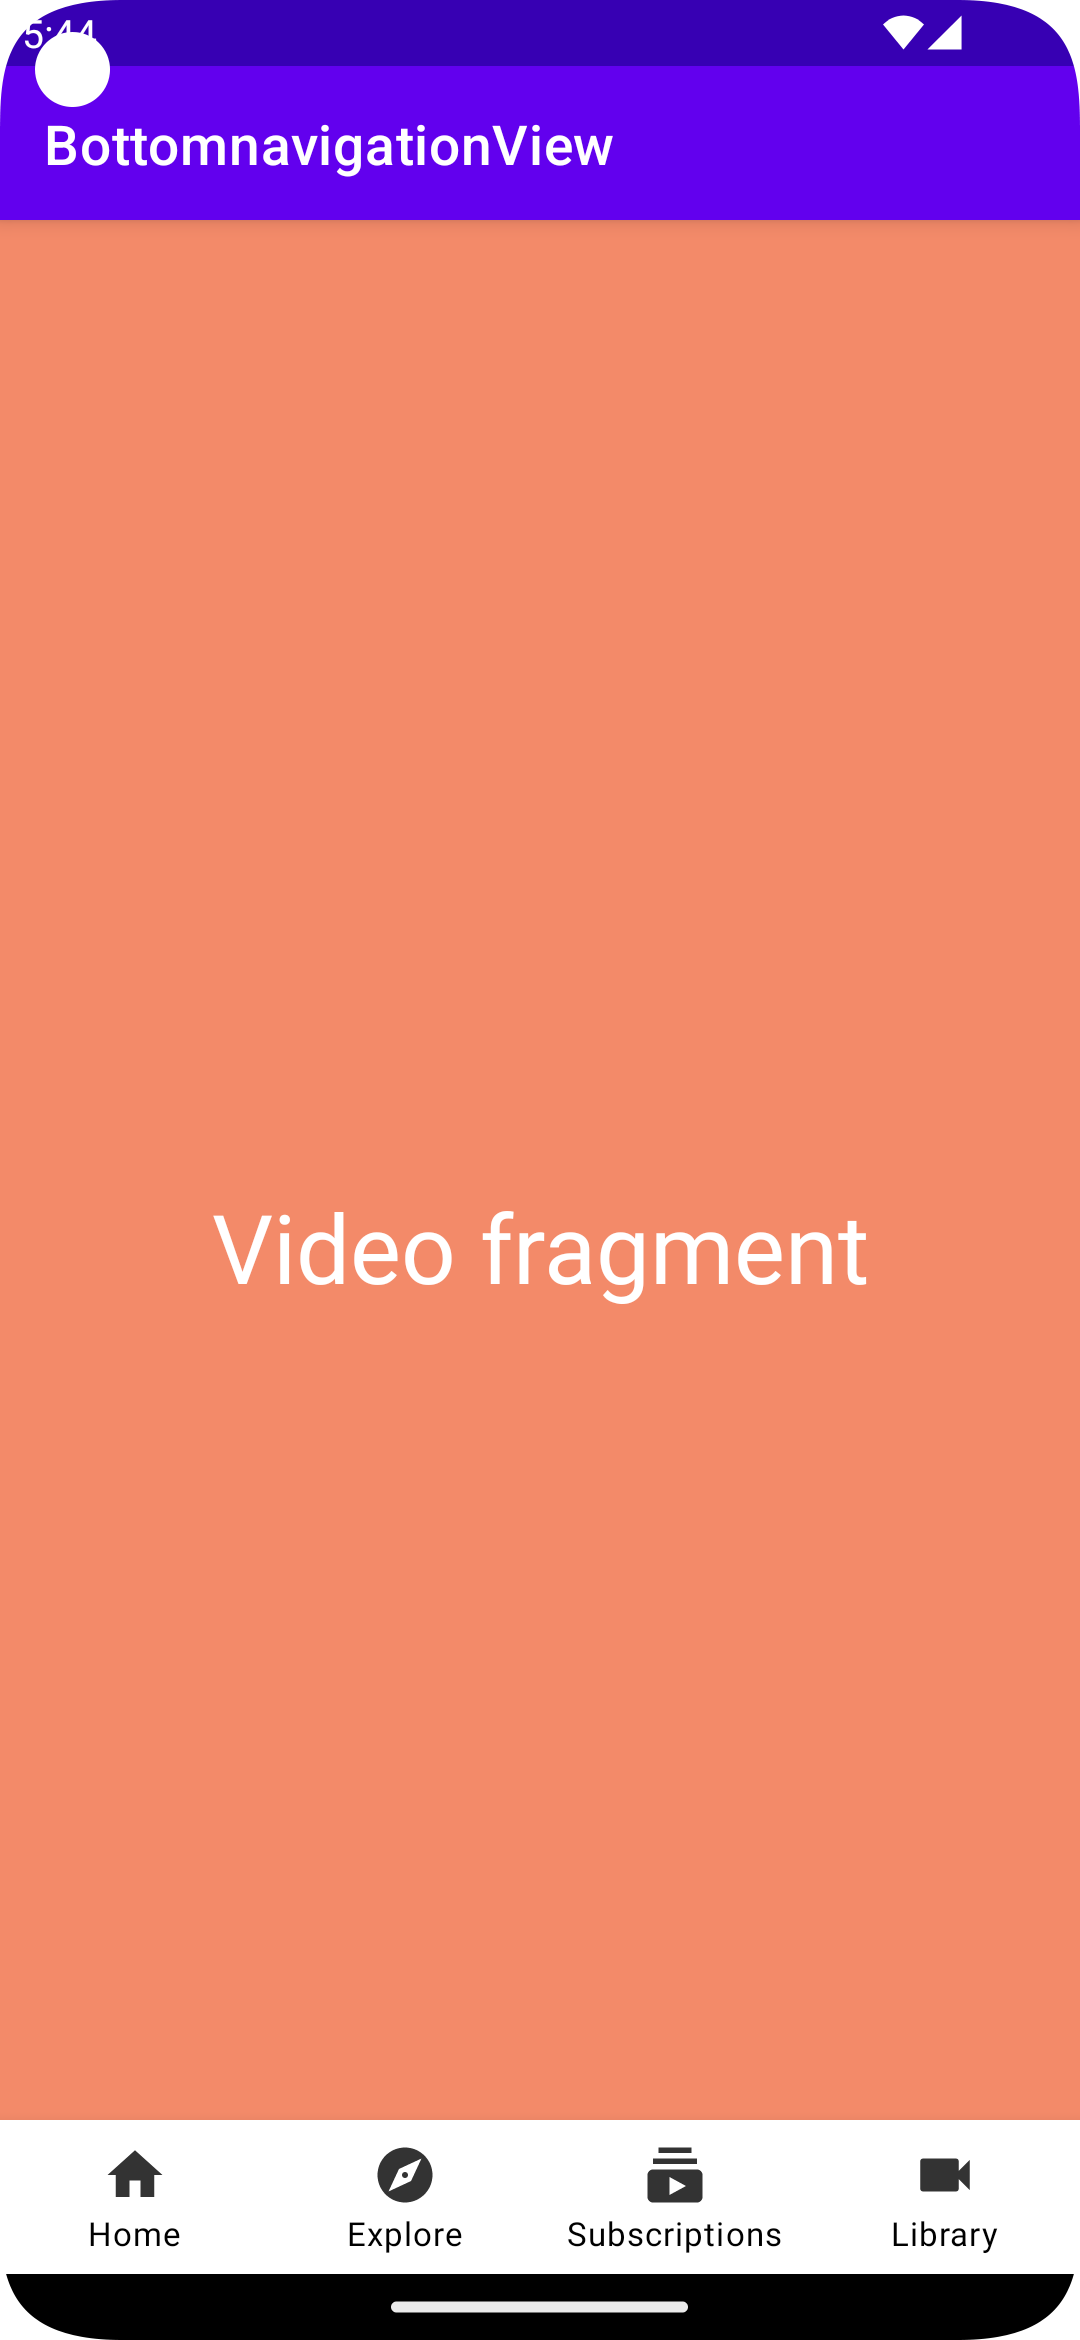
Now run the application on device/emulator. You can switch between fragments on eaach menu item click.
 |
Complete code for Android BottomNavigationView with Navigation Items
package com.example.bottomnavigationview


import android.os.Bundle
import androidx.appcompat.app.AppCompatActivity
import androidx.fragment.app.Fragment
import androidx.fragment.app.FragmentTransaction
import com.google.android.material.bottomnavigation.BottomNavigationView
import com.google.android.material.navigation.NavigationBarView


class MainActivity : AppCompatActivity() {
    override fun onCreate(savedInstanceState: Bundle?) {
        super.onCreate(savedInstanceState)
        setContentView(R.layout.activity_main)

        val bottomNavigationView: BottomNavigationView
        bottomNavigationView = findViewById(R.id.bottomNavigationView)

        bottomNavigationView.setOnItemSelectedListener(NavigationBarView.OnItemSelectedListener {
            when(it.itemId)
            {
                R.id.navigation_home->{
                    loadFragment(HomeFragment())
                    true
                }
                R.id.navigation_explore->{
                    loadFragment(ExploreFragment())
                    true
                }
                R.id.navigation_subscriptions->{
                    loadFragment(SubScribeFragment())
                    true
                }
                R.id.navigation_library->{
                    loadFragment(VideoFragment())
                    true
                }
            }
            false
        })
    }

    private fun loadFragment(fragment: Fragment) {

        val transaction: FragmentTransaction = supportFragmentManager.beginTransaction()
        //this is a helper class that replaces the container with the fragment. You can replace or add fragments.
        //this is a helper class that replaces the container with the fragment. You can replace or add fragments.
        transaction.replace(R.id.container, fragment)

        transaction.addToBackStack(null) //if you add fragments it will be added to the backStack. If you replace the fragment it will add only the last fra
        transaction.commit()
    }
}
|