Implement DataBinding & Two-Way Binding in Android - RRutors
Learn how to implement Android Data Binding using Kotlin with RRTutors. Understand how to bind UI components with data and create efficient Android apps.
In this android example we will see what is DataBinding, Two way DataBinding and its implementation in Android Studio using Kotlin language.
What is DataBinding?
In Android, Data binding helps you to link your user interface with the model and logic of your application.
- We can construct binding classes for xml layout files using the Android data binding framework.
- We may utilise those binding classes to easily employ view components without executing findViewById().
- We can also utilise layout variables and layout expressions to automatically set and retrieve values from layouts.
- Data binding is a simple concept to grasp and apply.
Advantages of Data binding
- Eliminate findViewById()
- Update the values automatically.
- Very effective for UI Testing.
- More readable and maintainable code.
- Faster development & execution times.
- Well suited for MVVM and MVI architectures.
Two Way DataBinding:
The sharing of data between a component class and its layout is referred to as two-way data binding. If you alter data in one location, it will automatically reflate at the other. If you alter the value of an input box, for example, it will also modify the value of an attached property in a component class.
Simple Two Way Data Binding Implementation Example:
Step 1: Create a new Project in android studio.
|
Go to File > New > New Project > Empty Activity > Next > Enter Name > Select Language Kotlin > Finish |
Step 2: Now, open the app level build.gradle file .
Add this code part inside the Android block to enable databinding.
|
buildFeatures{ |
Also, add the kotlin-kapt plugin to the plugins block.
|
id 'kotlin-kapt' |
Add the viewModel and LiveData Lifecycle dependency in app level build.gradle file and insert inside dependencies
|
// ViewModel |
Step 3: Now open the activity_main.xml file and add the following xml code
|
<?xml version="1.0" encoding="utf-8"?> <data> <LinearLayout <TextView <EditText </LinearLayout> |
In the TextView and EditText, bind the value of “text” property with the “userName” (MutableLiveData) property of the ViewModel.
|
android:text="@={viewModel.userName}" |
Step 4: Create a new kotlin class file and enter name (MainViewModel) and add the following code:
|
class MainViewModel : ViewModel() { val userName = MutableLiveData() |
Step 5: Go to MainActivity.kt file and add the following code
In MainActivity(or whatever activity) we do 4 common things, when working with Data Binding, ViewModel and LiveData.
- Create an instance(object) of Data Binding class of the layout.(ActivityMainBinding)
- Create an instance(object) of ViewModel class.(MainActivityViewModel)
- Send the ViewModel instance to the Data Binding instance.
- Set the life cycle owner of the Data Binding instance.
|
class MainActivity: AppCompatActivity() { private lateinit var binding: ActivityMain override fun onCreate(savedInstanceState: Bundle?) { binding = DataBindingUtil.setContentView(this, R.layout.activity_main) |
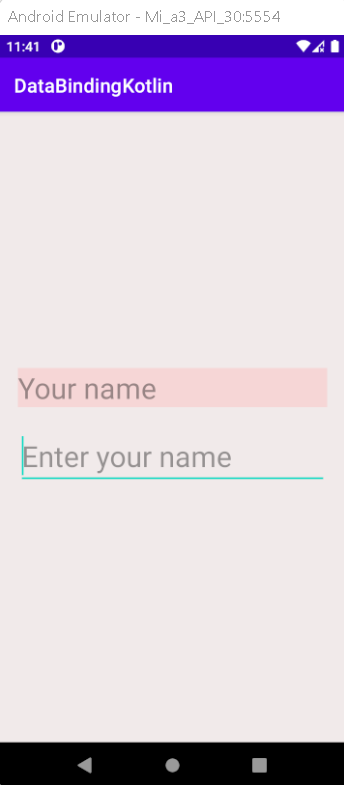
Step 6: Now run the app in your emulator or real device you will get the given output:
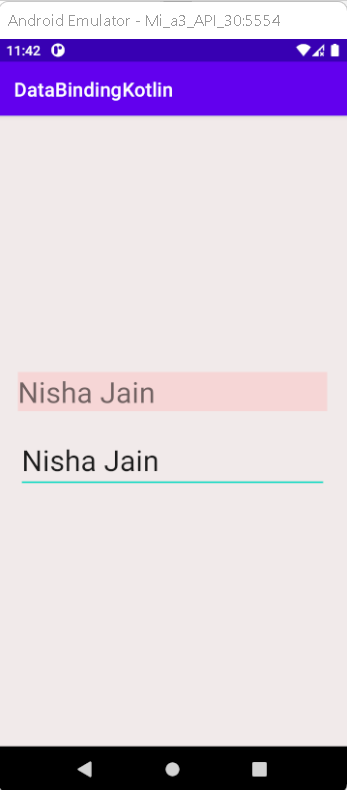
You will see a blank EditText at first. Type someting on it. Then, you will see the same text on TextView simultaneously. That is the magic of Two way data binding.
Default view, when we run app at first time..
 |
After adding the input in Edittext..
 |
Simple Implementation of ViewBinding Example:
Step 1: Create a new Project in android studio.
|
Go to File > New > New Project > Empty Activity > Next > Enter Name > Select Language Kotlin > Finish |
Step 2: Now, open the app level build.gradle file . And add this code part inside the Android block to enable databinding.
|
buildFeatures { |
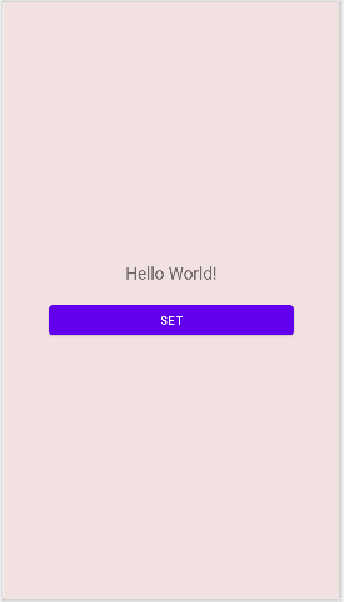
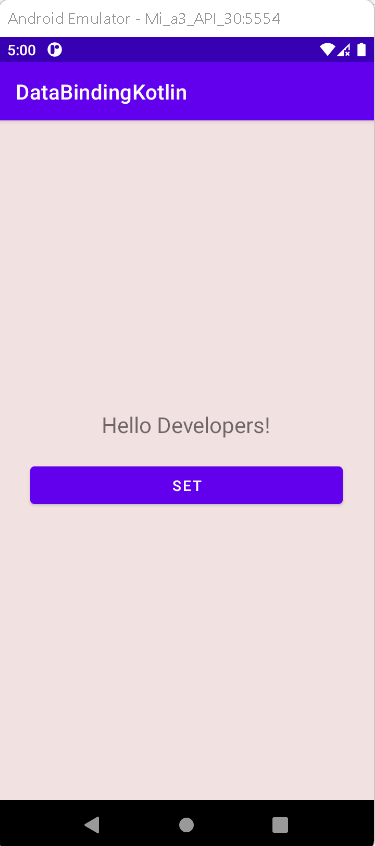
Step 3: Open activity_main.xml file and add a TextView and a Button Widget.
|
<TextView <Button |
Above xml code layout will look like:
 |
Step 4: Go to MainActivity.kt file
Declare the object reference variable at the top of the class.
|
private lateinit var binding: ActivityMainBinding |
Then, within the onCreate function, replace the default setContentView(R.layout.activity main) function call with the data binding instance.
|
binding = ActivityMainBinding.inflate(layoutInflater) |
Now, we are ready to use data binding in this class.
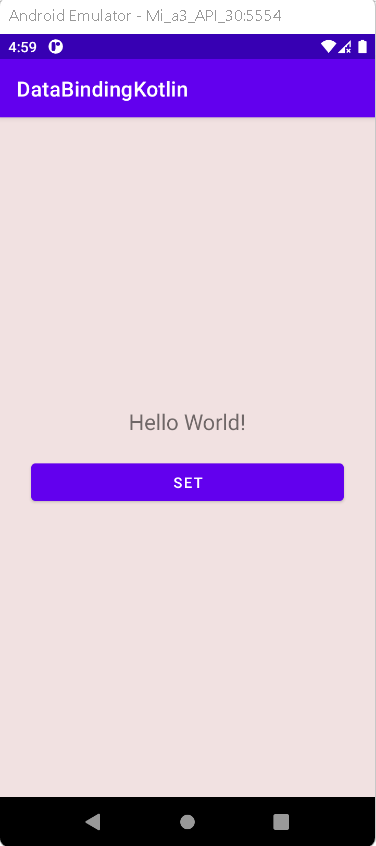
So, lets write a simple code to change the text of textView by using clickListener on Button.
|
binding.button.setOnClickListener{ |
Final Code of MainActivity.kt file,
|
class MainActivity : AppCompatActivity() { override fun onCreate(savedInstanceState: Bundle?) { binding.button.setOnClickListener{ |
Step 5: Now run the app in your emulator or real device, you will get the given output
OUTPUT:
 |
 |
Complete Source Code of Two Way Data Binding Example:
activity_main.xml file
|
<?xml version="1.0" encoding="utf-8"?> <data> <LinearLayout <TextView <EditText </LinearLayout> |
MainActivity.kt file
|
import androidx.appcompat.app.AppCompatActivity class MainActivity : AppCompatActivity() { private lateinit var binding: ActivityMainBinding override fun onCreate(savedInstanceState: Bundle?) { binding = DataBindingUtil.setContentView(this, R.layout.activity_main) |
MainViewModel.kt file
|
import androidx.lifecycle.MutableLiveData class MainViewModel : ViewModel() { val userName = MutableLiveData() |
build.gradle(app) file
|
plugins { android { defaultConfig { testInstrumentationRunner "androidx.test.runner.AndroidJUnitRunner" buildTypes { dependencies { implementation 'androidx.core:core-ktx:1.7.0' |
Complete Source Code of DataBinding Example:
activity_main.xml file
|
<?xml version="1.0" encoding="utf-8"?> <TextView <Button </LinearLayout> |
MainActivity.kt file
|
import androidx.appcompat.app.AppCompatActivity class MainActivity : AppCompatActivity() { override fun onCreate(savedInstanceState: Bundle?) { binding.button.setOnClickListener{ |
build.gradle(app) file
|
plugins { android { defaultConfig { testInstrumentationRunner "androidx.test.runner.AndroidJUnitRunner" buildTypes { dependencies { implementation 'androidx.core:core-ktx:1.7.0' |
Conclusion: In this example we have covered what is DataBinding, Two Way Data Binding and its implementation with example in Android Studio using Kotlin Language.