Easy way To Convert Website Into Mobile Application Android
Get started with Xcode, Apple's IDE for writing Swift code, with a focus on essential tools and time-saving shortcuts for iOS developers at rrtutors.com
Mobile apps are User friendly and users are interest on using webiste in mobile applications. Most of the Website owners wants to convert their website into Mobile applications. But how to convert Website into Mobile application. How to run Webiste inside mobile application.
In this post we will learn how to convert website into mobile application easy way.
Let's get started
Step 1: Create Android application in Android studio
Step 2: Add webview inside xml file
Webview will load the website URL into mobile application and it will make as mobile application.
<?xml version="1.0" encoding="utf-8"?>
<androidx.constraintlayout.widget.ConstraintLayout xmlns:android="http://schemas.android.com/apk/res/android"
    xmlns:app="http://schemas.android.com/apk/res-auto"
    xmlns:tools="http://schemas.android.com/tools"
    android:layout_width="match_parent"
    android:layout_height="match_parent"
    tools:context=".WebsiteMobileActivity">

    <WebView
        android:id="@+id/webview"
        android:layout_width="match_parent"
        android:layout_height="match_parent"
        />
</androidx.constraintlayout.widget.ConstraintLayout>
|
Step 3: Update MainActivity with below code
Here we need to pass our website URL into webview by
webview.loadUrl("https://www.rrtutors.com")
To work with any Javascript files we need to enable Javascript feature for the Webview settings
webSettings.javaScriptEnabled = true
Handle Webview Back Events
When we load any page, after pressing back button of the mobile application will close instead of loading the previous page.
To load previous page on the back button we need to write below code on onBackPressed .
override fun onBackPressed() {
    handleBackButton()
}
fun handleBackButton()
{
    if(webview.canGoBack())
        webview.goBack()
    else{
        finish()
    }
}
|
Step 4: Add Internet Permission in manifest file
To load any webiste inside mobile application we need to add Internet permission
<?xml version="1.0" encoding="utf-8"?>
<manifest xmlns:android="http://schemas.android.com/apk/res/android"
    package="com.rrtutors.inappreview"
    >
<uses-permission android:name="android.permission.INTERNET"/>
    <application
        android:allowBackup="true"
        android:icon="@mipmap/ic_launcher"

        android:roundIcon="@mipmap/ic_launcher_round"
        android:supportsRtl="true"
        android:theme="@style/Theme.InAppReview">

        <activity android:name=".WebsiteMobileActivity" android:label="Mobile Website">
            <intent-filter>
                <action android:name="android.intent.action.MAIN" />

                <category android:name="android.intent.category.LAUNCHER" />
            </intent-filter>
        </activity>
    </application>

</manifest>
|
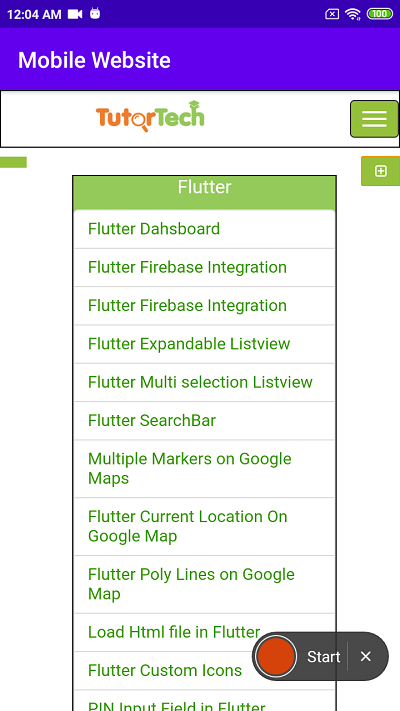
Run Application

Complete code
package com.rrtutors.inappreview

import android.os.Bundle
import android.webkit.WebSettings
import android.webkit.WebView
import android.webkit.WebViewClient
import androidx.appcompat.app.AppCompatActivity


class WebsiteMobileActivity : AppCompatActivity() {
    lateinit var webview:WebView;
    override fun onCreate(savedInstanceState: Bundle?) {
        super.onCreate(savedInstanceState)
        setContentView(R.layout.activity_website_mobile)
         webview=findViewById<WebView>(R.id.webview)


        val webSettings: WebSettings = webview.getSettings()
        webSettings.javaScriptEnabled = true
        webview.loadUrl("https://www.rrtutors.com")
        webview.setWebViewClient(WebViewClient())
    }

    override fun onBackPressed() {
        handleBackButton()
    }
    fun handleBackButton()
    {
        if(webview.canGoBack())
            webview.goBack()
        else{
            finish()
        }
    }
}
|
Android Kotlin Examples for Beginners