How to handle safe area layout while designing UI in SwiftUI
Understand SwiftUI's SafeArea layout to prevent content overlap with status bars, notches, and home indicators in iOS apps at rrtutors.com Check it out!
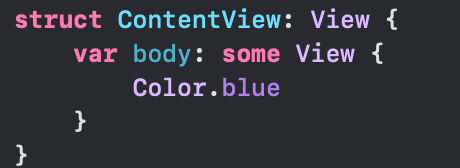
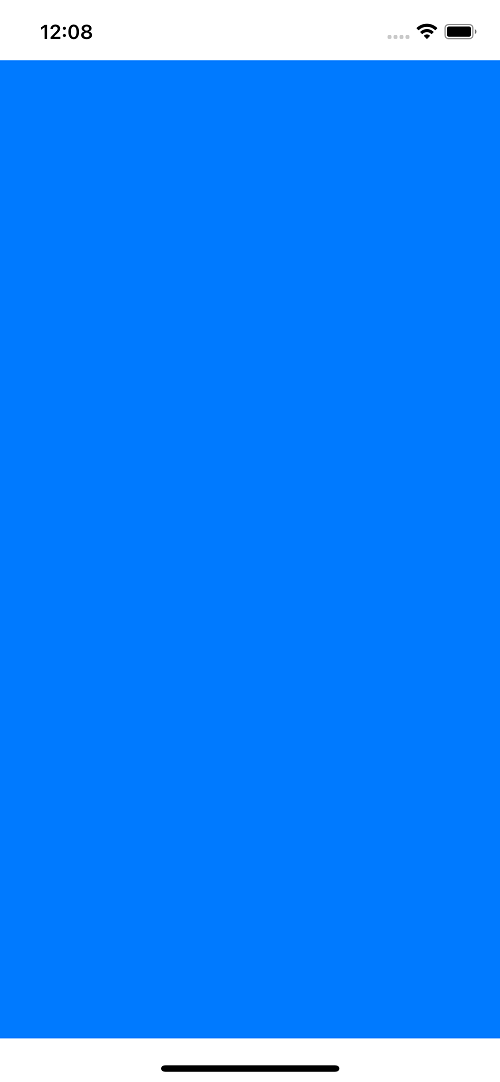
In this swiftui example tutorial we will cover what is SafeArea and how to use SafeArea. SafeArea is the content space that does not overlap with the status bar, notch and home indicator spaces. By default, the content will be taken care the safe area layout.
 |
 |
But few cases we may come across with the requirement of utilisting the complete screen size. In that case, we need to use a property like below for the view content.
 |
 |
Note: ignoresSafeArea() is available from iOS 14 and later versions. If your app required to give support for lower versions, please use edgesIgnoringSafeArea()
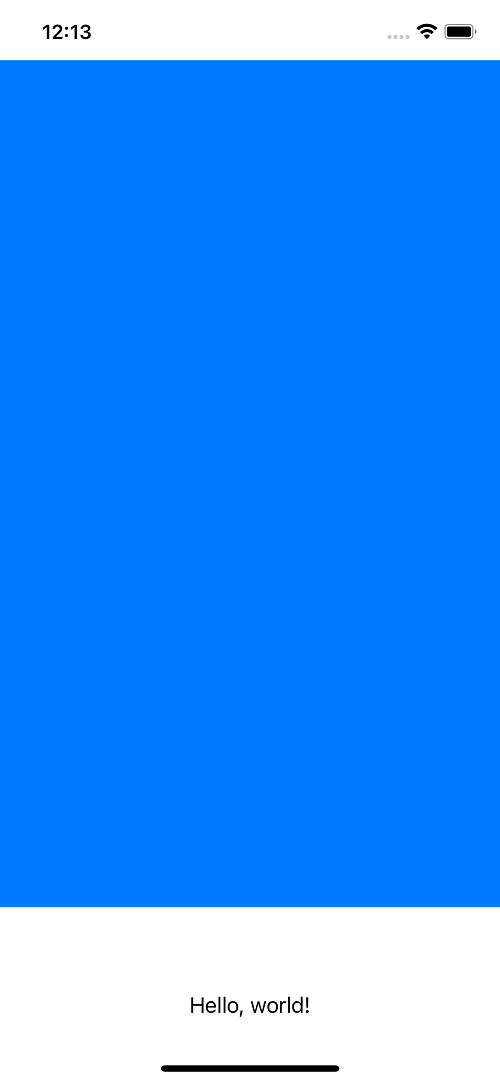
If you desire to ignore the safe area at bottom, we can still achieve it.
 |
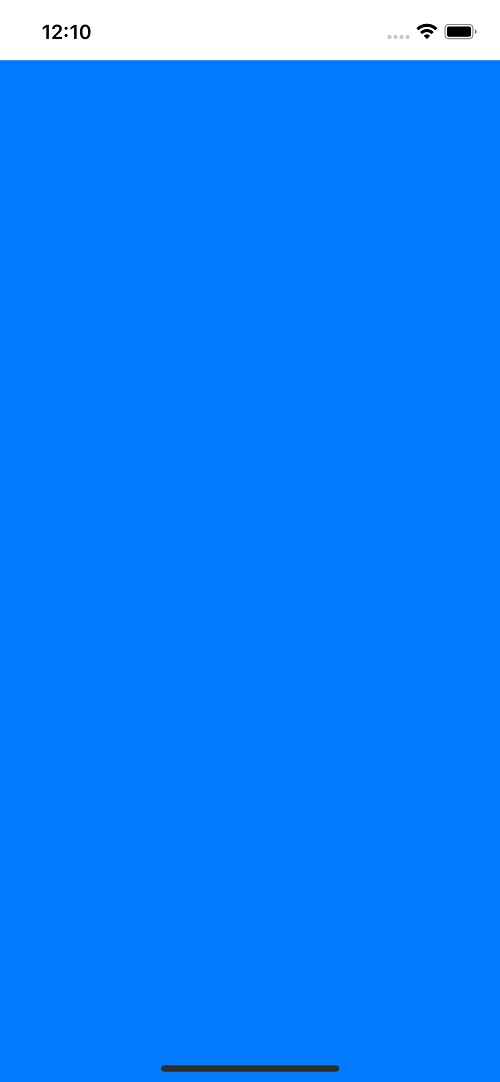 |
.ignoresSafeArea(.all, edges: .bottom)
first argment is about regions, by default it is for all. Second argument is to define which edge we wanted to ignore. Like above, we have given the safe area to be ignored for the bottom edge.
Similarly, at top position,
 |
 |
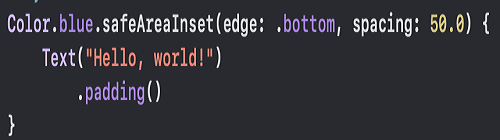
SwiftUI provides a safeAreaInset() modifier that lets us place content outside the device’s safe area, while also having other views adjust their layout so their content remains visible – it effectively shrinks the safe area to ensure all content can be seen as intended. This is different from ignoresSafeArea(), which merely extends a view’s edges so they go edge to edge.
Here is an example,
 |
 |
Conclusion:
In this article, you learnt how to handle the safe area of a device and how to handle the layout design by ignoring the safe area and customising safe area size.