Create SwiftUI project in Xcode
First SwiftUI project for beginners| Follow this step-by-step tutorial to create your first SwiftUI project with Xcode easily on rrtutors.com.
SwiftUI is Apple’s new user interface framework introduced in 2019. Its main purpose is to provide developers a natural way for building user interfaces with live previews without using storyboards. In this SwiftUI tutorial we will start how to create first swiftUI project in xcode.
Prerequisites :
- Xcode 11 or later
- macOS Catalina for live previews
You can create SwiftUI project like regular iOS projects but you shall choose SwiftUI as interface instead of Storyboard.
- Open up Xcode
- Create a new Xcode project
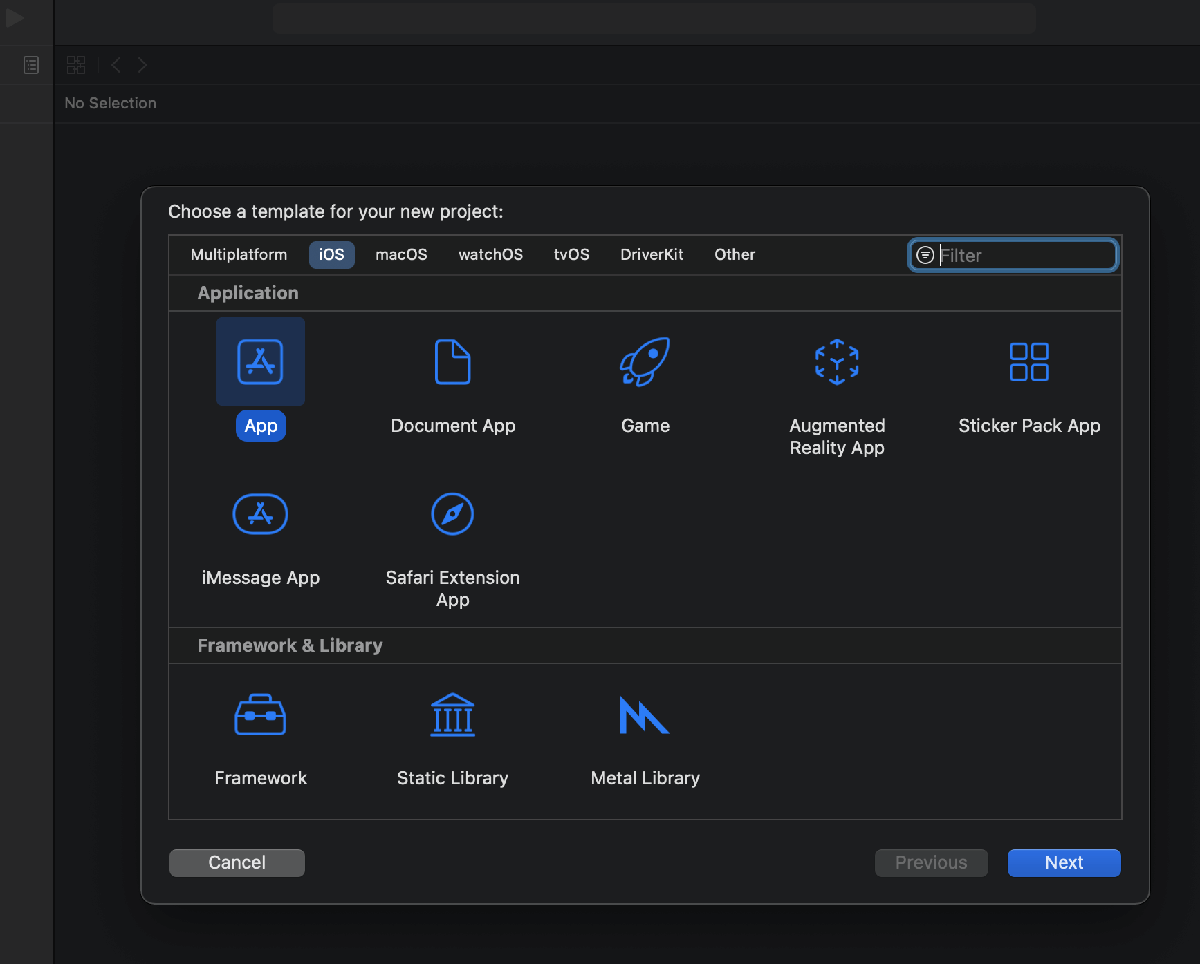
- Select App and click Next
- Name the project however you like
- Make sure that the Interface is SwiftUI
 |
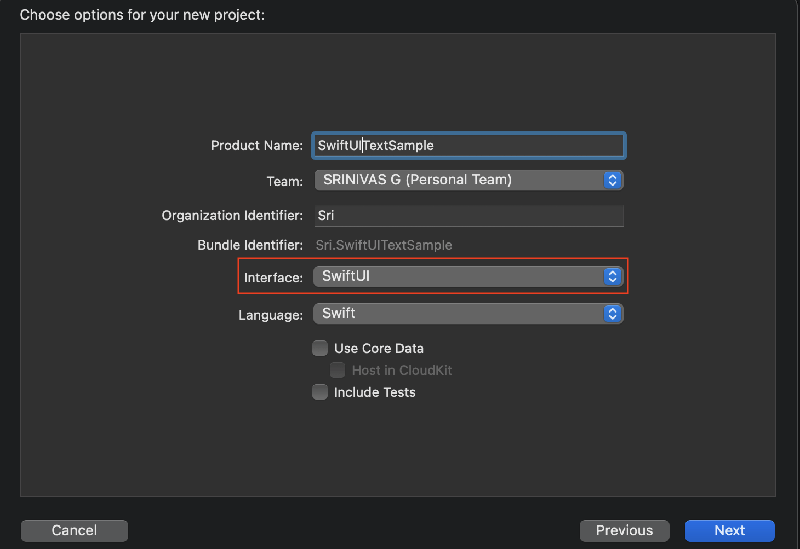 |
Hit Next and your first SwiftUI project is created.
Now your project looks something like this:
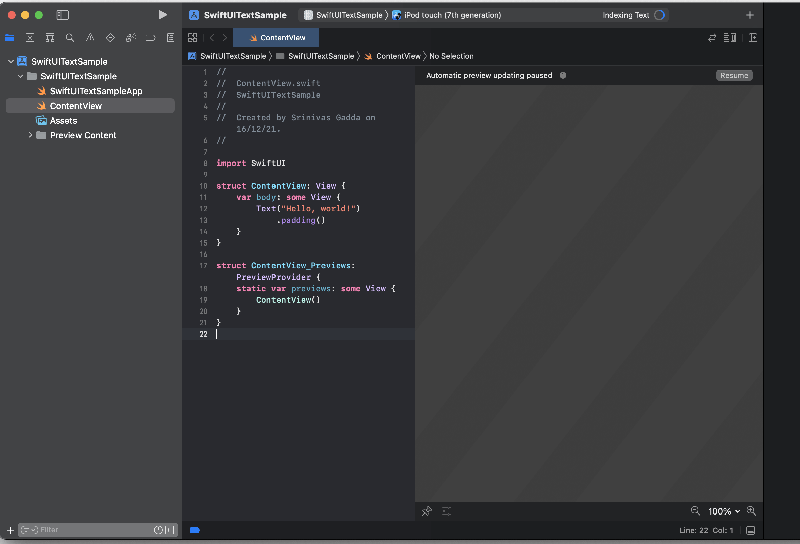 |
The blank screen on the right is the live preview page. To start previewing, you can click on "Resume" on the top right and wait for a second to load it.
Once the preview get loaded, you can start doing changes at code level on the left pane (ContentView) to see the changes in preview section.
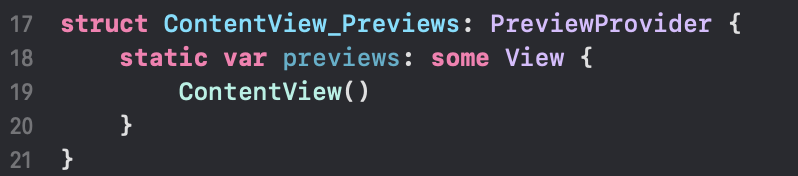
There are two structs ContentView and ContentView_Previews
-
The ContentView is responsible for the contents and layout of the screen. Basically, you construct your app’s user interface inside the ContentView's body property by using suitable UI elements.
-
ContentView_Previews structure helped to preview the pane in the ContentView. If you don't want to have preview, you can comment it so.
 |
Conclusion:
In this SwiftUI tutorial, you learnt how to create First SwiftUI project in Xcode, next post you will learn about how to create Text Widget with SwiftUI.
How do i create Textfield and Secure Texfield in SwiftUI
How do i create Text Component in SwiftUI