Laravel 9 Auth Login and Registration
Learn how to modify the default user table migration in Laravel before running the migration command to create the user table at rrtutors.com
In this tutorials we will implement custom login and registration with username or email using Laravel 9 framework. As its a well known fact that Laravel Framework is considered one of the best PHP framework as it simplify their development process with clean and reusable code.
In this tutorials we show easy step by step process of custom login and registration which will be easy to understand
STEP 1: CREATE LARAVEL APP
Before we start I hope that you have already installed Composer on your machine. Then type the below command in command prompt to install new Laravel app.
composer create-project --prefer-dist laravel/laravel Blog
Now we need to navigate to “Blog” directory using the following command
|
cd blog |
STEP 2 : SETUP DATABASE CREDENTIALS
Create your database you can use the command to create a database or in PHPMyAdmin. Then once created navigate the .env file and update your database credentials.
|
DB_CONNECTION=mysql DB_HOST=127.0.0.1 DB_PORT=3306 DB_DATABASE=your_db_name DB_USERNAME=your_db_username DB_PASSWORD=your_db_password |
Laravel by default comes with User model and migration files.But before we run the migration command to create the user table we need to make few changes to our user table migration which could be found at the following location : blog\database\migrations\2014_10_12_000000_create_users_table.php
Now update the “name” field to nullable and add a new field “username” as unique, so that we can have email,username and password mandatory during registration. Have a look at the updated code below:
|
Schema::create('users', function (Blueprint $table) { $table->id(); $table->string('name')->nullable(); $table->string('email')->unique(); $table->string('username')->unique(); $table->timestamp('email_verified_at')->nullable(); $table->string('password'); $table->rememberToken(); $table->timestamps(); }); |
Once the you have saved the migration file our migrations are ready to migrate, run the following command from terminal or command prompt
|
php artisan migrate |
STEP 3: SETUP MODEL
Now we need to update our App\Models\User.php model and add the username as fill able. Have a look at the updated code below:protected
|
<?php namespace App\Models; use Illuminate\Contracts\Auth\MustVerifyEmail; use Illuminate\Database\Eloquent\Factories\HasFactory; use Illuminate\Foundation\Auth\User as Authenticatable; use Illuminate\Notifications\Notifiable; use Laravel\Sanctum\HasApiTokens;
class User extends Authenticatable { use HasApiTokens, HasFactory, Notifiable;
/** * The attributes that are mass assignable. * * @var array<int, string> */ protected $fillable = [ 'name', 'email', 'username', 'password', ];
/** * The attributes that should be hidden for serialization. * * @var array<int, string> */ protected $hidden = [ 'password', 'remember_token', ];
/** * The attributes that should be cast. * * @var array<string, string> */ protected $casts = [ 'email_verified_at' => 'datetime', ]; } |
Next will add new method setPasswordAttribute in order to encrypt every user’s password who is registered with us. This is called Laravel mutators to know on this please visit the offical laravel documentation here (https://laravel.com/docs/9.x/eloquent-mutators)
|
/** * Always encrypt the password when it is updated. * * @param $value * @return string */ public function setPasswordAttribute($value) { $this->attributes['password'] = bcrypt($value); } } |
Once the changes are complete the user modal will look some thing like this:
|
<?php namespace App\Models; use Illuminate\Contracts\Auth\MustVerifyEmail; use Illuminate\Database\Eloquent\Factories\HasFactory; use Illuminate\Foundation\Auth\User as Authenticatable; use Illuminate\Notifications\Notifiable; use Laravel\Sanctum\HasApiTokens;
class User extends Authenticatable { use HasApiTokens, HasFactory, Notifiable;
/** * The attributes that are mass assignable. * * @var array<int, string> */ protected $fillable = [ 'name', 'email', 'username', 'password', ];
/** * The attributes that should be hidden for serialization. * * @var array<int, string> */ protected $hidden = [ 'password', 'remember_token', ];
/** * The attributes that should be cast. * * @var array<string, string> */ protected $casts = [ 'email_verified_at' => 'datetime', ]; /** * Always encrypt the password when it is updated. * * @param $value * @return string */ public function setPasswordAttribute($value) { $this->attributes['password'] = bcrypt($value); } } |
Step 4 : SETUP REGISTRATION CONTROLLER
Type the following command to create a new registration controller
|
php artisan make:controller RegisterController |
The newly created contoller could be found inside you App\Http\Controllers directory with RegisterContoller.php file name. Now open the file update it with below code
|
<?php namespace App\Http\Controllers; use Illuminate\Http\Request; use App\Models\User; use App\Http\Requests\RegisterRequest;
class RegisterController extends Controller { // /** * Display register page. * * @return \Illuminate\Http\Response */ public function show() { return view('auth.register'); }
/** * Handle account registration request * * @param RegisterRequest $request * * @return \Illuminate\Http\Response */ public function register(RegisterRequest $request) {
$user = User::create($request->validated());
auth()->login($user);
return redirect('/')->with('success', "Account successfully registered."); } } |
STEP 5: SETUP REGISTRATION REQUEST
As the validation for our registration is different from other validations in application, we are creating validation only for registration where in we will on put registration related validation rules. So let’s create RegisterRequest using the following artisan command.
|
php artisan make:request RegisterRequest |
Created RegisterRequest could be found at App\Http\Requests\ with file name as RegisterRequest.php. Now update the file with below code
|
<?php namespace App\Http\Requests; use Illuminate\Foundation\Http\FormRequest;
class RegisterRequest extends FormRequest { /** * Determine if the user is authorized to make this request. * * @return bool */ public function authorize() { return true; // By default this will be false }
/** * Get the validation rules that apply to the request. * * @return array */ public function rules() { return [ 'email' => 'required|email:rfc,dns|unique:users,email', 'username' => 'required|unique:users,username', 'password' => 'required|min:8', 'password_confirmation' => 'required|same:password' ]; } } |
STEP 6: SETUP LOGIN CONTROLLER
In order to setup the login controller use the following artisan command
|
php artisan make:controller LoginController |
As registration controller the newly create login controller will at the same location .i.e. App\Http\Controllers with file name LoginController.php. Now open it and update with below code.
|
<?php namespace App\Http\Controllers; use Illuminate\Http\Request; use App\Http\Requests\LoginRequest; use Illuminate\Support\Facades\Auth;
class LoginController extends Controller { /** * Display login page. * * @return Renderable */ public function show() { return view('auth.login'); } /** * Handle account login request * * @param LoginRequest $request * * @return \Illuminate\Http\Response */ public function login(LoginRequest $request) { $credentials = $request->getCredentials();
if (!Auth::validate($credentials)) : return redirect()->to('login') ->withErrors(trans('auth.failed')); endif;
$user = Auth::getProvider()->retrieveByCredentials($credentials);
Auth::login($user);
return $this->authenticated($request, $user); }
/** * Handle response after user authenticated * * @param Request $request * @param Auth $user * * @return \Illuminate\Http\Response */ protected function authenticated(Request $request, $user) { return redirect()->intended(); } } |
STEP 7: SETUP LOGIN REQUEST
Now will create LoginRequest with artisan
|
php artisan make:request LoginRequest |
Open the file and update it with the below code
|
<?php namespace App\Http\Requests;
use Illuminate\Foundation\Http\FormRequest; use Illuminate\Contracts\Validation\Factory as ValidationFactory;
class LoginRequest extends FormRequest { /** * Determine if the user is authorized to make this request. * * @return bool */ public function authorize() { return true; }
/** * Get the validation rules that apply to the request. * * @return array */ public function rules() { return [ 'username' => 'required', 'password' => 'required' ]; } /** * Get the needed authorization credentials from the request. * * @return array * @throws \Illuminate\Contracts\Container\BindingResolutionException */ public function getCredentials() { // The form field for providing username or password // have name of "username", however, in order to support // logging users in with both (username and email) // we have to check if user has entered one or another $username = $this->get('username');
if ($this->isEmail($username)) { return [ 'email' => $username, 'password' => $this->get('password') ]; }
return $this->only('username', 'password'); } /** * Validate if provided parameter is valid email. * * @param $param * @return bool * @throws \Illuminate\Contracts\Container\BindingResolutionException */ private function isEmail($param) { $factory = $this->container->make(ValidationFactory::class);
return !$factory->make( ['username' => $param], ['username' => 'email'] )->fails(); } } |
STEP 8: SETUP LOGOUT CONTROLLER
To set up the logout controller just use your terminal and run the following command.
|
php artisan make:controller LogoutController |
Open the file and update it with the below code
|
<?php namespace App\Http\Controllers;
use Illuminate\Http\Request; use Illuminate\Support\Facades\Auth; use Illuminate\Support\Facades\Session;
class LogoutController extends Controller { /** * Log out account user. * * @return \Illuminate\Routing\Redirector */ public function perform() { Session::flush();
Auth::logout();
return redirect('login'); } } |
STEP 9: SETUP HOME CONTROLLER
As done for other controller use artisan to create HomeController
|
php artisan make:controller HomeController |
Now open the file and replace it with the following code:
|
<?php namespace App\Http\Controllers; use Illuminate\Http\Request;
class HomeController extends Controller { public function index() { return view('home.index'); } } |
STEP 10: SETUP ROUTES
As we have configured the our controllers and validators , its time now to setup our web routes which are specfically ment for web application. We can find our routes inside the routes directory and open the file web.php
|
<?php use Illuminate\Support\Facades\Route;
/* |-------------------------------------------------------------------------- | Web Routes |-------------------------------------------------------------------------- | | Here is where you can register web routes for your application. These | routes are loaded by the RouteServiceProvider within a group which | contains the "web" middleware group. Now create something great! | */
Route::group(['namespace' => 'App\Http\Controllers'], function() { /** * Home Routes */ Route::get('/', 'HomeController@index')->name('home.index');
Route::group(['middleware' => ['guest']], function() { /** * Register Routes */ Route::get('/register', 'RegisterController@show')->name('register.show'); Route::post('/register', 'RegisterController@register')->name('register.perform');
/** * Login Routes */ Route::get('/login', 'LoginController@show')->name('login.show'); Route::post('/login', 'LoginController@login')->name('login.perform');
});
Route::group(['middleware' => ['auth']], function() { /** * Logout Routes */ Route::get('/logout', 'LogoutController@perform')->name('logout.perform'); }); }); |
In the above code we are grouping logout route with auth middleware in order to protect the route only for the users who has been authenticated by the application. If they are other routes which are to be access by authorized user add them to the group.
STEP 11: SETUP OUR VIEWS
Now that the basic logic part is done , we will set up our views using Bootstrap with a simple theme layout. For more information on Bootstrap visit the official site by clicking here (https://getbootstrap.com/docs/5.1/getting-started/introduction/)
1. First we need to create a layouts directory with resources/views . Inside layouts create a file auth.blade.php and add the following code:
|
<!doctype html> <html lang="en"> <head> <meta charset="utf-8"> <meta name="viewport" content="width=device-width, initial-scale=1"> <meta name="description" content=""> <meta name="author" content="Mark Otto, Jacob Thornton, and Bootstrap contributors"> <meta name="generator" content="Hugo 0.87.0"> <title>Laravel 9 Custom Login and Resgisteration</title>
<!-- Bootstrap core CSS --> <link href="{!! url('assets/bootstrap/css/bootstrap.min.css') !!}" rel="stylesheet"> <link href="{!! url('assets/css/signin.css') !!}" rel="stylesheet">
<style> .bd-placeholder-img { font-size: 1.125rem; text-anchor: middle; -webkit-user-select: none; -moz-user-select: none; user-select: none; }
@media (min-width: 768px) { .bd-placeholder-img-lg { font-size: 3.5rem; } } </style>
<!-- Custom styles for this template --> <link href="signin.css" rel="stylesheet"> </head>
<body class="text-center">
<main class="form-signin">
@yield('content')
</main>
</body>
</html> |
2. Create file app.blade.php inside layouts directory
|
<!doctype html> <html lang="en"> <head> <meta charset="utf-8"> <meta name="viewport" content="width=device-width, initial-scale=1"> <meta name="description" content=""> <meta name="author" content="Mark Otto, Jacob Thornton, and Bootstrap contributors"> <meta name="generator" content="Hugo 0.87.0"> <title>Laravel 9 - My Blog</title>
<!-- Bootstrap core CSS --> <link href="{!! url('assets/bootstrap/css/bootstrap.min.css') !!}" rel="stylesheet">
<style> .bd-placeholder-img { font-size: 1.125rem; text-anchor: middle; -webkit-user-select: none; -moz-user-select: none; user-select: none; }
@media (min-width: 768px) { .bd-placeholder-img-lg { font-size: 3.5rem; } } </style>
<!-- Custom styles for this template --> <link href="{!! url('assets/css/app.css') !!}" rel="stylesheet"> </head> <body>
@include('layouts.includes.header')
<main class="container"> @yield('content') </main>
<script src="{!! url('assets/bootstrap/js/bootstrap.bundle.min.js') !!}"></script>
</body> </html> |
3. Now create a directory includes inside layouts and the create a file inside that called header.blade.php
|
<header class="p-3 bg-dark text-white"> <div class="container"> <div class="d-flex flex-wrap align-items-center justify-content-center justify-content-lg-start"> <a href="/" class="d-flex align-items-center mb-2 mb-lg-0 text-white text-decoration-none"> <svg class="bi me-2" width="40" height="32" role="img" aria-label="Bootstrap"><use xlink:href="#bootstrap"/></svg> </a>
<ul class="nav col-12 col-lg-auto me-lg-auto mb-2 justify-content-center mb-md-0"> <li><a href="#" class="nav-link px-2 text-secondary">Home</a></li> <li><a href="#" class="nav-link px-2 text-white">Features</a></li> <li><a href="#" class="nav-link px-2 text-white">Pricing</a></li> <li><a href="#" class="nav-link px-2 text-white">FAQs</a></li> <li><a href="#" class="nav-link px-2 text-white">About</a></li> </ul>
<form class="col-12 col-lg-auto mb-3 mb-lg-0 me-lg-3"> <input type="search" class="form-control form-control-dark" placeholder="Search..." aria-label="Search"> </form>
@auth {{auth()->user()->name}} <div class="text-end"> <a href="{{ route('logout.perform') }}" class="btn btn-outline-light me-2">Logout</a> </div> @endauth
@guest <div class="text-end"> <a href="{{ route('login.perform') }}" class="btn btn-outline-light me-2">Login</a> <a href="{{ route('register.perform') }}" class="btn btn-warning">Sign-up</a> </div> @endguest </div> </div> </header> |
4. Next create file alert.blade.php inside includes folder and add the following code below (Code related to displaying all alert messages)
|
@if(isset ($errors) && count($errors) > 0) <div class="alert alert-warning" role="alert"> <ul class="list-unstyled mb-0"> @foreach($errors->all() as $error) <li>{{ $error }}</li> @endforeach </ul> </div> @endif
@if(Session::get('success', false)) <?php $data = Session::get('success'); ?> @if (is_array($data)) @foreach ($data as $msg) <div class="alert alert-warning" role="alert"> <i class="fa fa-check"></i> {{ $msg }} </div> @endforeach @else <div class="alert alert-warning" role="alert"> <i class="fa fa-check"></i> {{ $data }} </div> @endif @endif |
5. Finally create copy.blade.php inside include folder and add the code below:( Code for displaying copy rights of the application)
<p class="mt-5 mb-3 text-muted">© {{date('Y')}}</p>
6. Next we will create a auth directory inside resources/views which will hold all the view with regards to authentication of the application. Once created create two files login.blade.php and registration.blade.php and add the below code:
Login.blade.php
|
@extends('layouts.auth')
@section('content') <form method="post" action="{{ route('login.perform') }}">
<input type="hidden" name="_token" value="{{ csrf_token() }}" /> <img class="mb-4" src="{!! url('images/bootstrap-logo.svg') !!}" alt="" width="72" height="57">
<h1 class="h3 mb-3 fw-normal">Login</h1>
@include('layouts.includes.alert')
<div class="form-group form-floating mb-3"> <input type="text" class="form-control" name="username" value="{{ old('username') }}" placeholder="Username" required="required" autofocus> <label for="floatingName">Email or Username</label> @if ($errors->has('username')) <span class="text-danger text-left">{{ $errors->first('username') }}</span> @endif </div>
<div class="form-group form-floating mb-3"> <input type="password" class="form-control" name="password" value="{{ old('password') }}" placeholder="Password" required="required"> <label for="floatingPassword">Password</label> @if ($errors->has('password')) <span class="text-danger text-left">{{ $errors->first('password') }}</span> @endif </div>
<button class="w-100 btn btn-lg btn-primary" type="submit">Login</button>
@include('layouts.includes.copy') </form> @endsection |
Registration.blade.php
|
@extends('layouts.auth') @section('content') <form method="post" action="{{ route('register.perform') }}">
<input type="hidden" name="_token" value="{{ csrf_token() }}" /> <img class="mb-4" src="{!! url('images/bootstrap-logo.svg') !!}" alt="" width="72" height="57">
<h1 class="h3 mb-3 fw-normal">Register</h1>
<div class="form-group form-floating mb-3"> <input type="email" class="form-control" name="email" value="{{ old('email') }}" placeholder="name@example.com" required="required" autofocus> <label for="floatingEmail">Email address</label> @if ($errors->has('email')) <span class="text-danger text-left">{{ $errors->first('email') }}</span> @endif </div>
<div class="form-group form-floating mb-3"> <input type="text" class="form-control" name="username" value="{{ old('username') }}" placeholder="Username" required="required" autofocus> <label for="floatingName">Username</label> @if ($errors->has('username')) <span class="text-danger text-left">{{ $errors->first('username') }}</span> @endif </div>
<div class="form-group form-floating mb-3"> <input type="password" class="form-control" name="password" value="{{ old('password') }}" placeholder="Password" required="required"> <label for="floatingPassword">Password</label> @if ($errors->has('password')) <span class="text-danger text-left">{{ $errors->first('password') }}</span> @endif </div>
<div class="form-group form-floating mb-3"> <input type="password" class="form-control" name="password_confirmation" value="{{ old('password_confirmation') }}" placeholder="Confirm Password" required="required"> <label for="floatingConfirmPassword">Confirm Password</label> @if ($errors->has('password_confirmation')) <span class="text-danger text-left">{{ $errors->first('password_confirmation') }}</span> @endif </div>
<button class="w-100 btn btn-lg btn-primary" type="submit">Register</button>
@include('layouts.includes.copy') </form> @endsection |
7. Finally create home directory inside resources/views and add a file index.blade.php with the following code
|
@extends('layouts.app') @section('content') <div class="bg-light p-5 rounded"> @auth <h1>Dashboard</h1> <p class="lead">Only authenticated users can access this section.</p> <a class="btn btn-lg btn-primary" href="#" role="button">View more tutorials here »</a> @endauth
@guest <h1>Homepage</h1> <p class="lead">Your viewing the home page. Please login to view the restricted data.</p> @endguest </div> @endsection |
Woohoo our views all setup. Next we need to download all bootstrap related file and save it inside the public/assets directory of our application.
NOTE: we have another small customization the redirect default after login. Which we can found in App\Providers\RouteServiceProvider.php then change the original code below:
|
public const HOME = '/home'; |
To this code:
|
public const HOME = '/'; |
STEP 12: RUN THE DEVELOPMENT SERVER
We are now complete with our Laravel authentication process. Let’s run the artisan command to start the development server and look at the hard work we have done.
|
php artisan serve |
Hit the following URL in your browser
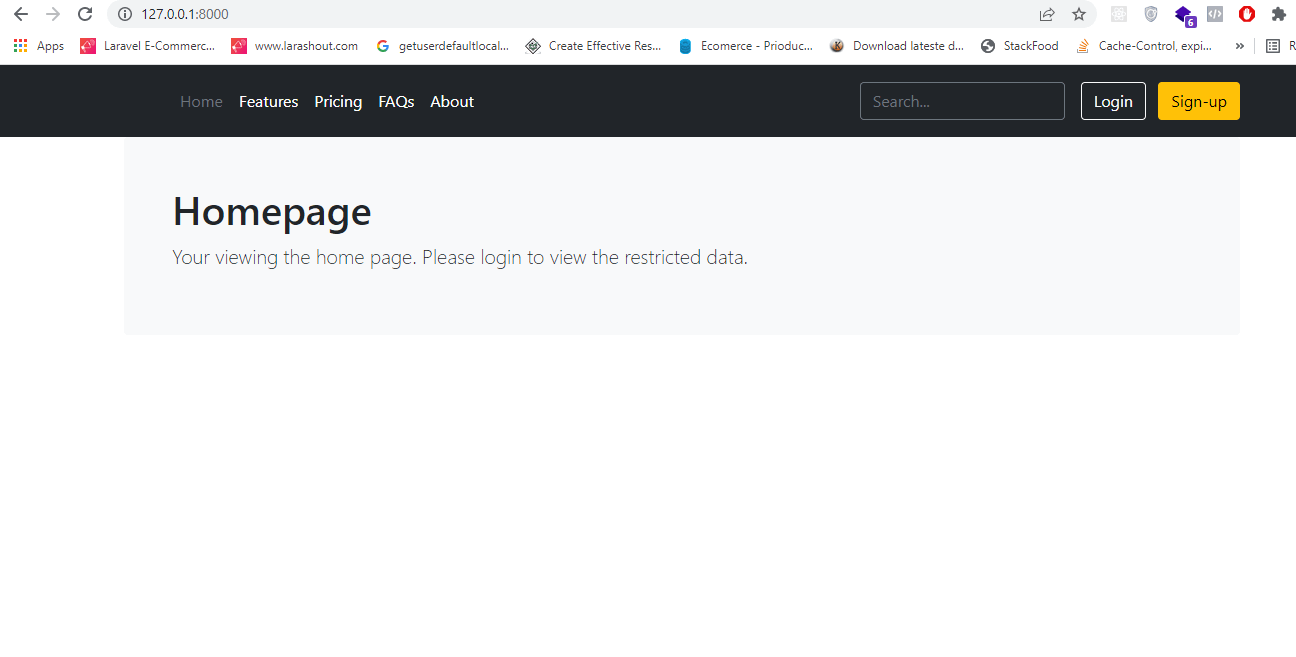
http://127.0.0.1:8000/
This is how the home page will look like prior to login, with both the Login and Sign-up buttons in the top navigation bar.
 |
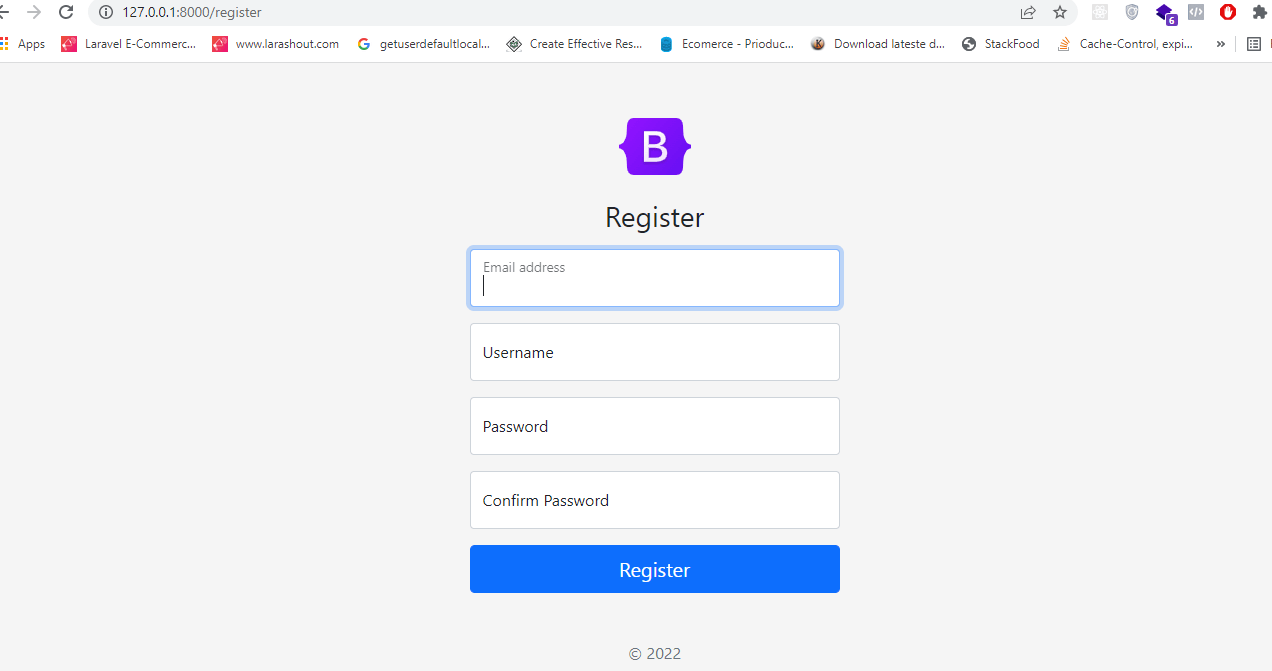
Once clicked on Sign-up we show we will see the below view.
 |
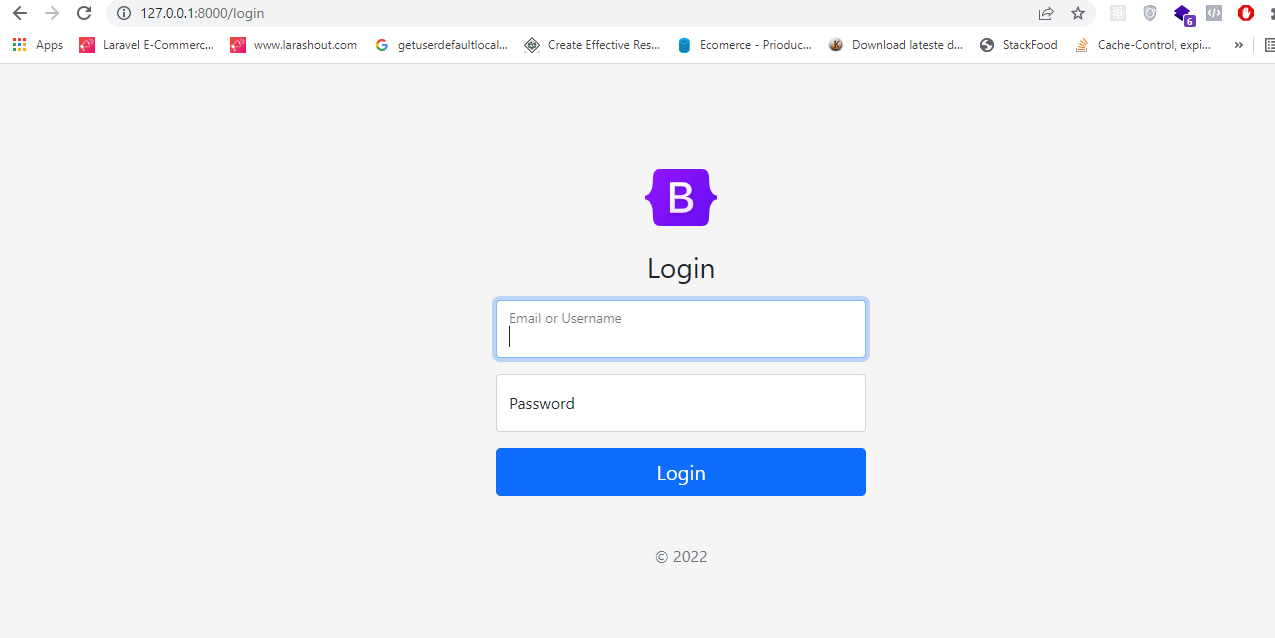
If clicked on Login we will see the below view.
 |
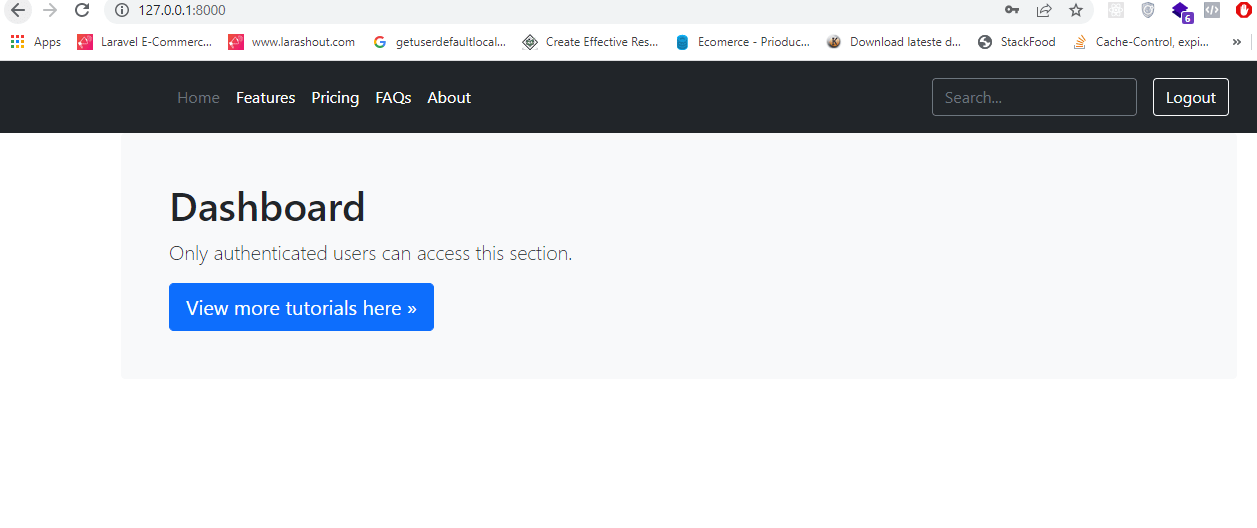
Once a user has successfully registered and logged in then we will see the below view:
 |
CONCLUSION
Finally we have create a custom Laravel registration and login with username and email that could be used for any application.
If you find this tutorials helpful please share it with your friends
You can download the source code of the above code from this link