How to create circled Image in SwiftUI
SwiftUI ImageView example: Learn to create a circular ImageView using SwiftUI. Apply clipping, borders, and modifiers for a polished UI design | RRTutors
Image
SwiftUI allows us to create image views in simpler way. Let me walk you through the sample to get better understanding.
Download any image from cloud (ensure the image doesn't have any copyrights) to your local system and add it to your project's Assets
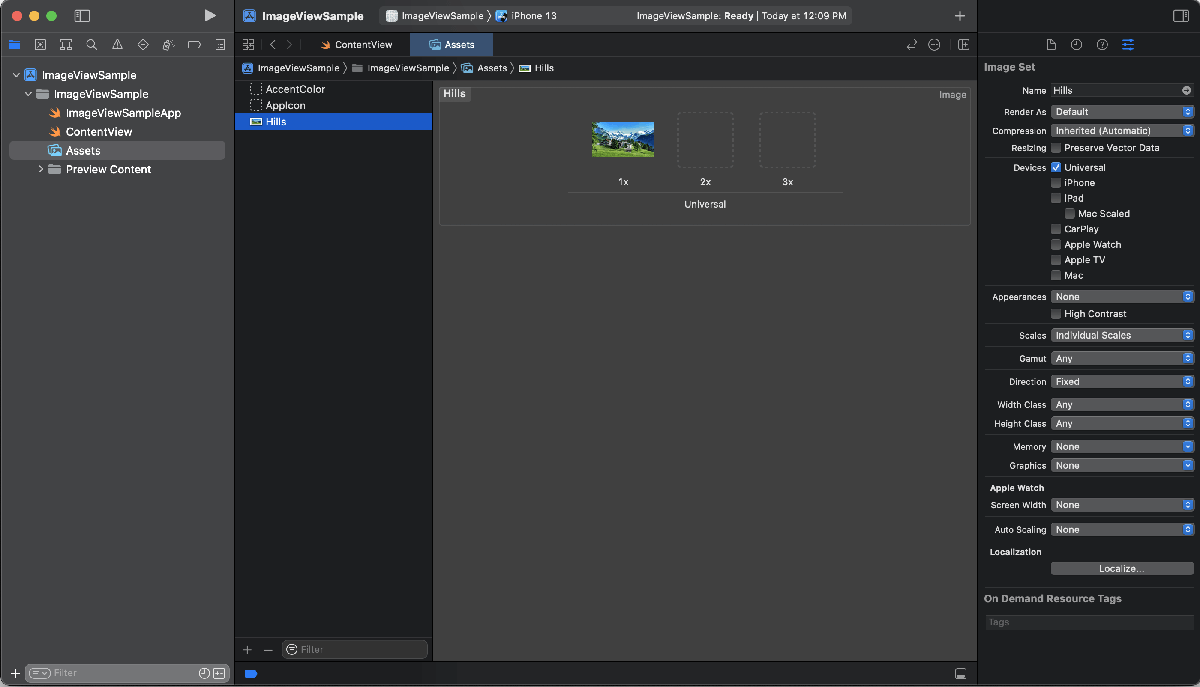 |
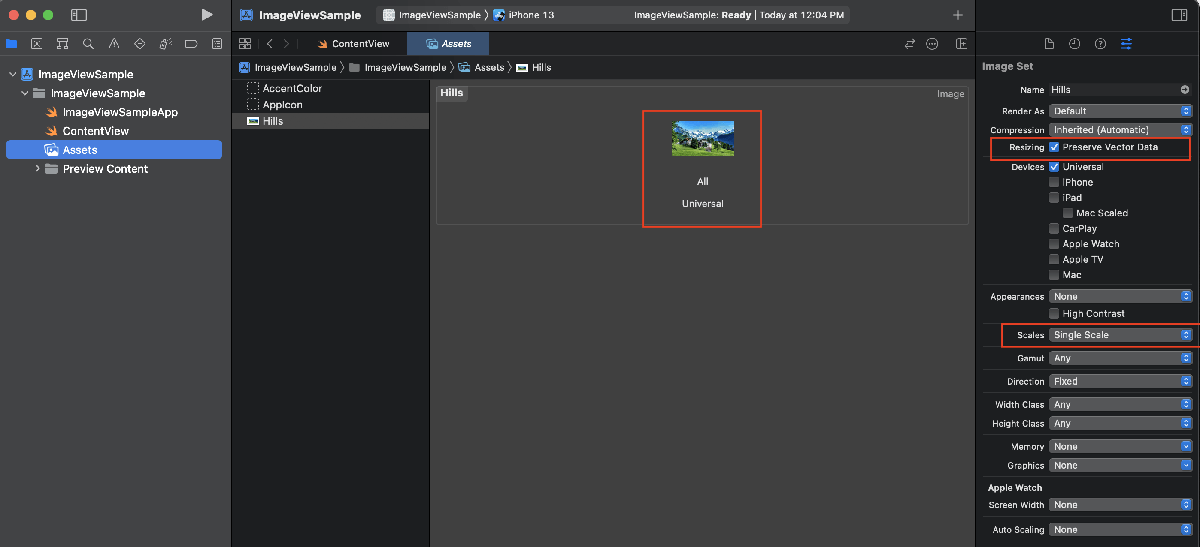
As soon as you drag and drop your image into Assets, the image is added to single scaling since the image file name doesn't have any @2x, @3x. If we go with scaling we may have encounter an issue of pixelation in high resolution devices. So, what I'm going to do is to preserve the vector data and keep the scaling as single rather than individual.
 |
Now, lets add Image to our content view.
|
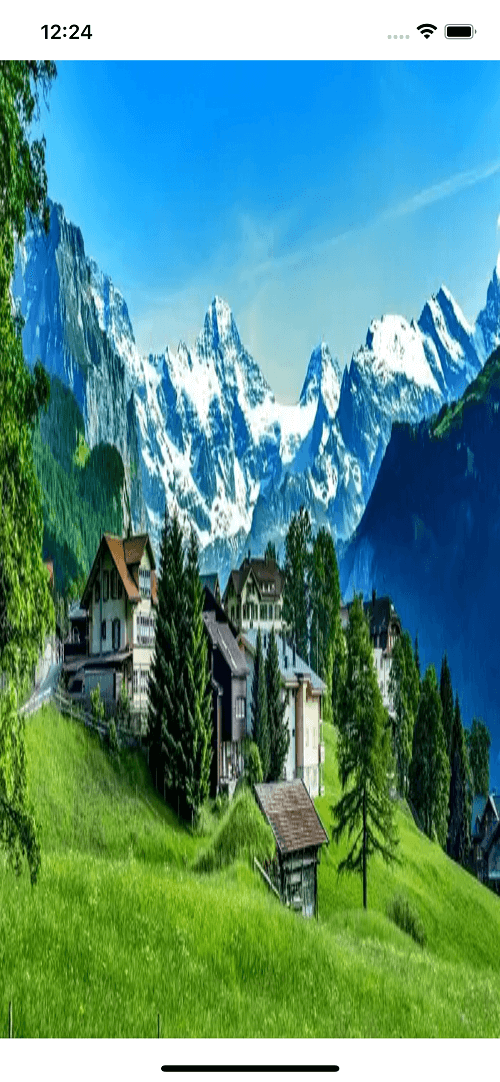
struct ContentView: View { var body: some View { Image("Hills") } } |
 |
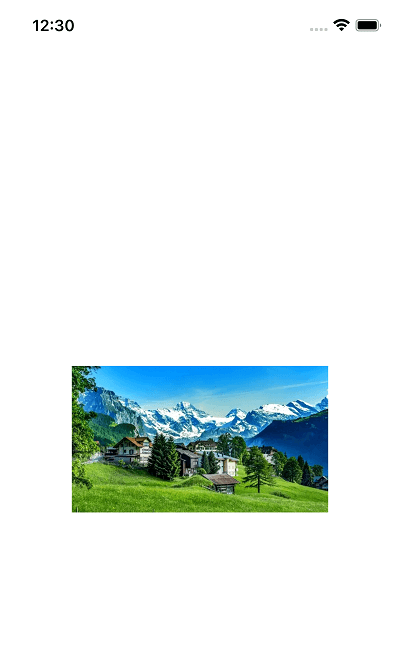
As you notice, the full content of an image didn't show up and also it filled completely to the screen.
In order to fix that, apply the .resizable() modifier to make it fit the entire available screen area:
|
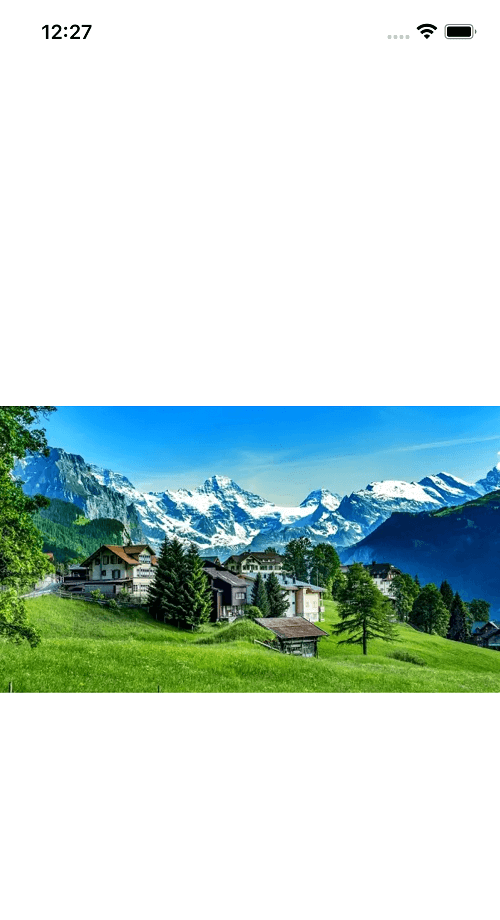
Image("Hills") .resizable() |
 |
It looks much better in a sense that it fits within the screen edges however it’s stretched out now. Lets keep some scaling factor to fix this,
| Image("Hills") .resizable() .scaledToFit() |
 |
This looks much better, right?
Even we can customise the frame rather than occupying the complete screen width by using frame property.
|
Image("Hills") .resizable() .scaledToFit() .frame(width: 250.0, height: 250.0, alignment: .center) |
 |
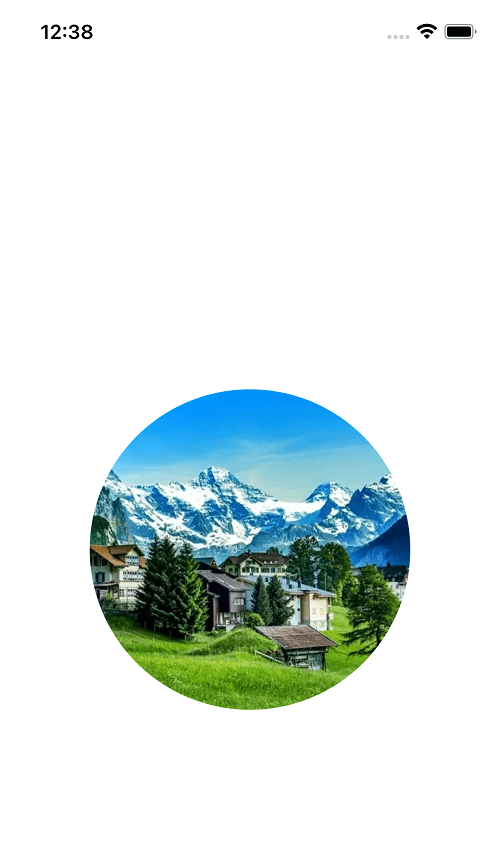
Sometimes, we may come across with the requirement to have an image in circle mode rather than rectangle or square. For that, SwiftUI has given property clipShape
|
Image("Hills") .resizable() .aspectRatio(contentMode: .fill) .frame(width: 250.0, height: 250.0, alignment: .center) .clipShape(Circle()) |
 |
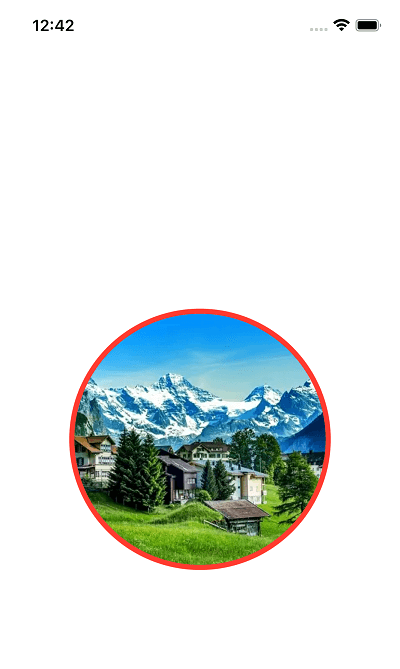
Let's add border to the circled Image. In general we will use .border property to create a border for any view but it will add to canvas of a view not to the content. Instead, we will use .overlay property to draw a circle around image view.
|
.overlay(Circle().stroke(Color.red, lineWidth: 5)) |
 |
Conclusion:
In this tutorial, you learnt how to create image with different formats and styles. In next tutorial, we will go through with remote images handling. Happy coding!