SWIFT UI - Building dynamic list Menu
create simple dynamic list menu. In this example we will used List,Hstack,ImageVstack,Text and Spacer components
In this SwiftUI example we will create simple dynamic list menu. In this example we will used List,Hstack,ImageVstack,Text and Spacer components.
We know that List is a container to display list of data in a single column. In this we are taking 3 different array to manage the list of Name, image and title of the peoples.
Let design the body of List using
       NavigationView{ #1

         List(0..<imagesNames.count) { item in #2

           HStack(spacing: 0){ #3

    Image(imagesNames[item]).resizable().frame(width: 40, height: 40, alignment: .leading).padding().scaledToFill().cornerRadius(10)#4

   VStack(alignment: .leading) {#5

Text(names[item])

   Text(subNames[item]).padding(EdgeInsets(top: 0, leading: 5, bottom: 0, trailing: 5)).font(.subheadline).foregroundColor(.white).background(.cyan)#6


}

   Spacer() #7

  Image("india").resizable().frame(width: 20, height: 20, alignment: .center) #8


}

     }.navigationBarTitle(Text("Legends"))#9

}

}
|
// 1 - In SwiftUI this navigation control is a NavigationView, which combines the display styling of UINavigationBar and the view controller stack behaviour of UINavigationController. To bring one in, just add NavigationView around your list.
// 2 - Here we are iterating through images names array to set images in our menu list.
// 3 - We are using HStack to arrange all items horizontally in menu list cell.
// 4 - First we have added image. resizable() is used to denote that image can be resized.
// 5 - Now we are adding two text controls to show names and subnames in vertical stack
// 6 - padding(EdgeInsets(top: 0, leading: 5, bottom: 0, trailing: 5)) is given for left and right side spacing for text.
// 7 - Spacer() is used for auto spacing between two components Here it is used for names and country flag.
// 8 - At last we are adding an image in main Horizontal Stack HStack for showing country flag.
// 9 - navigationBarTitle is used to show the title for our Menu list.
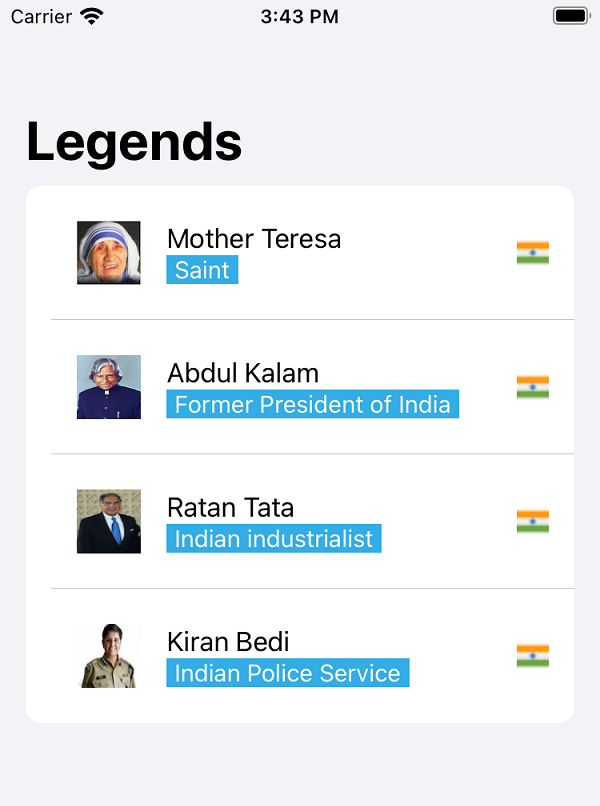
Output:
 |