How to create sidebar in SwiftUI
Create a responsive SwiftUI Sidebar within a Navigation View, adapting layouts for both iPhone and iPad in portrait and landscape modes at rrtutors.com
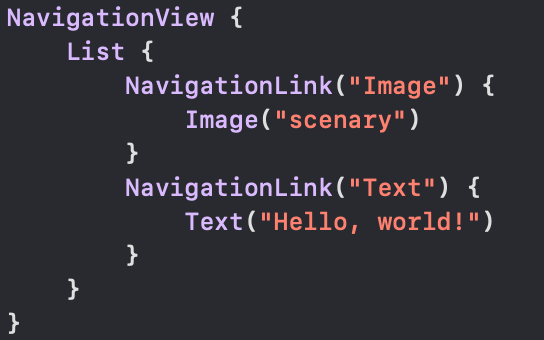
In this SwiftUI example Tutorial we will cover what is Sidebar and how to create sidebar with SwiftUI. The Sidebar is a List that is embeded inside a Navigation View. You can customize the title and the layout will automatically adapt to the iPhone and iPad in portrait and landscape modes.
Let me walkthrough with an example to make some handy on creating Sibebar.
NavigationLink is used to have the navigating pages with destination.
 |
Here, we are creating a navigation page with simple Text. Its like creating UINavigationController with ViewController in UIKit.
Similarly, lets have other navigation page to have an Image.
 |
Image accepts the image name which we add in our Assets. So, when you tap on "Image" text, you will see the scenary image on the other page.
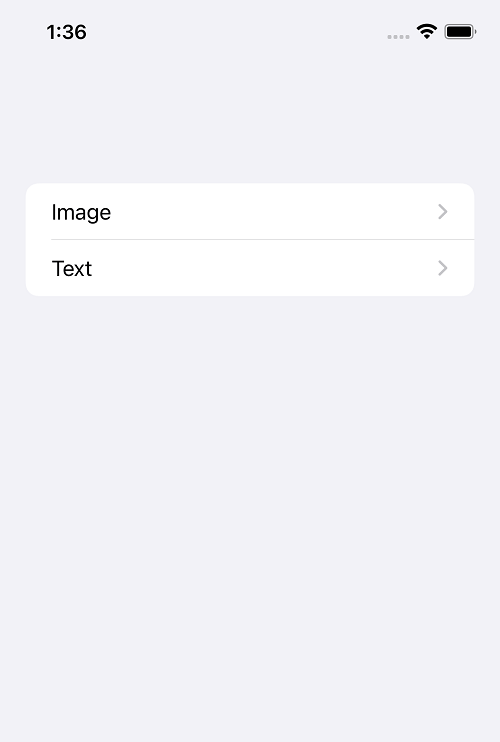
Lets have these two navigation links in a list. So that we can see those link titles in sidebar (iPad) and in first screen (iPhone)
 |
iPhone Portrait and Landscape, will act as navigation controller flow like in UIKit
|
|
In iPad both portrait and landscape, it shows up as sidebar with the same code but in landscape mode, you will notice that the default button will be shown up with NavigationView to navigate the sidebad.
| Portrait |
_-_2021-12-22_at_13_33_19.png) |
| Landscape |
_-_2021-12-22_at_13_34_02.png) |
Conclusion:
In this article, you learnt how to implement sidebar with NavigationView. By using this knowledge, you can create any custom sidebars.

