Add Switch/Toggle Button in Android Studio with RRutors
Android Switch - How to add a Switch/Toggle Button in Android Studio using Kotlin. Learn to implement switches with tutorials on rrtutors.com.
In this example tutorial, we will see how to add an Switch Button by using Kotlin in android studio.
What is Switch/Toggle Button?
The Android Switch Button is a UI widget with only two states: ON and OFF. It allows the user to toggle or switch between these two states.
Implementation:
To begin, Create a new project in android studio and enter the name, select the project location and language to Kotlin. Then press the Finish button.
Open the activity_toggle_button.xml file and add the LinearLayout with orientation (Vertical or horizontal).
<LinearLayout xmlns:android="http://schemas.android.com/apk/res/android" |
In activity_toggle_button.xml file, insert an Switch Button inside a LinearLayout.
<Switch |
Change color of switch using thumbTint property to Switch and you can set min width of the switch using switchMinWidth.
android:switchMinWidth="60dp" |
Switch in android has the following properties:
id, padding, tracktint, thumbTint, textSize, text, textColor, background, layout_margin etc...
android:switchMinWidth="60dp" |
Now go to ToggleButtonActivity.kt and add the unique id of Switch Button which is available in activity_toggle_button.xml file.
| val switch = findViewById(R.id.switchbtn) |
Set the onClickListener event on the switch instance and use if-else conditional statements to determine whether the switch is ON or OFF.
switch.setOnClickListener{ Toast.makeText(this, "Switch OFF", Toast.LENGTH_SHORT).show(); |
Show a Toast on condition if switch is ON "Switch ON" or OFF "Switch OFF".
| Note: Toast is small message which displayed on a screen for some time. |
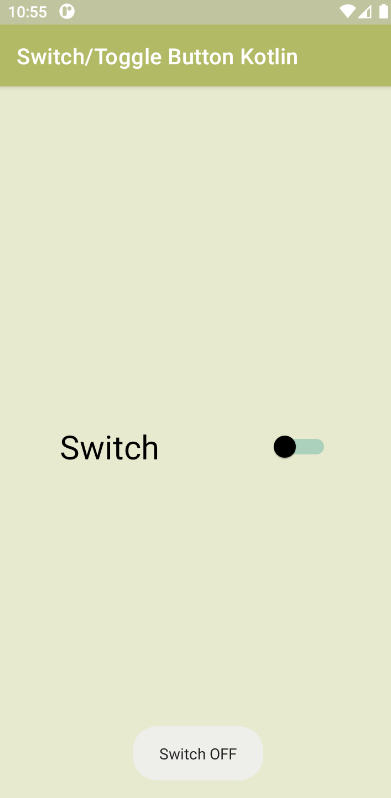
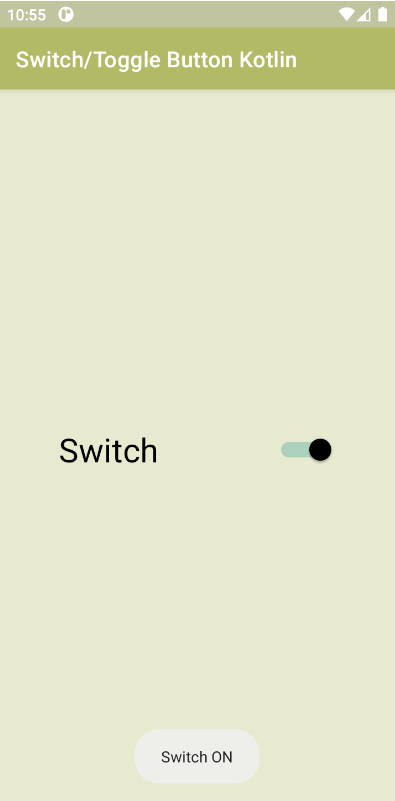
Now run the application, you will see the output shown below.
Output:
 |
 |
Complete source code for Android Switch Button example:
activity_toggle_button.xml file
|
<?xml version="1.0" encoding="utf-8"?> <Switch |
ToggleButtonActivity.kt file
|
import androidx.appcompat.app.AppCompatActivity class ToggleButtonActivity : AppCompatActivity() { Toast.makeText(this, "Switch OFF", Toast.LENGTH_SHORT).show(); |
Conclusion: We have covered the topic how to add an Switch/Toggle Button to Android by using Kotlin.