Android Imageview - How to set Image programatically to Imageview
Android imageview tutorial, learn how to set images programmatically from resource folders. This resource will teach you everything you need to know. Visit now!
In this android example tutorial, we will see how to add an ImageView to an activity as well as how to set an image programmatically in Android Studio using Kotlin button click events.
What is ImageView?
ImageView is used in the app to display any type of image, whether it is drawable or bitmap. ImageView is also used to control an image's size and movement.
Implementation:
To begin, Create a new project in android studio with the name ImageView Kotlin. Then press the Finish button.
Open the activity main.xml file and add the LinearLayout with orientation (Vertical or horizontal).
| <LinearLayout xmlns:android="http://schemas.android.com/apk/res/android" xmlns:tools="http://schemas.android.com/tools" android:orientation="vertical" android:layout_width="match_parent" android:layout_height="match_parent" android:gravity="center" android:background="#FACDC9" tools:context=".MainActivity"></LinearLayout> |
In my case Orientation is Vertical.
In activity_main.xml, insert an ImageView inside a LinearLayout.
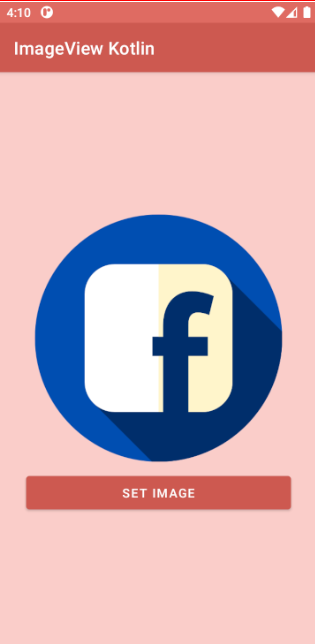
| <ImageView android:id="@+id/imageView" android:layout_width="300dp" android:layout_height="300dp" android:src="@drawable/facebook" android:scaleType="centerCrop" android:padding="10dp" ></ImageView> |
Add an image to the ImageView using the src property and set the scaleType property to centerCrop.
Open browser and download an image, then copy it from the folder and paste it inside
| app > res > drawable |
and then use like this "@drawable/image_name".
ImageView has the following attributes:
id, padding, background, layout_margin, layout_marginLeft, layout_marginRight, layout_marginEnd, layout margin, paddingLeft and so on....
| android:layout_marginRight="20dp" android:layout_marginLeft="20dp" android:padding="10dp" android:background="@drawable/facebook" android:layout_margin="10dp" |
Add Button below ImageView in activity_main.xml file
| <Button android:id="@+id/set" android:layout_width="300dp" android:layout_height="50dp" android:text="Set Image"></Button> |
Let's put our ImageView and Button id inside Activity. Any view, from layout to activity, can be used by using its unique id: "id" property with findViewById() method.
| val setImage = findViewById(R.id.set) val imageView = findViewById(R.id.imageView) |
R.id.imageView is the id of the imageview defined in the activity main.xml file.
Now, we'll set image in imageview programmitically as
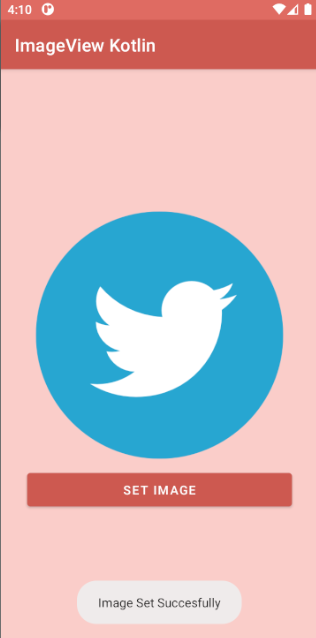
| imageView.setImageResource(R.drawable.twitter) |
By implementing onClickListener, we will click on button and set the image on ImageView .
| setImage.setOnClickListener { imageView.setImageResource(R.drawable.twitter) Toast.makeText(this, "Image Set Succesfully", Toast.LENGTH_SHORT).show() } |
OnClick of Button in the above code will display a Toast of 'Image Set Successfully'.
Note: Toast is a small message that appears on the screen for some time.
Now run the application, you will see the output shown below.
OUTPUT:
 |
 |
Complete source code for Android ImageView example:
activity_main.xml file
|
<?xml version="1.0" encoding="utf-8"?> <ImageView <Button
|
MainActivity.kt
|
import androidx.appcompat.app.AppCompatActivity class MainActivity : AppCompatActivity() {
|
Conclusion: We have covered the topic how to add ImageView to Android and set the image on ImageView programmitically by using Button in Kotlin.