Create Notification Alerts in Android Studio with Kotlin
Create notifications in Android using Kotlin with this example. Learn the full process of adding notifications in your Android app at RRTutors.
In this android example , we will see how to create a notification alert in Android Studio by using Kotlin Language.
A notification is a message that can be displayed to the user outside of the standard UI of your programme. When you instruct the system to send a notification, it displays as an icon in the notification area at first. The user opens the notification drawer to view the notification's details.
IMPLEMENTATION:
Step 1: Create a new Project in android studio.
|
Go to File > New > New Project > Empty Activity > Next > Enter Name > Select Language Kotlin > Finish |
Step 2. Go to activity_main.xml file and add the following code
|
<RelativeLayout xmlns:android="http://schemas.android.com/apk/res/android" |
 |
Step 3. Open MainActivity.kt file and add the following code.
|
lateinit var notificationChannel: NotificationChannel
btn.setOnClickListener { |
In the above code we created NotificationChannel, what is Notification Channel, From android version 8 and above we need to create a channel for Notifications which will give access to similar notifications will comes under same group and user can enable/disable respected notifications based on Notification channel.
Build.VERSION_CODES.O - is a reference to API level 26 (Android Oreo which is Android 8)
if ((Build.VERSION.SDK_INT >= Build.VERSION_CODES.O) is TRUE - means the device running the app has Android SDK 26 or up - and the Block of code inside you "if" statement will be executed.
Notification Builder and Notification Properties:
Once you have Builder object, you can set its Notification properties using Builder object as per your requirement. But this is mandatory to set at least following −
- A small icon, set by setSmallIcon()
- A title, set by setContentTitle()
- Detail text, set by setContentText()
|
builder = Notification.Builder(this, channelId).setContentTitle( |
You pass the Notification object to the system by calling NotificationManager.notify() to send your notification.
|
notificationManager.notify(1000, builder.build()) |
Step 5: Create a new Empty Activity and enter name (AfterNotificationActivity) and Finish.
Step6: Open activity_after_notification.xml and add the following code
<RelativeLayout xmlns:android="http://schemas.android.com/apk/res/android" xmlns:tools="http://schemas.android.com/tools" android:layout_width="match_parent" android:layout_height="match_parent" tools:context=".AfterNotification"> <TextView android:id="@+id/textView" android:layout_width="wrap_content" android:layout_height="wrap_content" android:layout_centerInParent="true" android:text="Welcome To RRTutors" android:textSize="15sp" android:textStyle="bold" /> </RelativeLayout> |
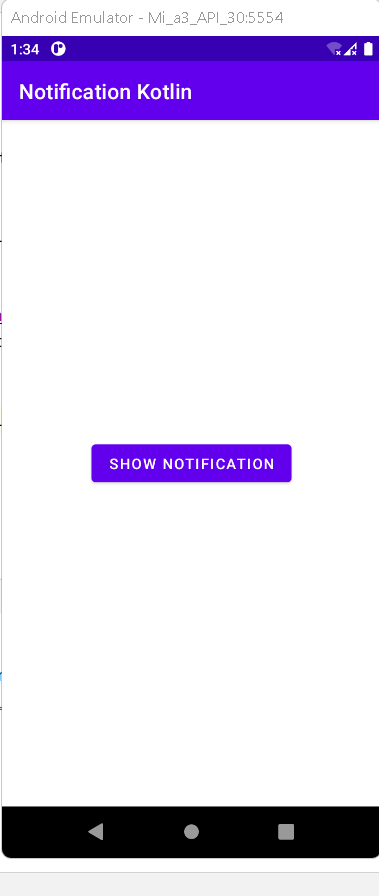
Step 4. Run the app on emulator or real device, you will get the output as in Video.
Complete Source Code of Detect Connected Network type Android Example
activity_main.xml file
|
<?xml version="1.0" encoding="utf-8"?> |
MainActivity.kt file
|
import android.app.* class MainActivity : AppCompatActivity() {
btn.setOnClickListener { |
activity_after_notification.xml file
<?xml version="1.0" encoding="utf-8"?> <RelativeLayout xmlns:android="http://schemas.android.com/apk/res/android" xmlns:tools="http://schemas.android.com/tools" android:layout_width="match_parent" android:layout_height="match_parent" tools:context=".AfterNotification"> <TextView android:id="@+id/textView" android:layout_width="wrap_content" android:layout_height="wrap_content" android:layout_centerInParent="true" android:text="Welcome To RRTutors" android:textSize="15sp" android:textStyle="bold" /> </RelativeLayout> |
Conclusion : In this article we have covered how to create a notification alert and show on a click of button in Android Studio by using Kotlin Language.