Image Slider in Python
The steps below will walk you through the process of creating an image slider application using the Python Tkinter Library
Image sliders or slideshows are a simple way to display several graphics, images, or videos on a web application. They are used to produce visually appealing, captivating, and dynamic picture presentations that grab and hold the attention of users. In this article, I'll show you how to build an image slider app that displays a variety of photos automatically without requiring you to click or change them manually.
The steps below will walk you through the process of creating an image slider application using the Python Tkinter Library.
Step 1: First, we need to import the required libraries. To do so, add the following code.
|
# import required modules import tkinter as tk from tkinter import * from PIL import Image from PIL import ImageTk |
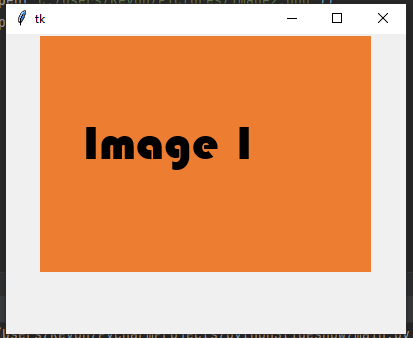
Step 2: Create the Tkinter canvas window and load the images using the ImageTK.PhotoImage()
|
root = tk.Tk() root.geometry("200x200") img=ImageTk.PhotoImage(Image.open("C:/Users/Kevoh/Pictures/Image1.png")) img2=ImageTk.PhotoImage(Image.open("C:/Users/Kevoh/Pictures/image2.png")) img3=ImageTk.PhotoImage(Image.open("C:/Users/Kevoh/Pictures/image3.png")) l = Label() l.pack() |
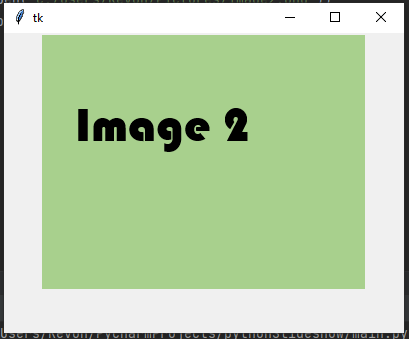
The photos have been displayed. However, we must develop the primary function that automatically moves the photos.
Step 3: Create a move () function to move the pictures automatically. This function will enable one picture to emerge after all of the others have vanished.
|
x = 1 def move(): global x if x == 4: x = 1 if x == 1: l.config(image=img) elif x == 2: l.config(image=img2) elif x == 3: l.config(image=img3) x = x+1 root.after(2000, move)
# calling the function move() |
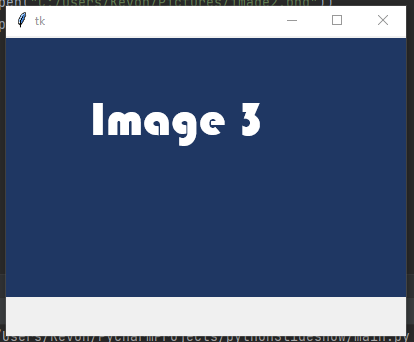
Step 4: We've completed the tutorial. Let's run our slideshow application. The image slider works as intended. Here is the whole code, as well as a screenshot of the application.
Code
|
import tkinter as tk from tkinter import * from PIL import Image from PIL import ImageTk root=tk.Tk() root.geometry("400x3600") img=ImageTk.PhotoImage(Image.open("C:/Users/Kevoh/Pictures/Image1.png")) img2=ImageTk.PhotoImage(Image.open("C:/Users/Kevoh/Pictures/image2.png")) img3=ImageTk.PhotoImage(Image.open("C:/Users/Kevoh/Pictures/image3.png")) l=Label() l.pack() x = 1 def move(): global x if x == 4: x = 1 if x == 1: l.config(image=img) elif x == 2: l.config(image=img2) elif x == 3: l.config(image=img3) x = x+1 root.after(2000, move) move() root.mainloop() |