Android Option Menu - How to create option menu with kotlin example
Learn how to create an Android option menu with icons and set up the option menu with a toolbar in Kotlin. Follow the RRTutors’ example for implementation.
Android option menu is the simple way to show menu options inside toolbar. This android option menu example we will cover how to setup option menu with toolbar. To create option menu first we need to create menu xml file inside menu resource folder then to use this menu file we will inflate file by using MenuInflator class which consist of inflate() method.
Let's get started
Step 1: Create android application in android studio
Step 2: Create a menu resource file inside menu folder.
Here i have create a menu file with below menu items
?xml version="1.0" encoding="utf-8"?>
<menu xmlns:app="http://schemas.android.com/apk/res-auto"
    xmlns:android="http://schemas.android.com/apk/res/android">

    <item android:title="Hotspot1" android:id="@+id/h1"/>
    <item android:title="Hotspot2" android:id="@+id/h2"/>
    <item android:title="Hotspot3" android:id="@+id/h3"/>
menu>
|
here we create menu items only with id and title.
Step 3: Inflate menu layout file inside activity
To infalte menu file we will override onCreateOptionsMenu(menu: Menu?) method inside activity
override fun onCreateOptionsMenu(menu: Menu?): Boolean {
    getMenuInflater().inflate(R.menu.hotspot, menu);
    return super.onCreateOptionsMenu(menu)
}
|
Step 4: Setup toolbar to actionbar
To add toolbar to actionbar we will use the setupActionBar() method
var toolbar=findViewById<Toolbar>(R.id.toolbar);
setSupportActionBar(toolbar)
|
Step 5: Now run the application
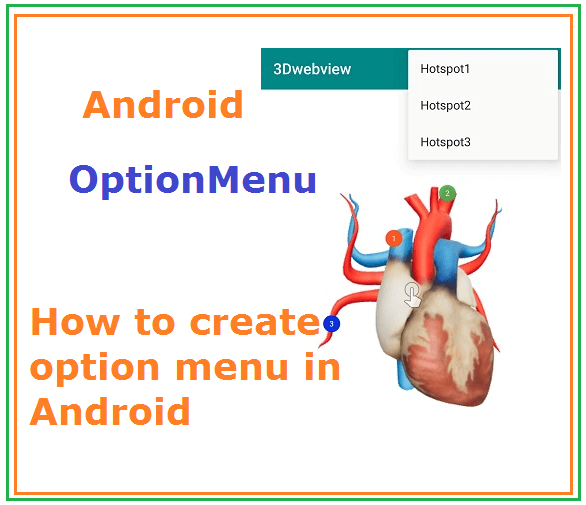 |
When you tap on menu icon (3 dots) it will show menuitems as dropdown.
In the above we have created menu options with title only. We can also set icon for menu options.
update menu resource file with adding icons to menu items
Now the file will bbe look like this
?xml version="1.0" encoding="utf-8"?>
<menu xmlns:app="http://schemas.android.com/apk/res-auto"
    xmlns:android="http://schemas.android.com/apk/res/android">

    <item android:title="Hotspot1"
        android:id="@+id/h1"
        android:icon="@android:drawable/ic_menu_view"

        app:showAsAction="ifRoom"

        />
    <item android:title="Hotspot2"
        android:id="@+id/h2"
        android:icon="@android:drawable/ic_menu_camera"

        app:showAsAction="never"
        />
    <item android:title="Hotspot3"
        android:id="@+id/h3"
        android:icon="@android:drawable/btn_plus"
        app:showAsAction="never"

        />
menu>
|
Complete code for android menu option with toolbar
package com.rrtutors.a3dwebview

import android.content.DialogInterface
import android.support.v7.app.AppCompatActivity
import android.os.Bundle
import android.support.v7.app.AlertDialog
import android.support.v7.widget.Toolbar
import android.view.Menu
import android.view.MenuItem
import android.webkit.WebView

class MainActivity : AppCompatActivity() {
    override fun onCreate(savedInstanceState: Bundle?) {
        super.onCreate(savedInstanceState)
        setContentView(R.layout.activity_main)
        var toolbar=findViewById<Toolbar>(R.id.toolbar);
        var webview=findViewById<WebView>(R.id.webview);
        webview.settings.javaScriptEnabled=true
        webview.loadUrl("")
        setSupportActionBar(toolbar)

    }

    override fun onCreateOptionsMenu(menu: Menu?): Boolean {
        getMenuInflater().inflate(R.menu.hotspot, menu);
        return super.onCreateOptionsMenu(menu)
    }

    override fun onOptionsItemSelected(item: MenuItem): Boolean {
        when(item.itemId)
        {
            R.id.h1->{showDialog("Hotspot 1")}
            R.id.h2->{showDialog("Hotspot 2")}
            R.id.h3->{showDialog("Hotspot 3")}

        }
        return super.onOptionsItemSelected(item)

    }
    fun showDialog(title:String)
    {
        var dialog=AlertDialog.Builder(MainActivity@this).
                setPositiveButton("Ok", DialogInterface.OnClickListener { dialogInterface, i -> {

                } })/*.
        setNegativeButton("Cancel", DialogInterface.OnClickListener { dialogInterface, i -> {

        } })*/.
                setTitle(title)
            .setMessage("This $title contains about heart and this will show in details about the hotsport." +
                    "This $title contains about heart and this will show in details about the hotsport." +
                    "This $title contains about heart and this will show in details about the hotsport.")
            .show()
    }
}
|
activity_main.xml file
?xml version="1.0" encoding="utf-8"?>
<LinearLayout xmlns:android="http://schemas.android.com/apk/res/android"
    xmlns:app="http://schemas.android.com/apk/res-auto"
    xmlns:tools="http://schemas.android.com/tools"
    android:layout_width="match_parent"
    android:layout_height="match_parent"
    android:orientation="vertical"
    tools:context=".MainActivity">

    <android.support.v7.widget.Toolbar
        android:id="@+id/toolbar"
        android:background="@color/teal_700"
        android:layout_width="match_parent"
        app:titleTextColor="@color/white"

        android:layout_height="wrap_content"/>
    <WebView
        android:id="@+id/webview"
        android:layout_width="match_parent"
        android:layout_height="match_parent"/>

</LinearLayout>
|