How to implement BeeHive View in Android
BeeHive View in Android Studio using Java language. The BeeHive view is a view that appears like a honeycomb and has several hexagonal frames
In this example, we will see how to create BeeHive View in Android Studio using Java language. The BeeHive view is a view that appears like a honeycomb and has several hexagonal frames.
Implementation
Step 1. Create a new Project in android studio.
|
Go to File > New > New Project > Empty Activity > Next > Enter Name > Select Language Java > Finish. |
Step 2. Open your project and add dependencies into app level build.gradle ( Module:app) file.
|
implementation 'com.nostra13.universalimageloader:universal-image-loader:1.9.4' |
Step 3. Go to AndroidManifest.xml file and add the permission of Internet
|
<uses-permission android:name="android.permission.INTERNET" /> |
Step 4. Open activity_main.xml and add the following code
|
<?xml version="1.0" encoding="utf-8"?> <LinearLayout |
Step 5. Create a new class for storing the image url and add the following
| app > java > package name > right-click > New > Java class (ImageUrl) > enter name > OK |
The code of ImageUrl.java file :
|
public class ImagesUrl { |
Step 6. Now go to MainActivity.java file and add the following code
|
public class MainActivity extends AppCompatActivity implements View.OnClickListener { private static final Integer[ ] INVISIBLE = {1,2,6,10,11,19,20,25,29,30};// this array have cell number that hide in view private LinearLayout l_root; private final static ImageLoader imageLoader = ImageLoader.getInstance(); @Override photoViewList=new ArrayList<>(); l_root =(LinearLayout)findViewById(R.id.l_root);
//int height = size.y; /** ini universal image loader**/ } /** add image to each normal cells in order**/ for (int i = 0; (i < ImagesUrl.IMAGEURLS.length && (i < photoViewList.size())); i++) { final int finalI = i; } @Override } @Override @Override } } /** created beehive view here**/ int margin=-(width/8)/4; photoViewList.clear(); int marginLeft=(j%2 ==0)?(-(width/2)+margin):margin;
for (int i=0;i<=5;i++) { FrameLayout l_farme = new FrameLayout(MainActivity.this); ImageView hexagon = new ImageView(MainActivity.this); hexagon.setLayoutParams(frameParams); CustomShapeImageView photo=new CustomShapeImageView(MainActivity.this,R.drawable.avatar, hexagon.setImageResource(R.drawable.hexagon); l_farme.addView(photo); } |
Step 7. We need a raw folder for store the image file in svg format
|
app > res > new > Directory > Enter name (raw) > ENTER |
The structure be like:
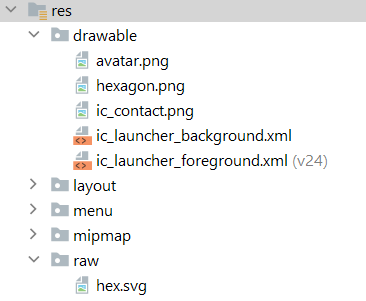 |
Step 8. Add a Avatar and hexagon image file inside drawable folder.
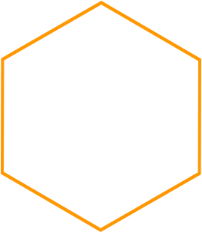 Avatar.png Hexagon.png |
Step 9. Now run the app in your emulator, and get the following output.
OUTPUT
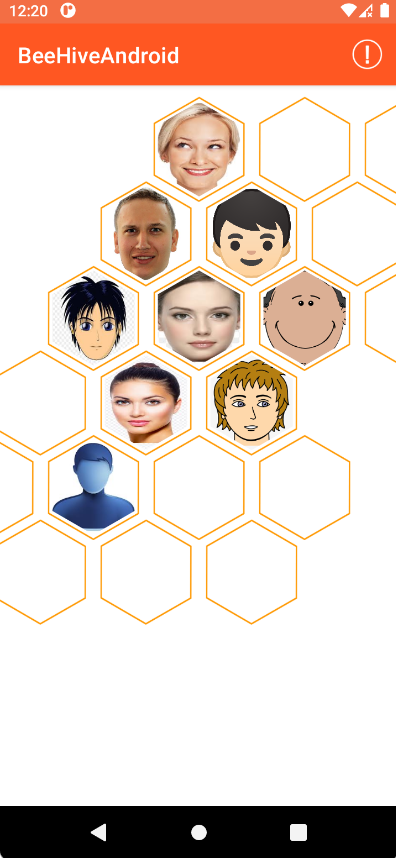 |
Conclusion: In this article we have covered how to implement BeeHive View in Android.