Flutter Fingerprint Authentication
Flutter Application with Finger Print Authentication| Secure your Flutter app with fingerprint authentication using this detailed guide on rrtutors.com.
Published February 19, 2020
In this post we are going to learn how to perform Local Authentication in the Flutter Application
For this example we are going to use TouchID or FingerPrint authentication method
Let's get start
Step 1: Add local_auth plugin in pubspec.yaml file
|
dependencies: |
Step 2: Create a dart file and add below code
import 'package:flutter/material.dart';
import 'package:local_auth/local_auth.dart';
import 'package:flutter/services.dart';
class TouchID extends StatefulWidget {
@override
_TouchIDState createState() => _TouchIDState();
}
class _TouchIDState extends State<TouchID> {
final LocalAuthentication localAuth = LocalAuthentication();
bool _canCheckBiometric = false;
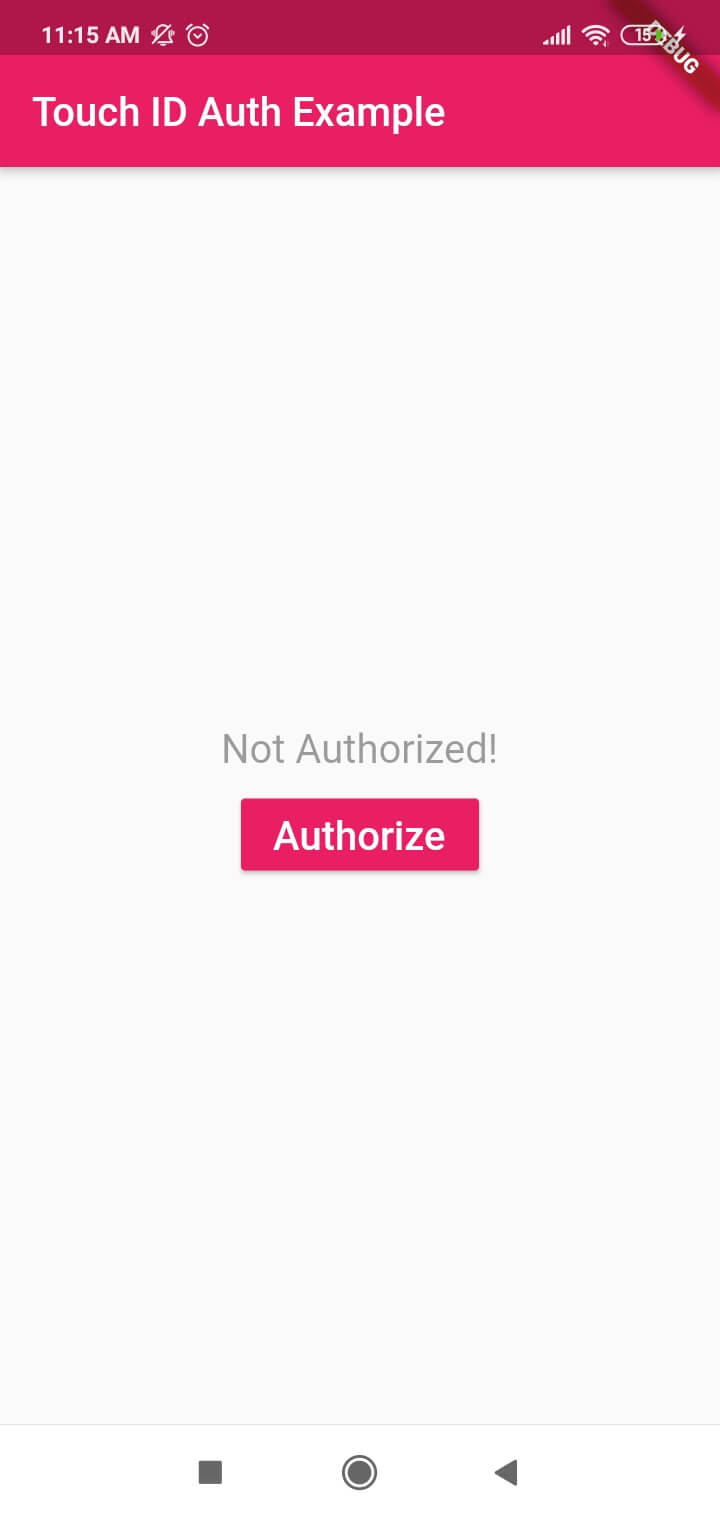
String _authorizeText = 'Not Authorized!';
List<BiometricType> availableBiometrics = List<BiometricType>();
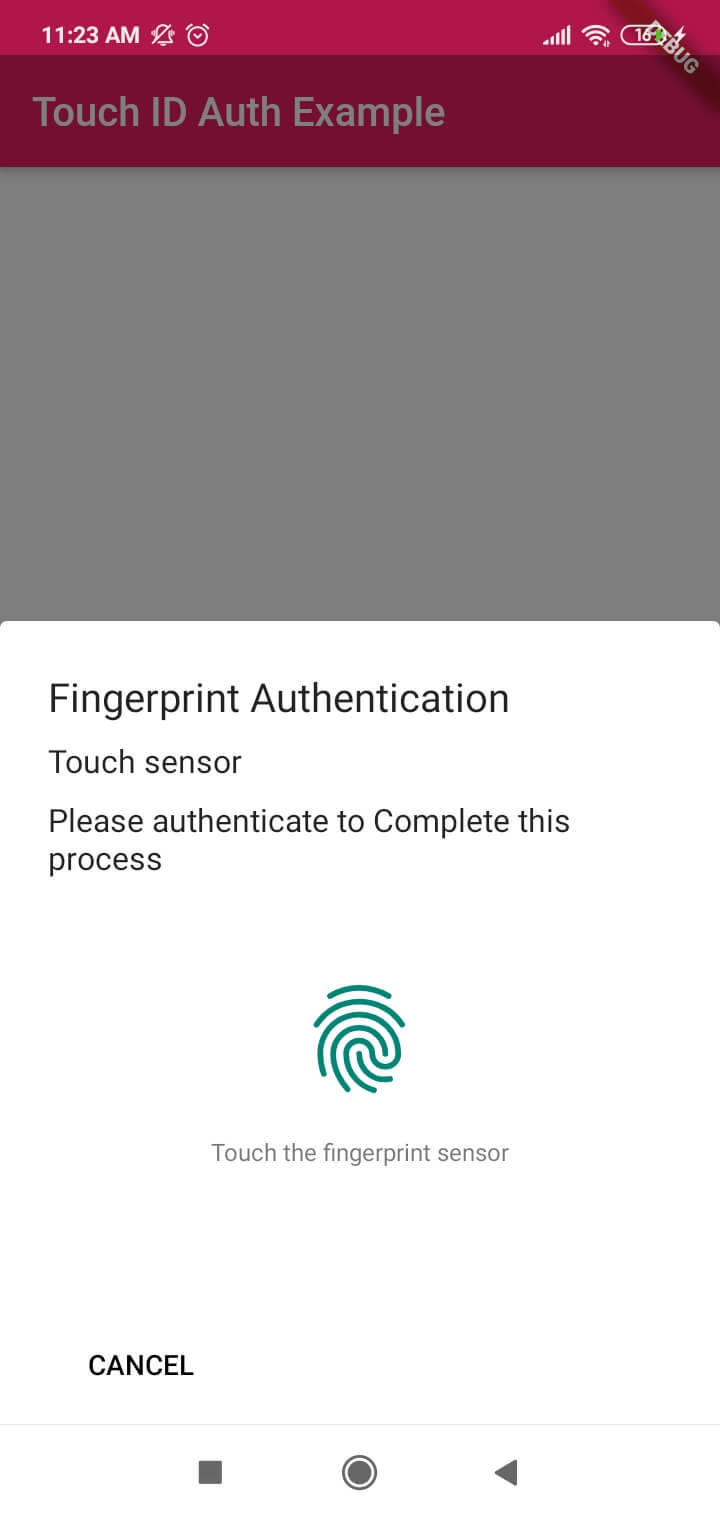
Future<void> _authorize() async {
bool _isAuthorized = false;
try {
_isAuthorized = await localAuth.authenticateWithBiometrics(
localizedReason: 'Please authenticate to Complete this process',
useErrorDialogs: true,
stickyAuth: true,
);
} on PlatformException catch (e) {
print(e);
}
if (!mounted) return;
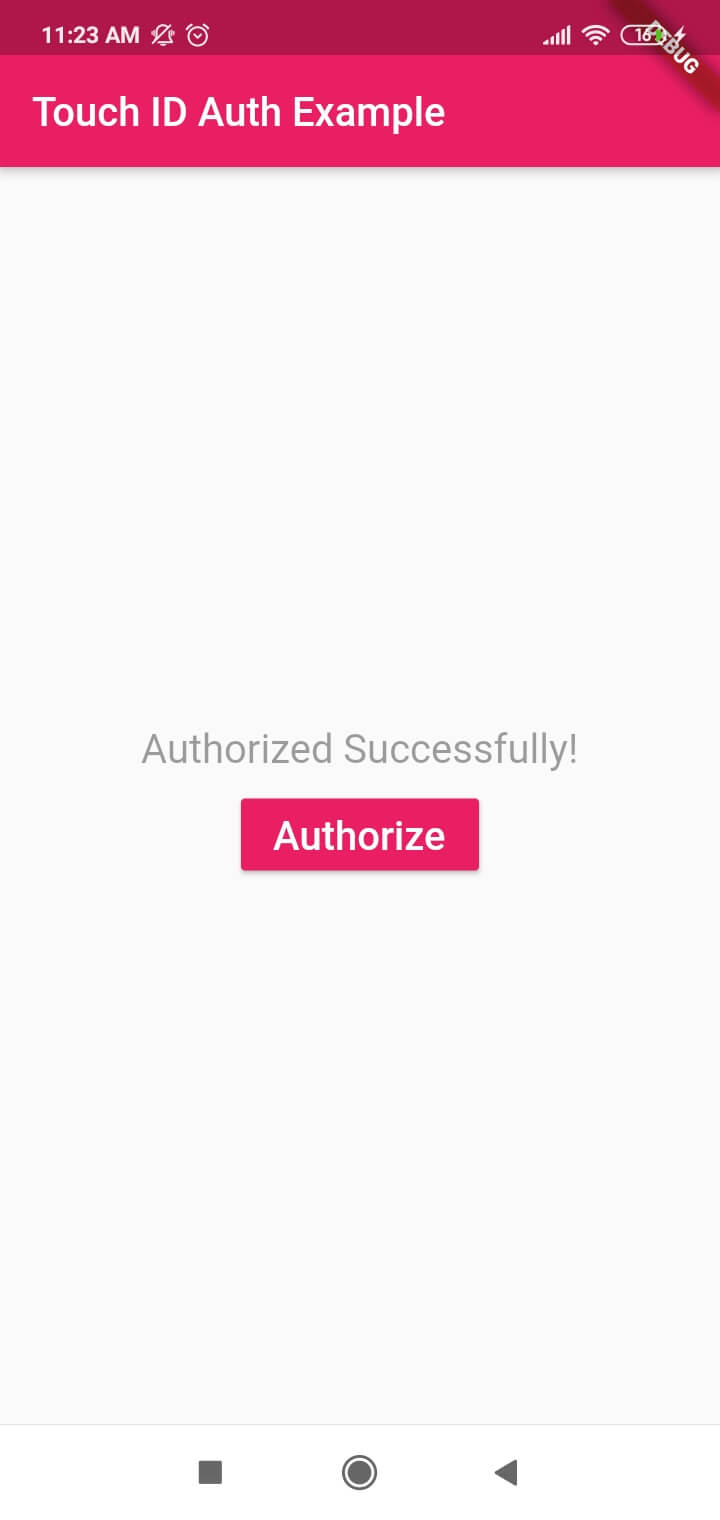
setState(() {
if (_isAuthorized) {
_authorizeText = "Authorized Successfully!";
} else {
_authorizeText = "Not Authorized!";
}
});
}
@override
Widget build(BuildContext context) {
return Scaffold(
appBar: AppBar(title: Text('Touch ID Auth Example')),
body: Center(
child: Column(
crossAxisAlignment: CrossAxisAlignment.center,
mainAxisAlignment: MainAxisAlignment.center,
children: <Widget>[
Padding(
padding: const EdgeInsets.all(8.0),
child: Text(_authorizeText,style: TextStyle(color: Colors.black38,fontSize: 20),),
),
RaisedButton(
child: Text('Authorize',style: TextStyle(color: Colors.white,fontSize: 20),),
color: Colors.pink,
onPressed: _authorize,
)
],
)),
);
}
}
|
Step 3: Update MainActivity
class MainActivity: FlutterFragmentActivity() {
    override fun configureFlutterEngine( flutterEngine: FlutterEngine) {
        GeneratedPluginRegistrant.registerWith(flutterEngine);
    }
}
|
Step 4: Call Authenticate dart file in Main
void main() => runApp(MyApp());

class MyApp extends StatelessWidget{
  @override
  Widget build(BuildContext context) {
    // TODO: implement build
    return MaterialApp(
      theme: ThemeData(
        primaryColor: Colors.pink
      ),
      home: TouchID(),
    );
  }

}
|
Step 5: Let's run application