Ultimate Guide to Flutter Form Validation using Form Builder (2026)
Learn how to implement Form Validation in Flutter easily using the flutter_form_builder package. A step-by-step tutorial for beginner developers with source code
Are you struggling to manage complex forms in your Flutter app? Handling multiple text fields, radio buttons, and validation logic with the standard Flutter Form widget can quickly become messy and verbose.
Enter Flutter Form Builder
In this tutorial, we will master Flutter form validation using the flutter_form_builder package. This tool simplifies data collection, reduces boilerplate code, and makes validating user input (like emails and passwords) incredibly easy. By the end of this guide, you will be able to build robust, professional forms for your Android and iOS apps.
Why Use flutter_form_builder?
-
Less Code: Reduces the boilerplate required for standard TextFormFields.
-
Built-in Validation: easy integration with
form_builder_validators. -
Unified State: Access all form data in a single Map.
-
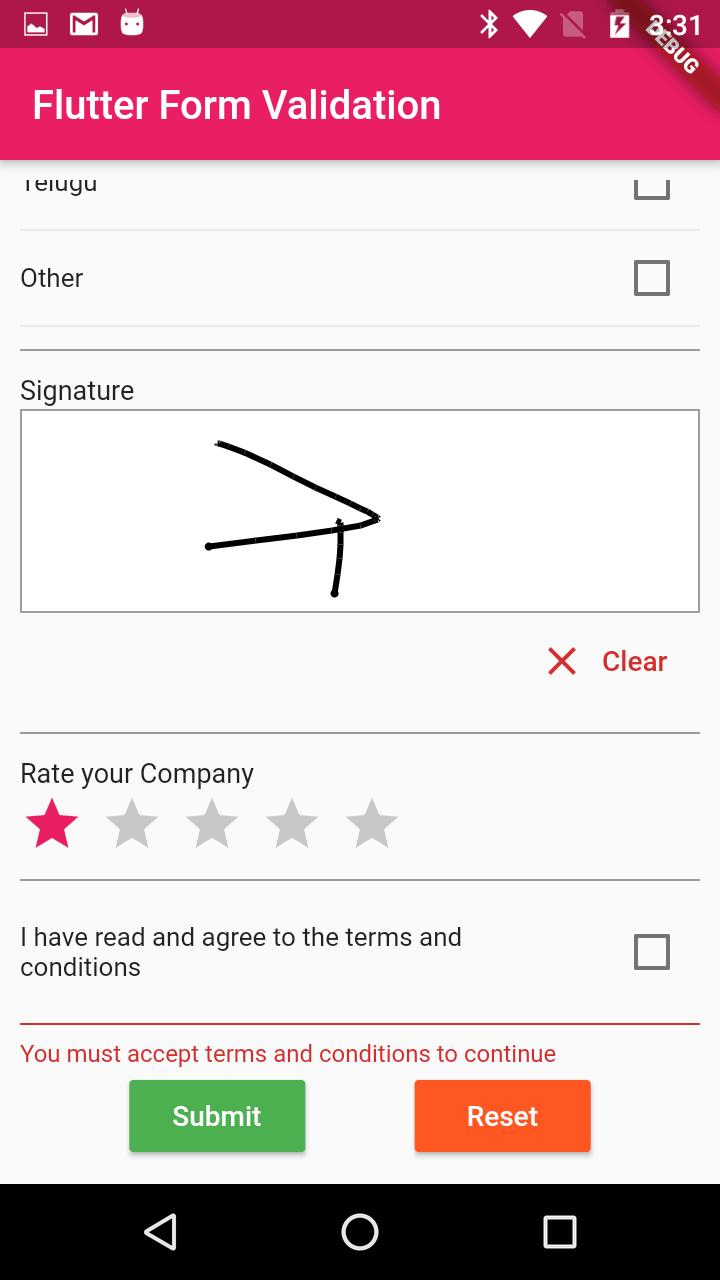
Wide Widget Support: Comes with ready-made widgets for DatePickers, Chips, Sliders, and more
1. Getting Started: Installation
First, we need to add the necessary packages to your project. Open your pubspec.yaml file and add the following dependencies under dependencies:
|
dependencies: |
Run the following command in your terminal to install them:
|
flutter pub get |
2. Setting Up the Form Structure
To create a form, we need to wrap our fields in a FormBuilder widget. This widget acts as a container that manages the state of all its children.
Key Concepts for Beginners:
-
GlobalKey: Think of this as a "remote control" for your form. It allows you to trigger validation or reset the form from anywhere (like when a button is pressed).
-
nameproperty: Every field influtter_form_builderMUST have a uniquename. This acts as the ID for that piece of data (e.g., 'email', 'password').
The Basic Code Setup
Here is the skeleton of a login screen using Form Builder
|
import 'package:flutter/material.dart'; class LoginForm extends StatefulWidget { @override class _LoginFormState extends State { @override |
3. Adding Fields with Validation
Now, let's add an Email field and a Password field. We will use FormBuilderValidators to ensure the user enters valid data.
Adding an Email Field
|
FormBuilderTextField( |
Adding a Password Field
|
FormBuilderTextField( |
4. Handling Submission and Data Retrieval
The final step is to create a submit button. When clicked, we want to:
-
Check if the form is valid (no red error messages).
-
Save the data.
-
Print or send the data
|
ElevatedButton( |
Full Source Code Example
 |
Copy and paste this code into your main.dart file to see the complete Flutter Form Builder example in action
|
import 'package:flutter/material.dart'; void main() => runApp(const MyApp()); class MyApp extends StatelessWidget { @override class LoginForm extends StatefulWidget { @override class _LoginFormState extends State { @override // Password Field // Terms and Conditions // Submit Button |
Common Questions (FAQ)
Q: How do I get the value of a specific field? A: You can access the entire form map using _formKey.currentState?.value or a specific field using _formKey.currentState?.fields['email']?.value.
Q: Can I create custom validators? A: Yes! You can pass a custom function to the validator property. If the data is invalid, return a String (the error message); otherwise, return null.
Q: Is this package safe for production apps? A: Absolutely. flutter_form_builder is one of the most widely used and maintained packages in the Flutter ecosystem.
Conclusion
Mastering Flutter form validation is a critical skill for any app developer. By using flutter_form_builder, you save time, write cleaner code, and provide a better user experience with robust error handling.
Start experimenting with other fields like FormBuilderSlider or FormBuilderDateTimePicker to see how powerful this package really is!