Create a Snackbar using GetX Library in Flutter
Create Toast message with GetX library. show toast message at top, bottom...
Sometimes, it’s very useful to show the message when a certain action takes place in our app.
Let’s suppose, we added some information into the app so, some message should be displayed to inform the user that the item has been added and show the snackbar with some message. Generally, when we create snackbar, then it uses context for creating snackbar, and also syntax is not so easy.
To overcome this problem, we can create Snackbar using GetX with just simple code without using any context. Let's Start,
Step 1: Create a new Flutter application.
Step 2: Add a line like this to your package's pubspec.yaml
|
Step 3: Once Installed Replace MaterialApp with GetMaterialApp for example
|
GetMaterialApp( debugShowCheckedModeBanner: false, home: DemoApp(), ); |
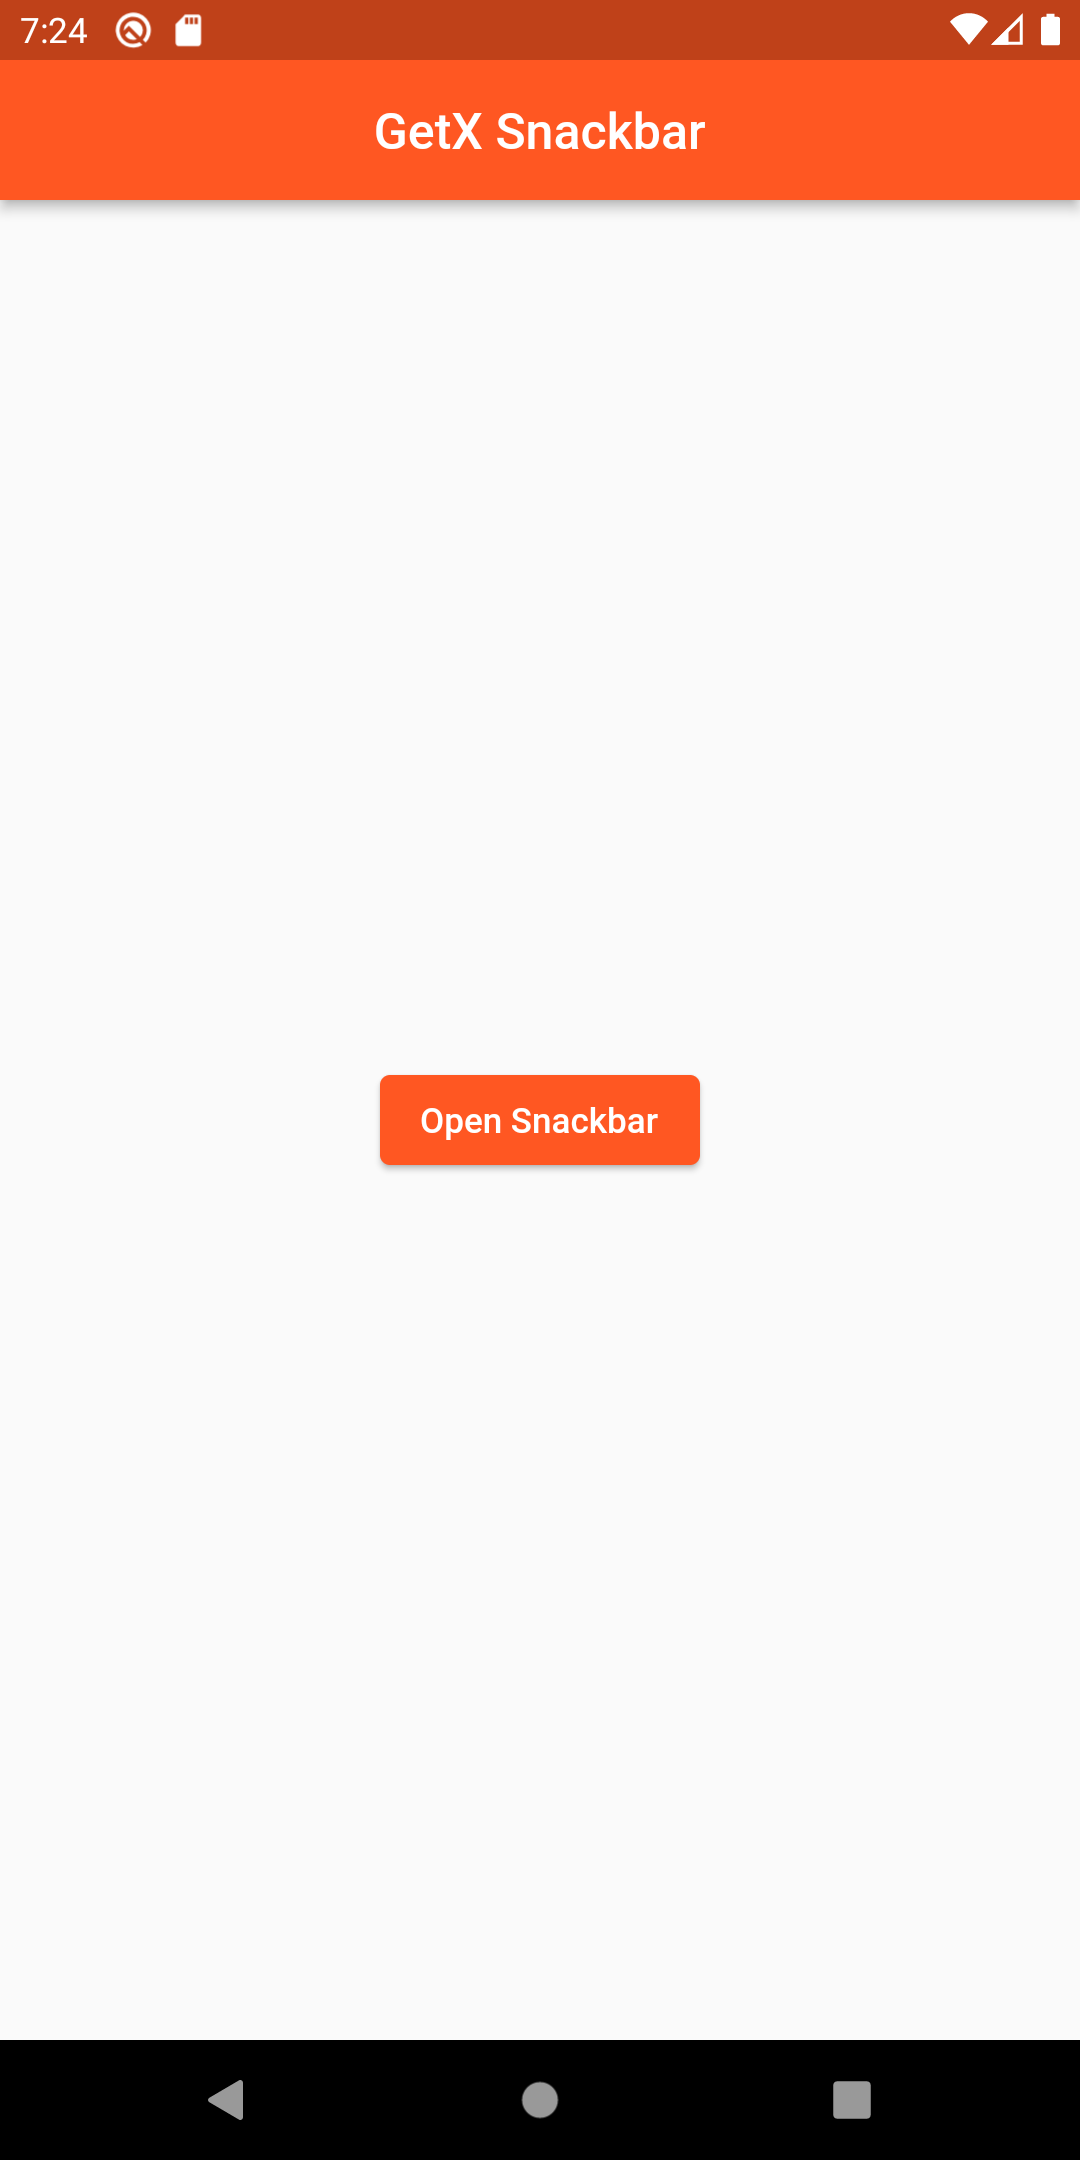
Once done inside our body we can create a button that will show our Snackbar when it is pressed so, create a button, and in the on press property write Get.snackbar() to get Snackbar.
Get.snackbar() has various properties such as
-
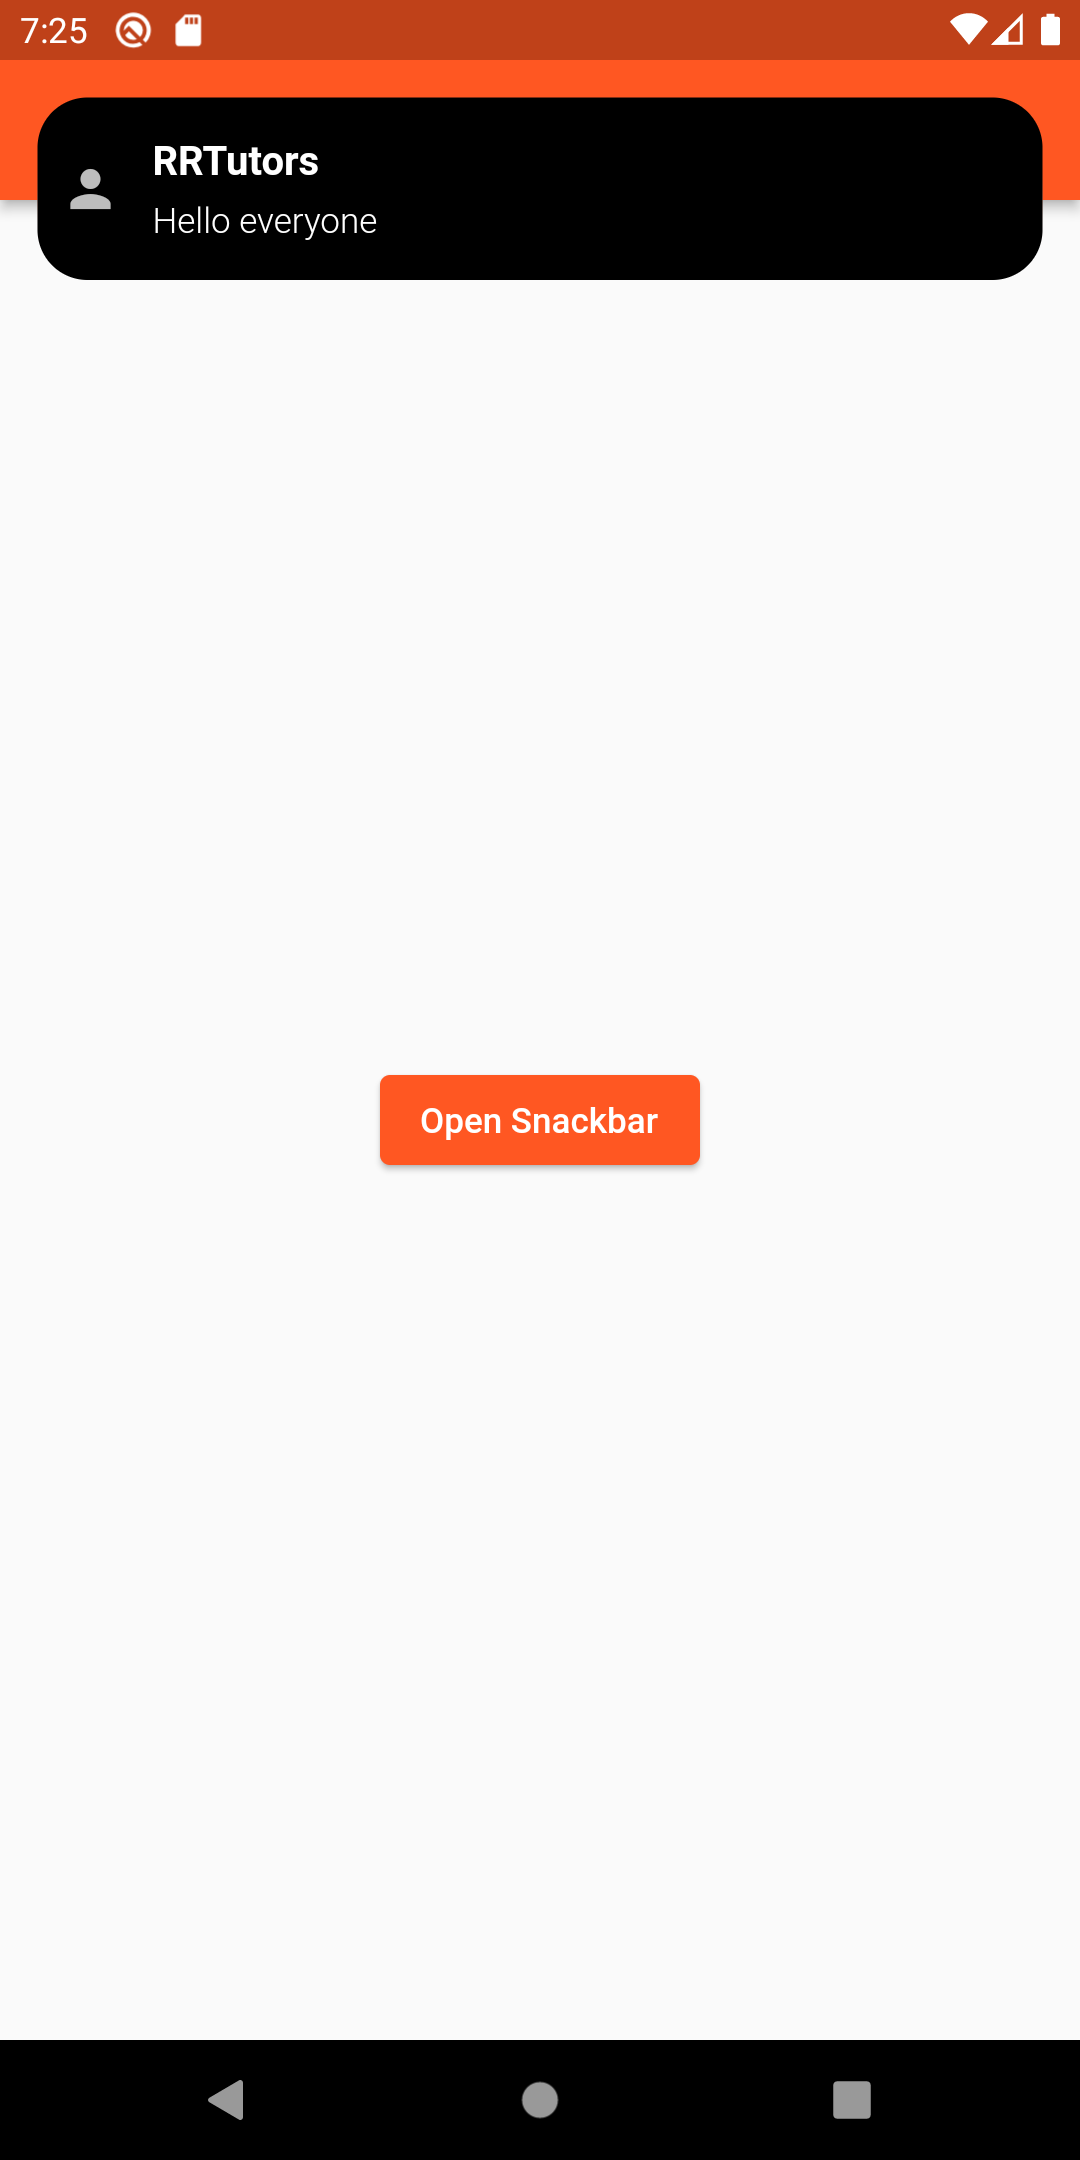
snackPosition : Decide the position of the snackbar.
-
backgroundColor : Decide the background color of the snackbar.
-
title: used to show title.
-
message: used to message below title.
-
duration: Decide the duration of the snackbar to show on screen.
-
forwardAnimationCurve: used to Animate the snackbar.
so various other properties that helps us to customize our snackbar easily.
for example:
|
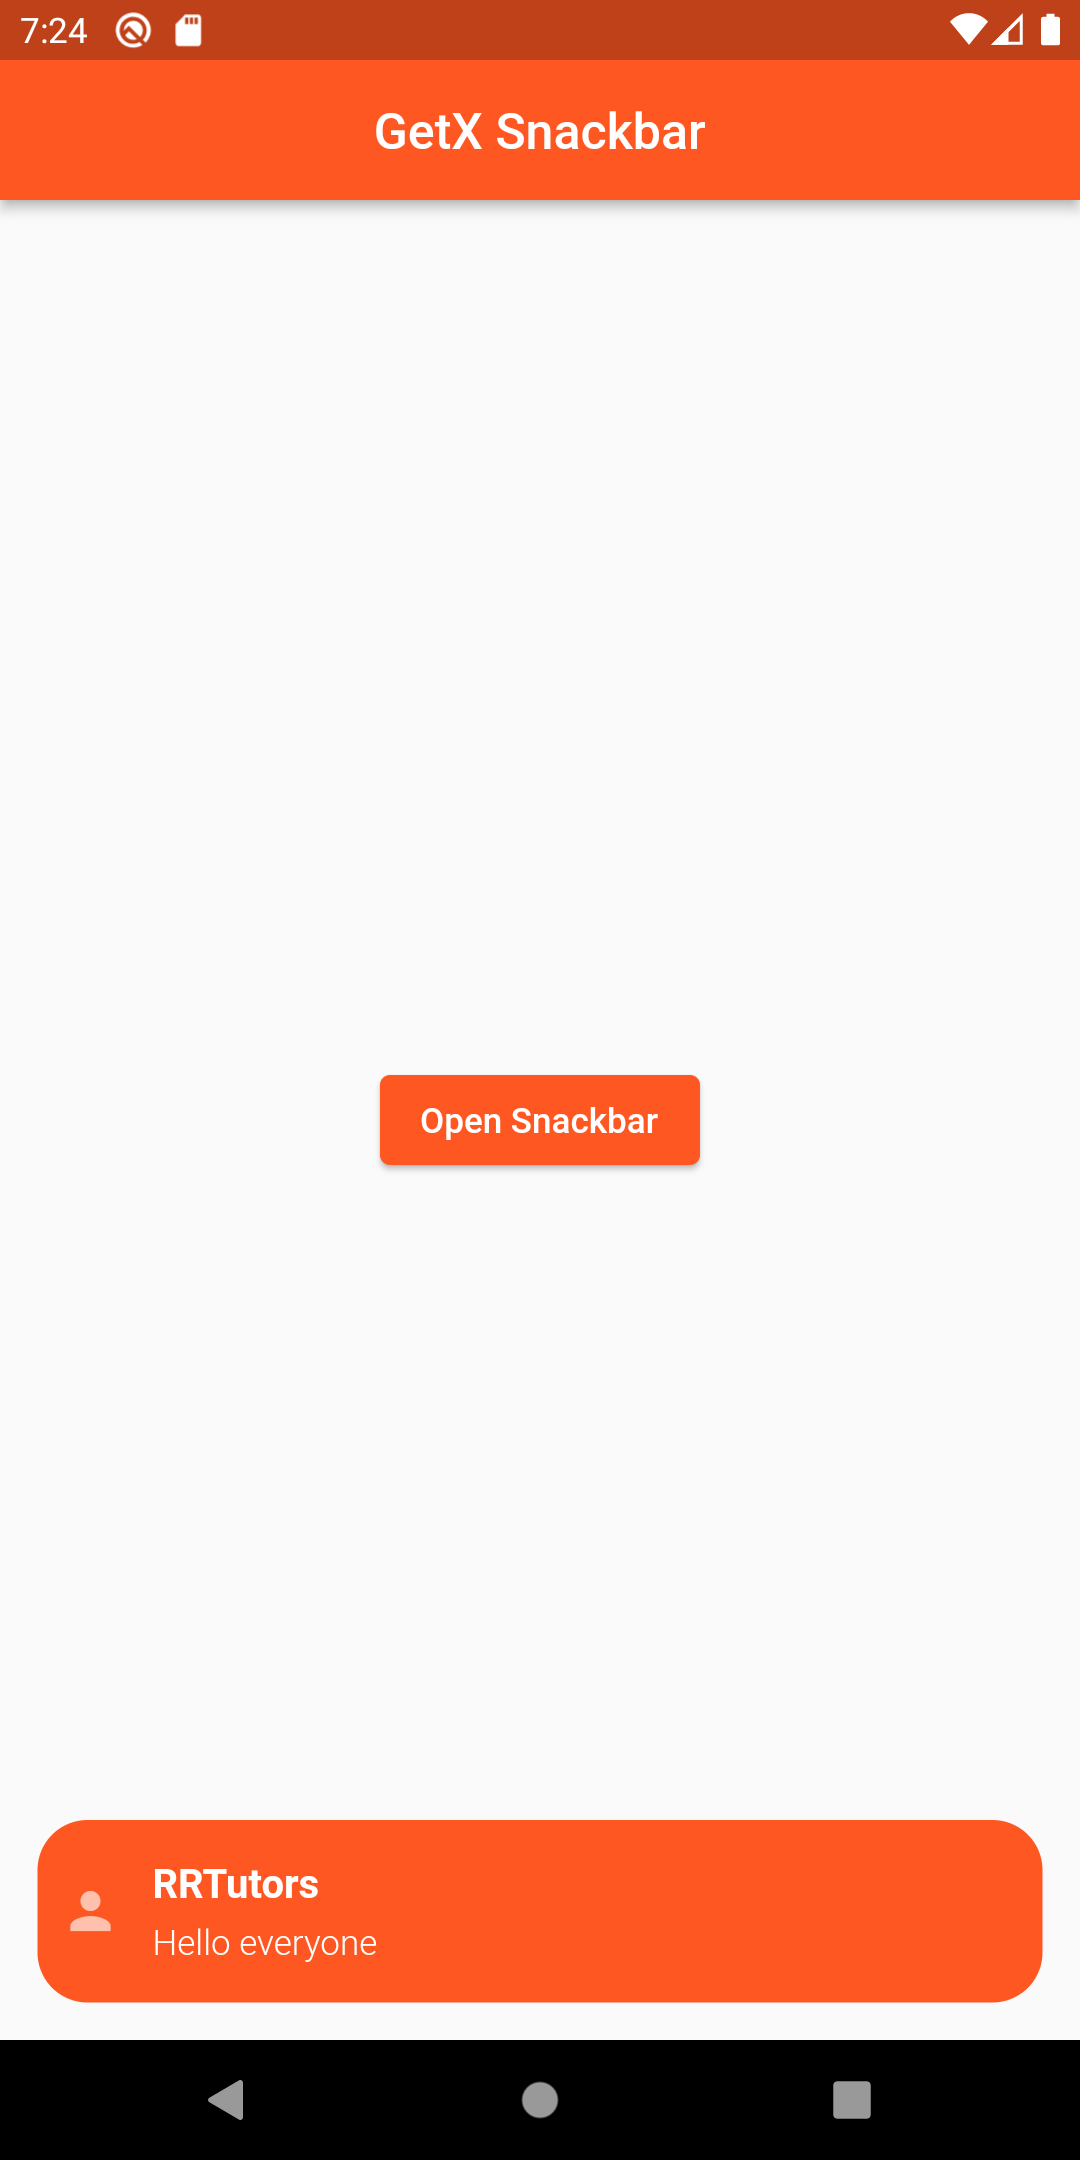
Get.snackbar( "RRTutors", "Hello everyone", icon: Icon(Icons.person, color: Colors.white), snackPosition: SnackPosition.BOTTOM, backgroundColor: Colors.deepOrange, borderRadius: 20, margin: EdgeInsets.all(15), colorText: Colors.white, duration: Duration(seconds: 4), isDismissible: true, dismissDirection: SnackDismissDirection.HORIZONTAL, forwardAnimationCurve: Curves.easeOutBack, ); |
Full Source Code to try
|
import 'package:flutter/material.dart'; import 'package:get/get.dart';
void main() { runApp(MyApp()); }
class MyApp extends StatelessWidget { // This widget is the root of your application. @override Widget build(BuildContext context) { return GetMaterialApp( title: 'Scaffold demo', theme: ThemeData( primarySwatch: Colors.deepOrange, ), home: MyHomePage(), debugShowCheckedModeBanner: false, ); } }
class MyHomePage extends StatelessWidget { @override Widget build(BuildContext context) { return Scaffold( appBar: AppBar( title: Text('GetX Snackbar'), centerTitle: true, backgroundColor: Colors.deepOrange, ), body: Center( child: ElevatedButton( child: Text('Open Snackbar'), onPressed: () { Get.snackbar( "RRTutors", "Hello everyone", icon: Icon(Icons.person, color: Colors.white), snackPosition: SnackPosition.BOTTOM, backgroundColor: Colors.deepOrange, borderRadius: 20, margin: EdgeInsets.all(15), colorText: Colors.white, duration: Duration(seconds: 4), isDismissible: true, dismissDirection: SnackDismissDirection.HORIZONTAL, forwardAnimationCurve: Curves.easeOutBack, ); }, ), ), ); } }
|
Output:
 |
 |
 |
Conclusion: In this way, we have learned how we can get snackbar using GetX and use it without using context in Flutter.