Flutter Screenshot Widget - Take sceenshot as capture Image
Create a screenshot widget in your Flutter app to capture and save the current screen image with a button click in the app directory at rrtutors.com
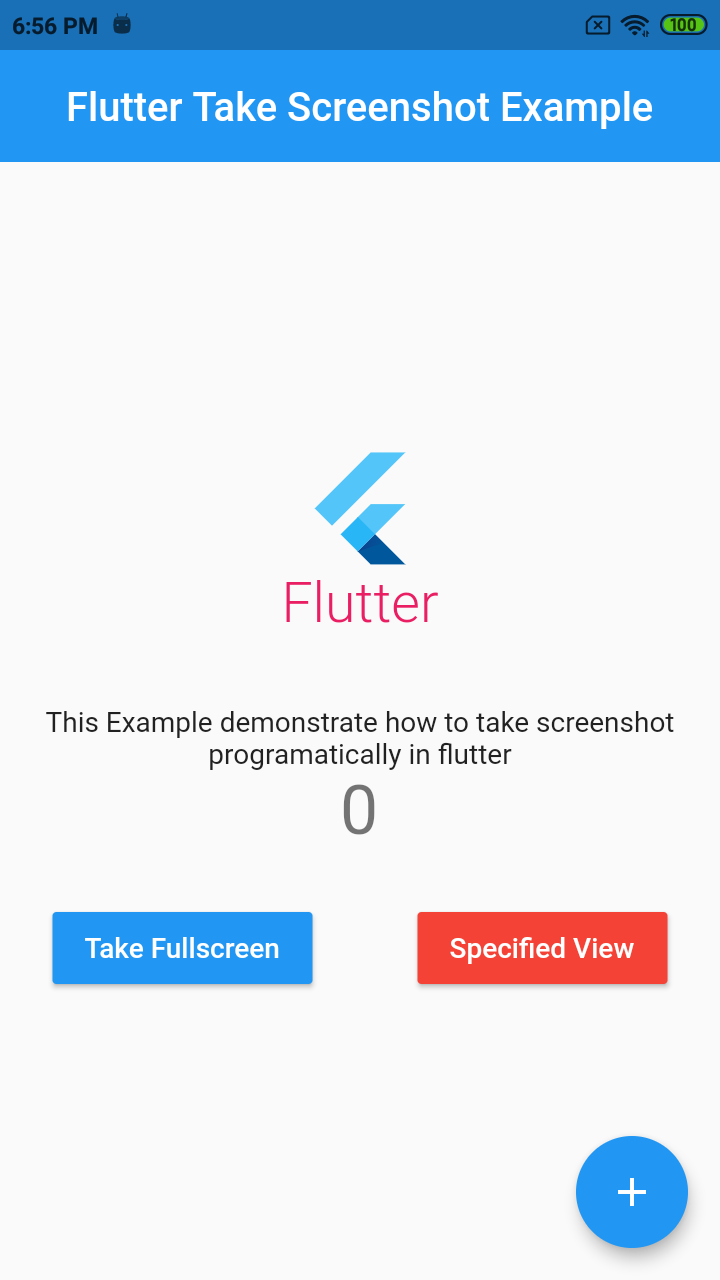
While running the application, if user want to save the current screen of the application they have to capture image as screenshot by default device screenshot application, sometimes this may get user to hard to take screenshot. In this example we are going to create a screenshot widget in flutter application, where user can directly take the screenshot of the current screen by pressing the button and saving images as capture image inside application directory. Bu using this screenshot plugin user can happily take the screenshot of the current screen. For this we are suing RepaintBoundary widget for flutter screenshot
Let's get started
Step 1: Create Flutter application
Step 2: Add required dependencies in pubspec.yaml file
dependencies:
  flutter:
    sdk: flutter
  permission_handler:
  provider:
  image_gallery_saver:
|
Step 3: Import plugin packages into dart file
import 'package:image_gallery_saver/image_gallery_saver.dart';
import 'package:permission_handler/permission_handler.dart';
|
Step 4: Write Logic to Take screenshot of the current view/screen
To take the screenshot of the current view/widget we will use the RepaintBoundary widget
We will put our view widget inside RepaintBoundary widget
RepaintBoundary(
    key: scr,
    child: FlutterLogo(
      size: 100,
      textColor: Colors.pink,
      style: FlutterLogoStyle.stacked,
    ))
|
In the above code we have given key value as scr, so this key will be used while capture the image
Now its time to write the code to take screenshot of the widget and save it as capture image inside application directory by below code
saveScreen() async {
  RenderRepaintBoundary boundary = scr.currentContext.findRenderObject();
  if (boundary.debugNeedsPaint) {
    Timer(Duration(seconds: 1), () => saveScreen());
    return null;
  }
  ui.Image image = await boundary.toImage();
  ByteData byteData = await image.toByteData(format: ui.ImageByteFormat.png);
  final result =
  await ImageGallerySaver.saveImage(byteData.buffer.asUint8List());
  _showInSnackBar(message: 'Saved to gallery - full screen');
}
|
Step 5: Run the application
 |
Complete example code
import 'package:flutter/material.dart';

import 'dart:async';
import 'dart:typed_data';
import 'dart:ui' as ui;
import 'package:flutter/material.dart';
import 'package:flutter/rendering.dart';
import 'package:image_gallery_saver/image_gallery_saver.dart';
import 'package:permission_handler/permission_handler.dart';


void main() {
  runApp(MyApp());
}

class MyApp extends StatelessWidget {
  @override
  Widget build(BuildContext context) {
    return MaterialApp(
      title: 'Flutter Take Screenshot Example',
      theme: ThemeData(
        primarySwatch: Colors.blue,
        visualDensity: VisualDensity.adaptivePlatformDensity,
      ),
      debugShowCheckedModeBanner: false,
      home: HomePage(),
    );
  }
}


class HomePage extends StatefulWidget {
  HomePage({Key key}) : super(key: key);

  @override
  _HomePageState createState() => _HomePageState();
}

class _HomePageState extends State<HomePage> {
  var _scaffoldKey = GlobalKey<ScaffoldState>();
  int _counter = 0;

  void _incrementCounter() {
    setState(() {
      _counter++;
    });
  }

  GlobalKey scr = GlobalKey();
  GlobalKey scr1 = GlobalKey();
  @override
  Widget build(BuildContext context) {
    return RepaintBoundary(
      key: scr,
      child: Scaffold(
        key: _scaffoldKey,
        appBar: AppBar(
          title: Text('Flutter Take Screenshot Example'),
          centerTitle: true,
          elevation: 0,
        ),
        body: Center(
          child: Column(
            mainAxisAlignment: MainAxisAlignment.center,
            children: <Widget>[
              RepaintBoundary(
                  key: scr1,
                  child: FlutterLogo(
                    size: 100,
                    textColor: Colors.pink,
                    style: FlutterLogoStyle.stacked,
                  )),
              SizedBox(height: 30),
              Text(
                'This Example demonstrate how to take screenshot programatically in flutter',
              ),
              Text(
                '$_counter',
                style: Theme.of(context).textTheme.headline4,
              ),
              SizedBox(height: 25),
              Row(
                mainAxisAlignment: MainAxisAlignment.spaceAround,
                children: [
                  MaterialButton(
                    onPressed: () {
                      saveScreen();
                    },
                    child: Center(child: Text('Take Fullscreen',style: TextStyle(color: Colors.white))),
                    color: Colors.blue,
                  ),
                  MaterialButton(
                      onPressed: () {
                        saveScreen1();
                      },
                      child: Text('Specified View',style: TextStyle(color: Colors.white),),
                      color: Colors.red),
                ],
              ),
            ],
          ),
        ),
        floatingActionButton: FloatingActionButton(
          onPressed: _incrementCounter,
          tooltip: 'Increment',
          child: Icon(Icons.add),
        ),
      ),
    );
  }

  saveScreen() async {
    RenderRepaintBoundary boundary = scr.currentContext.findRenderObject();
    if (boundary.debugNeedsPaint) {
      Timer(Duration(seconds: 1), () => saveScreen());
      return null;
    }
    ui.Image image = await boundary.toImage();
    ByteData byteData = await image.toByteData(format: ui.ImageByteFormat.png);
    final result =
    await ImageGallerySaver.saveImage(byteData.buffer.asUint8List());
    print('$byteData ********** Saved to gallery *********** $result');
    _showInSnackBar(message: 'Saved to gallery - full screen');
  }

  saveScreen1() async {
    RenderRepaintBoundary boundary = scr1.currentContext.findRenderObject();
    if (boundary.debugNeedsPaint) {
      Timer(Duration(seconds: 1), () => saveScreen1());
      return null;
    }
    ui.Image image = await boundary.toImage();
    ByteData byteData = await image.toByteData(format: ui.ImageByteFormat.png);
    final result =
    await ImageGallerySaver.saveImage(byteData.buffer.asUint8List());
    print('$byteData ********** Saved to gallery *********** $result');
    _showInSnackBar(message: 'Saved to gallery - Flutter Logo');
  }

  _requestPermission() async {
    Map<Permission, PermissionStatus> statuses = await [
      Permission.storage,
    ].request();
    final info = statuses[Permission.storage].toString();
    print('$info');
  }

  @override
  void initState() {
    super.initState();
    _requestPermission();
  }

  void _showInSnackBar({String message}) {
    _scaffoldKey.currentState.showSnackBar(
      SnackBar(
        content: Text(
          message,
          style: TextStyle(color: Colors.white, fontWeight: FontWeight.w600),
        ),
        duration: (Duration(seconds: 3)),
        elevation: 0,
        backgroundColor: Colors.black,
      ),
    );
  }
}
|
Note: Add required permissions in manifest file
<uses-permission android:name="android.permission.WRITE_EXTERNAL_STORAGE"/>
|
How to take a screenshot on Samsung?
There are several ways to take screen shot on your devices. one of it is "Swipe of your palm"
This can be activated by Settings-> Turn on "Palm swipe to capture" inside advance feature.
Next Swipe your hand left to right or right to left in horizontal way. At this time please make sure your hand stays in contact with the screen.
Other way of take screen shot is Press the two buttons Power key and volume down button at the same time.
If that doesn't work, press and hold the Power button for a few seconds. Then tap Screenshot.
If either of these ways didn't work, Reach your phone manufacturer's support site for help