Flutter Filter Screen - How to Create Filter Screen with FilterChip?
Create a filter screen in Flutter using Checkboxes and FilterChips widget. Build dynamic UI elements for filtering data in Flutter applications. | RRTutors
In this flutter example we are going learn how to create Flutter filter page with FilterChip widget. We will learn
- What is FilterChip widget
- Create FilterChip widget
- Add CheckBox
- Get Filter selection
What is FilterChip widget?
FilterChip is a flutter material widget, which will be used to make the filter selection based on the given strings. FilterChips are used when we need to show user to select multiple options. This FilterChip widget is alternate for Checkboxes to make easy way of selection with some good design.
How to create FilterChip widget
We will create a FilterChip widget by calling the Constructor of FilterChip, this constructor needs two required fields label and onSelected. The label will be set by a text and onSelected will handle the selected chips.
const FilterChip({
  Key? key,
  this.avatar,
  required this.label,
  this.labelStyle,
  this.labelPadding,
  this.selected = false,
  required this.onSelected,
  this.pressElevation,
  this.disabledColor,
  this.selectedColor,
  this.tooltip,
  this.side,
  this.shape,
  this.clipBehavior = Clip.none,
  this.focusNode,
  this.autofocus = false,
  this.backgroundColor,
  this.padding,
  this.visualDensity,
  this.materialTapTargetSize,
  this.elevation,
  this.shadowColor,
  this.selectedShadowColor,
  this.showCheckmark,
  this.checkmarkColor,
  this.avatarBorder = const CircleBorder(),
})
|
Properties of FilterChip:
There are many properties for FilterChip provided by Flutter
- avater
- label
- labelStyle
- labelPadding
- selected
- onSeleced
- pressElevation
- selectedColor
- disabledColor
- side
- shape
- backgroundColor
- padding
- elevation
- shadowColor
- selectedShadowColor
- showCheckmark
- checkmarkColor
Let's read few properties
selected: This property indicates that the chip is selected or not
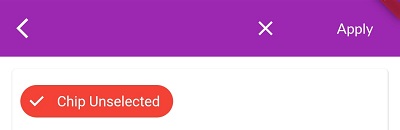
For example if we want to unselected the chip we need to pass the value as false to the selected
Container( child: FilterChip( label: Text("Chip Unselected"), selected: false, onSelected: (bool value){}, ) ), |
If we want to select the chip we will update its value to true
Container( child: FilterChip( label: Text("Chip Unselected"), selected: true, onSelected: (bool value){}, ) ), |
 |
To handle the selection state of the chip we will need to change the state by below code
Container( child: FilterChip( label: Text("Chip Unselected"), selected: isFilter, onSelected: (bool value){ setState(() { isFilter=!isFilter; }); }, selectedColor: Colors.red, labelStyle: TextStyle(color: Colors.white), backgroundColor: Colors.blue, checkmarkColor: Colors.white, ) ), |
showCheckmark
This property will be used to show / hide the checkmark that will show when the chip is selected. It is a boolean value. the value true will make the checkmark visible and false will make invisible. the default the value is true
Container( child: FilterChip( label: Text("Chip Unselected"), selected: isFilter, onSelected: (bool value){ setState(() { isFilter=!isFilter; }); }, selectedColor: Colors.red, labelStyle: TextStyle(color: Colors.white), backgroundColor: Colors.blue, checkmarkColor: Colors.white, showCheckmark: false, ) ), |
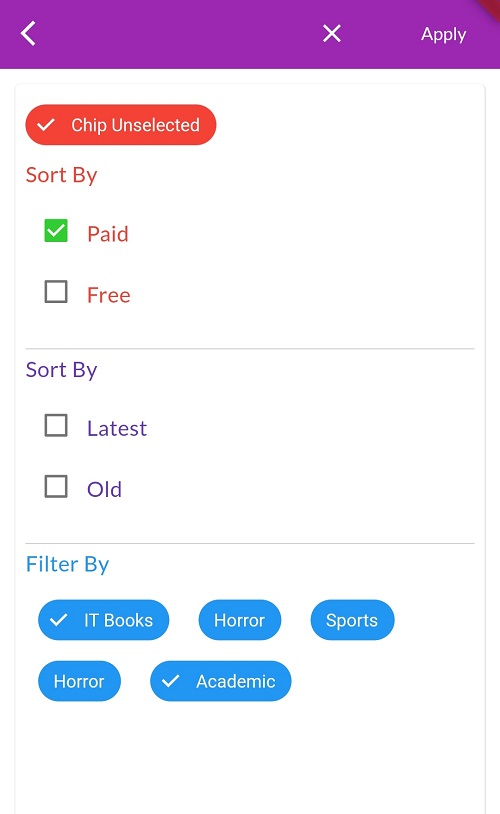
Add Checkbox filters
We are ready with app FilterChip widget. Now we are few more filters to our Filter screen by checkboxes
Row(children: [ Checkbox( value: isPaid, onChanged: (value){ setState(() { isPaid=value!; isFilter=true; }); }), MediumText("Paid",Colors.red), ]) |
Get Filter selection:
Suppose we are in List screen and want to show the filters by navigate to filter screen. Then how we will get the selection filters. This will done by call the Filterscreen by make it await state.
result= await Navigator.pushNamed(context, AppRoutes.filter,); |
 |
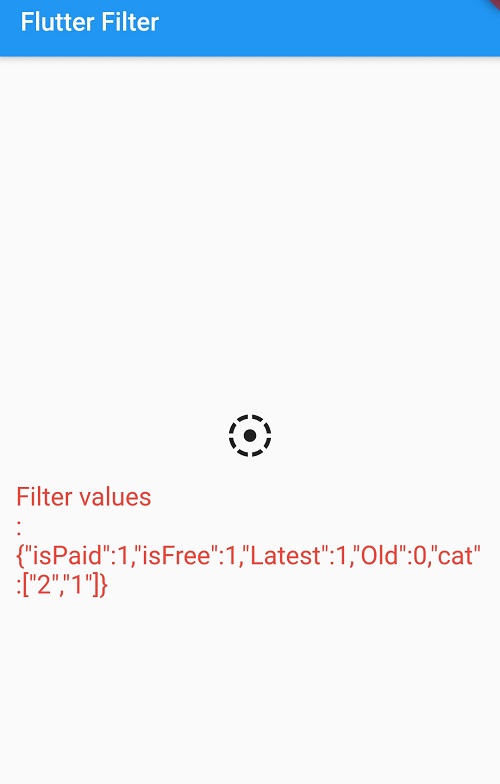
Now we are ready with our filter selection, we can pass this filter values to call our Local search or Network APIs.
Our filter result will be look like this with above example filters
 |
Complete code will be here
Conclusion: In this Flutter example we covered what is Flutter FilterChip and how to use FilterChip and Make Flutter Filter screen UI.