Flutter Image Transition Animation between two screens
Flutter Image Transition, Animate Image between two screens using the Hero widget. Master image transitions with guides on rrtutors.com. Start coding now!
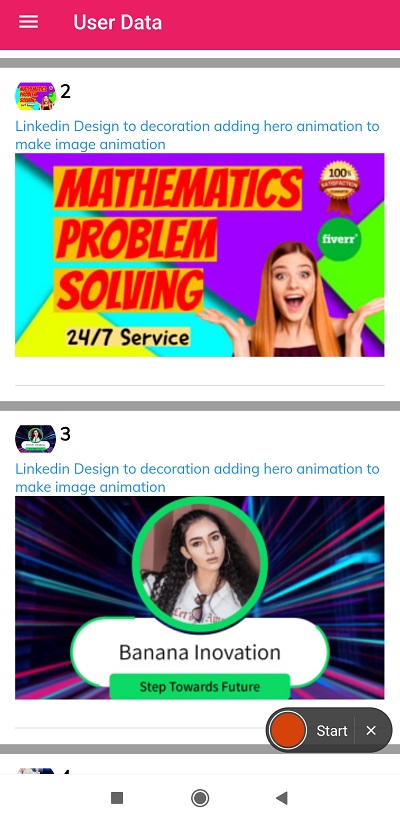
In this flutter example we are going to implement Image Transition between two screens. This image transition will show animation between two screens we called this animation as Flutter Hero Animation. For this we will use the Flutter Hero widget.
Animate Image between two Screens in Flutter
This transition animation done by flutter hero widget, which will manage by hero tag property
So when we navigate from one screen to other screen Flutter can identify these tags and make animate for that widgets.
Let's get stared
Step 1: Create Flutter application
Step 2: Create Listview widget with list items. Here we are taking the listview and adding the listitems by using Hero,Image,Container,text widgets
here is the code
 |
import 'package:flutter/material.dart'; import 'package:flutter_responsive_dashboard/widgets/details.dart'; class SmallScreen extends StatelessWidget{ @override Widget build(BuildContext context) { return Container(constraints: BoxConstraints.expand(),color: Colors.grey, child:ListView(children: [ createWidget("1","t1","https://fiverr-res.cloudinary.com/images/t_main1,q_auto,f_auto,q_auto,f_auto/gigs/217953440/original/6869956d24c0c3cf971d8a95a56f46d26e6fb871/be-your-virtual-math-tutor.png",context), createWidget("2","t2","https://fiverr-res.cloudinary.com/t_gig_cards_web,q_auto,f_auto/gigs/216899680/original/7dfbe53843a65ce85ef74979de116f0918b8930a.png",context), createWidget("3","t3","https://fiverr-res.cloudinary.com/video/upload/t_gig_cards_web/s28ve0xgaaremkcw1czb.png",context), createWidget("4","t4","https://fiverr-res.cloudinary.com/t_gig_cards_web,q_auto,f_auto/gigs/219212797/original/61a1fe67575c81d3b6ef7f53da7bde9165d2fd78.png",context), ],),); } createWidget(tag,tag2,path,context) { return GestureDetector(onTap: (){ Navigator.push(context, MaterialPageRoute(builder: (context){ return Details(tag,tag2,path); })); }, child: Container( padding: EdgeInsets.symmetric(vertical: 8, horizontal: 15), margin: EdgeInsets.only(bottom: 0.0, top: 8), decoration: BoxDecoration( color: Colors.white, border: Border( top: BorderSide(color: Colors.black54, width: 0.50), bottom: BorderSide(color: Colors.black54, width: 0.50))), child: SingleChildScrollView( child: Column( children: [ Row( children: [ Container( width: 40, height: 40, decoration: BoxDecoration( borderRadius: BorderRadius.all(Radius.circular(40))), child: ClipRRect( borderRadius: BorderRadius.all(Radius.circular(40)), child: Image.network(path)), ), SizedBox( width: 4, ), Column( crossAxisAlignment: CrossAxisAlignment.start, children: [ Text( tag, style: TextStyle( fontSize: 18, fontWeight: FontWeight.bold), ), SizedBox( height: 10, ), ], ) ], ), Container( width: double.infinity, child: Text( "Linkedin Design to decoration adding hero animation to make image animation", style: TextStyle(color: Colors.blue), ), ), Container( height: 200, width: double.infinity, child: Hero( tag:tag, child: Image.network( path, fit: BoxFit.cover, ), ), ), SizedBox( height: 10, ), SizedBox( height: 10, ), Divider( thickness: 0.50, color: Colors.black26, ), ], ), ), ), ); } } |
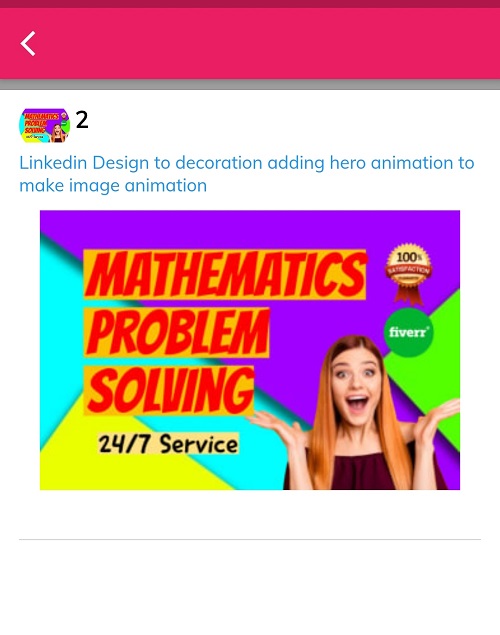
Step 3: Create Second Screen with adding the Hero,Image widgets
This will be looks like this
 |
import 'package:flutter/material.dart'; class Details extends StatelessWidget{ String tag; String tag2; String image; Details(this.tag,this.tag2,this.image); @override Widget build(BuildContext context) { return Scaffold( appBar: AppBar(leading: InkWell(onTap: (){ Navigator.pop(context); },child: Icon(Icons.arrow_back_ios,)),), body: Container( constraints: BoxConstraints.expand(), color: Colors.grey, child: Center( child: GestureDetector(onTap: (){ Navigator.pop(context); }, child: Container( padding: EdgeInsets.symmetric(vertical: 8, horizontal: 15), margin: EdgeInsets.only(bottom: 0.0, top: 8), decoration: BoxDecoration( color: Colors.white, border: Border( top: BorderSide(color: Colors.black54, width: 0.50), bottom: BorderSide(color: Colors.black54, width: 0.50))), child: Column( children: [ Row( children: [ Container( width: 40, height: 40, decoration: BoxDecoration( borderRadius: BorderRadius.all(Radius.circular(40))), child: ClipRRect( borderRadius: BorderRadius.all(Radius.circular(40)), child: Image.network(image)), ), SizedBox( width: 4, ), Column( crossAxisAlignment: CrossAxisAlignment.start, children: [ Text( tag, style: TextStyle( fontSize: 18, fontWeight: FontWeight.bold), ), SizedBox( height: 10, ), ], ) ], ), Container( width: double.infinity, child: Hero( tag:tag2, child: Text( "Linkedin Design to decoration adding hero animation to make image animation", style: TextStyle(color: Colors.blue), ), ), ), Container( width: double.infinity, child: Hero( tag:tag, child: Image.network( image, ), ), ), SizedBox( height: 10, ), SizedBox( height: 10, ), Divider( thickness: 0.50, color: Colors.black26, ), ], ), ), ), ), ), ); } } |
Step 4: Let's run application
Conclusion: In this Flutter example we implemented Image transition animation between two screens by using the Hero widget.