How to pass data to previous screen in Flutter using Navigator
How to pass data to previous screen in Flutter using Navigator
In Today's Tutorial, we will see how to return data to the first screen, use the Navigator. pop() method, which accepts an optional second argument called result where Any result is returned to the Future in the SelectionButton.
Let's start
Step 1: Create a new Flutter Application
Step 2: Create two screens as screen one and screen two where will use naviagtor.pop() in screen two and refresh data on-screen one.
create a bool variable on-screen one that will be used to refresh the data and suppose you want a String data as a returned data you can write like this in on click function in screen one.
|
ElevatedButton( onPressed: () async { String refresh = await Navigator.push( context, MaterialPageRoute( builder: (context) => const ScreenTwo()));
if (refresh == 'refresh') { changeData(); } }, child: const Text('Next Screen')), |
Step 3: Now when we navigate to next screen we will use navigator.pop() to go back to screen one but, to pass the data back to screen one navigator.pop() accepts an optional parameter which can be String, Number any thing that you want to send.
As we want a String as discussed early we can use like this
|
Navigator.pop(context, 'refresh'); |
Now in screen one where we have our refresh string will get the value that we passed from screen two
we can check like
|
if (refresh == 'refresh') { changeData(); } |
inside changeData() we can change our bool variable on screen one and using that we have change data on screen one.
|
bool value = false;
void changeData() { setState(() { value = true; }); } |
Full Source Code to try
|
import 'package:flutter/material.dart';
void main() { runApp(MaterialApp(debugShowCheckedModeBanner: false, home: ScreenOne())); } class ScreenOne extends StatefulWidget { const ScreenOne({Key? key}) : super(key: key);
@override State<ScreenOne> createState() => _ScreenOneState(); }
class _ScreenOneState extends State<ScreenOne> { bool value = false;
void changeData() { setState(() { value = true; }); }
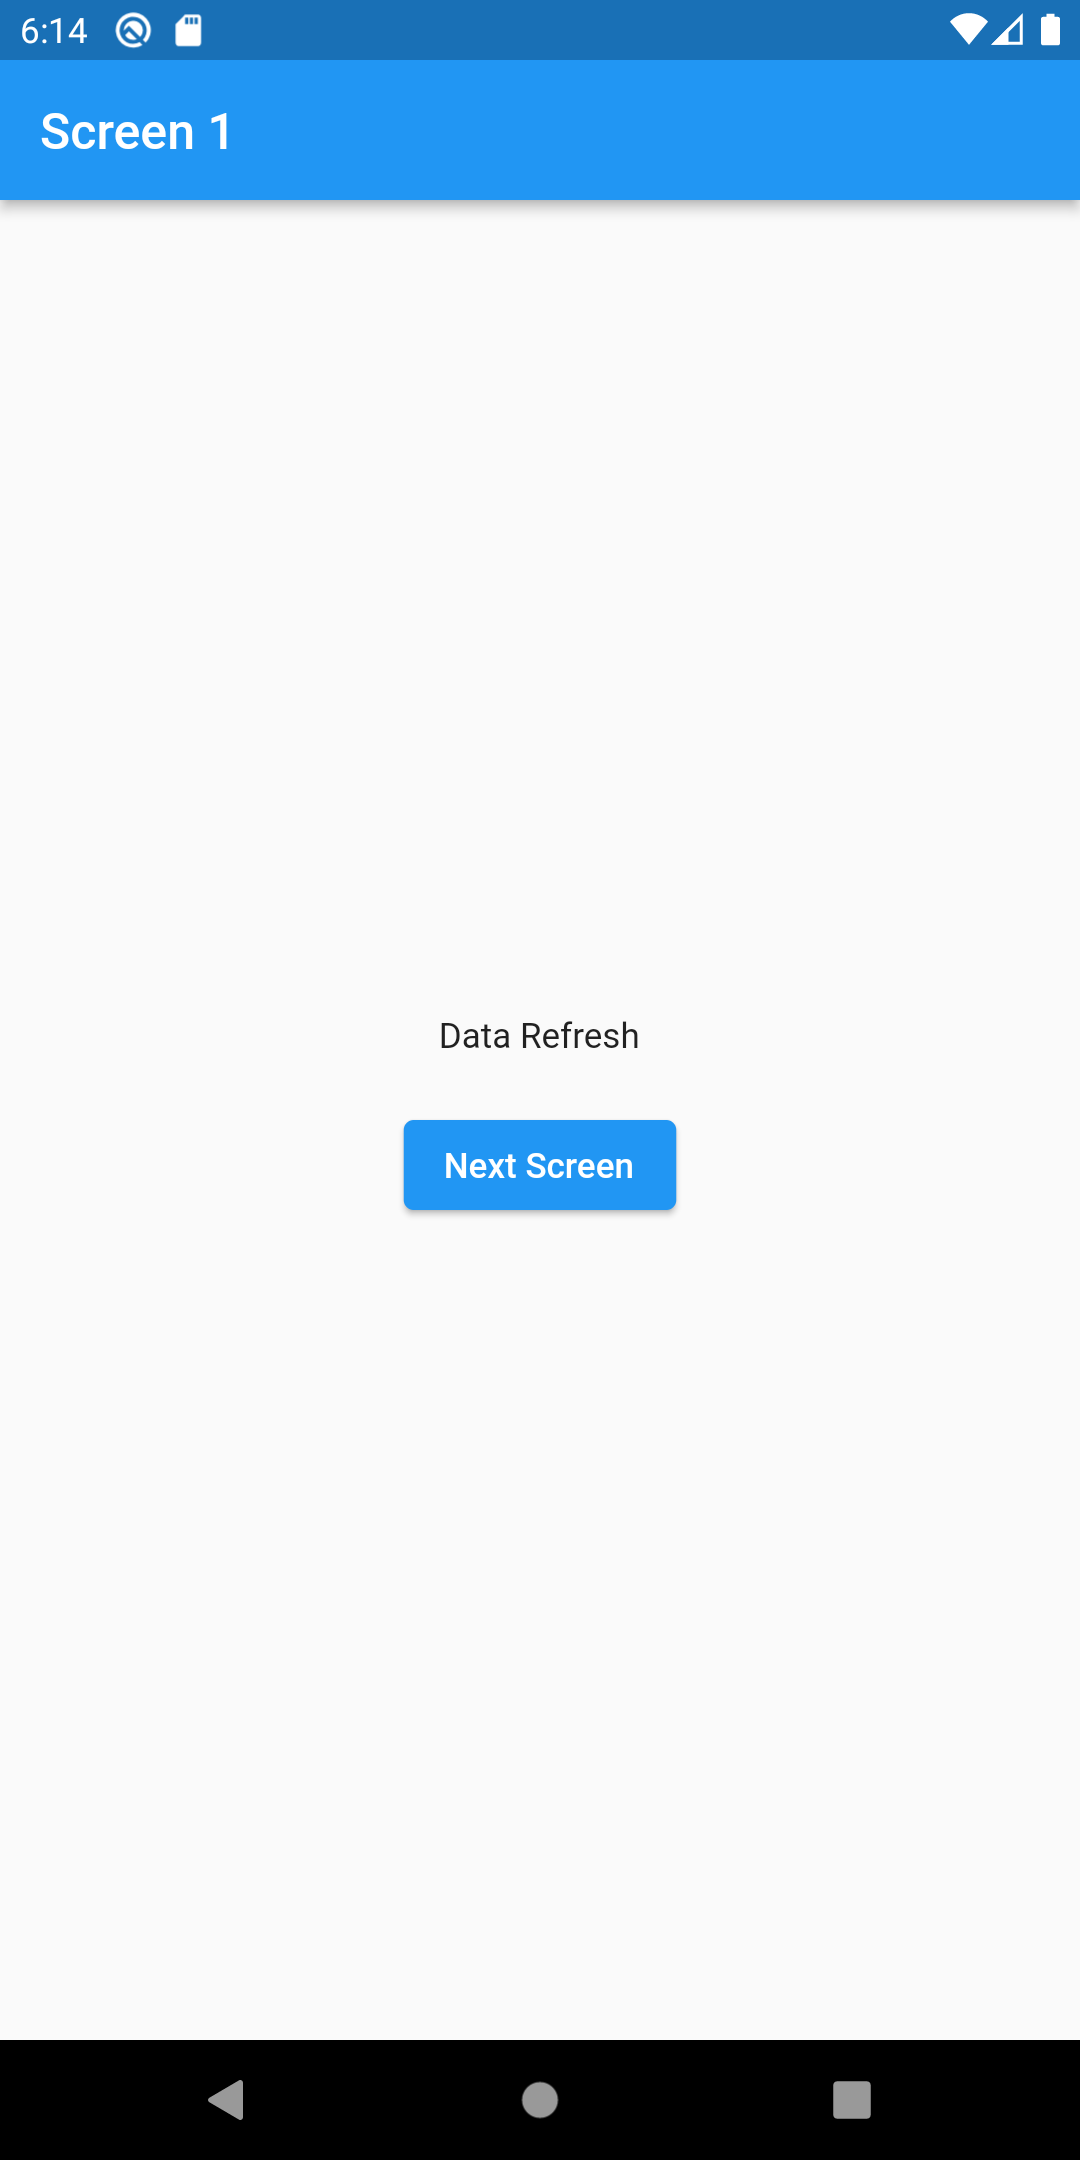
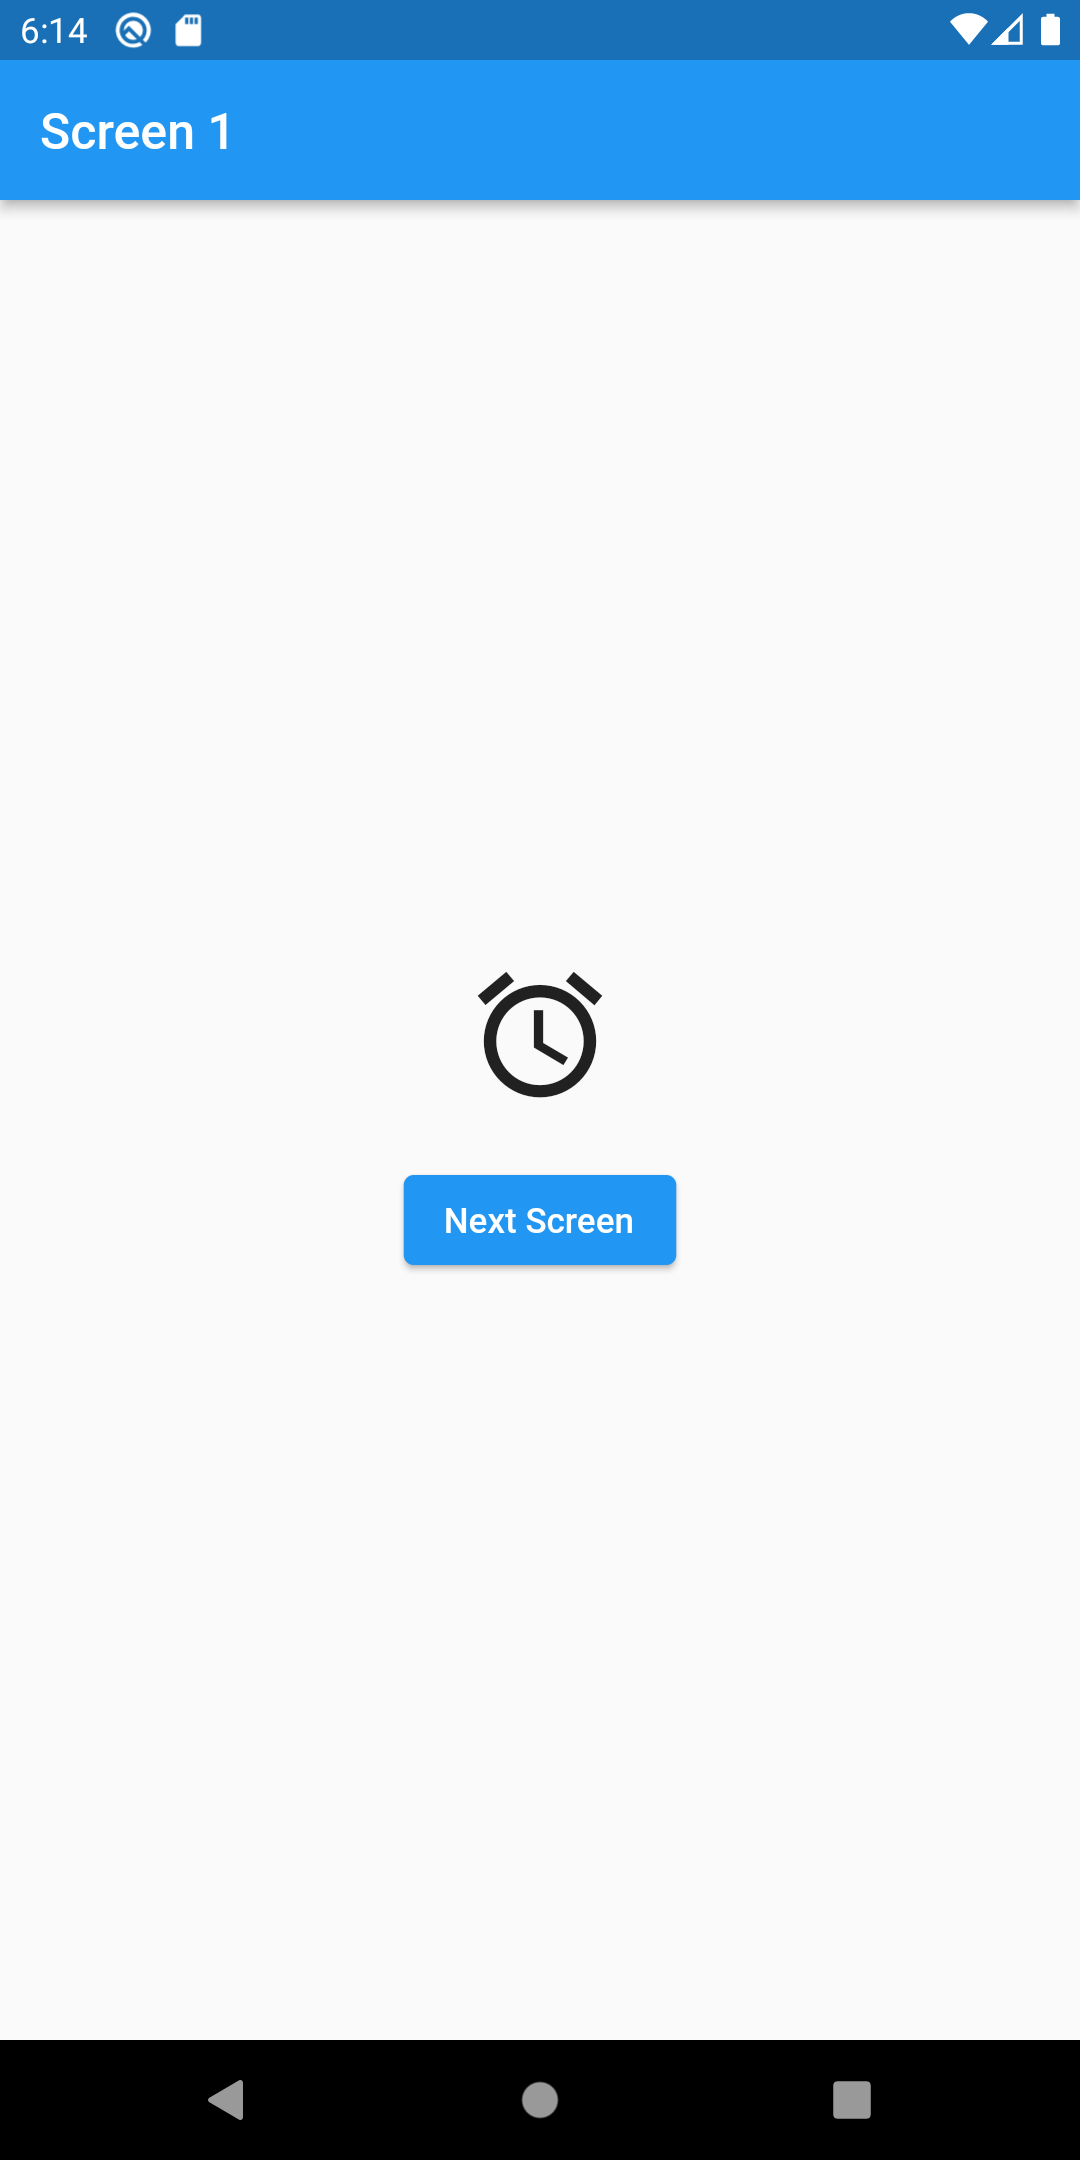
@override Widget build(BuildContext context) { return Scaffold( appBar: AppBar( title: const Text('Screen 1'), ), body: Column( mainAxisAlignment: MainAxisAlignment.center, children: [ Center( child: value ? const Icon( Icons.alarm, size: 60, ) : const Text('Data Refresh')), const SizedBox( height: 20, ), Center( child: ElevatedButton( onPressed: () async { String refresh = await Navigator.push( context, MaterialPageRoute( builder: (context) => const ScreenTwo()));
if (refresh == 'refresh') { changeData(); } }, child: const Text('Next Screen')), ), ], ), ); } }
class ScreenTwo extends StatelessWidget { const ScreenTwo({Key? key}) : super(key: key);
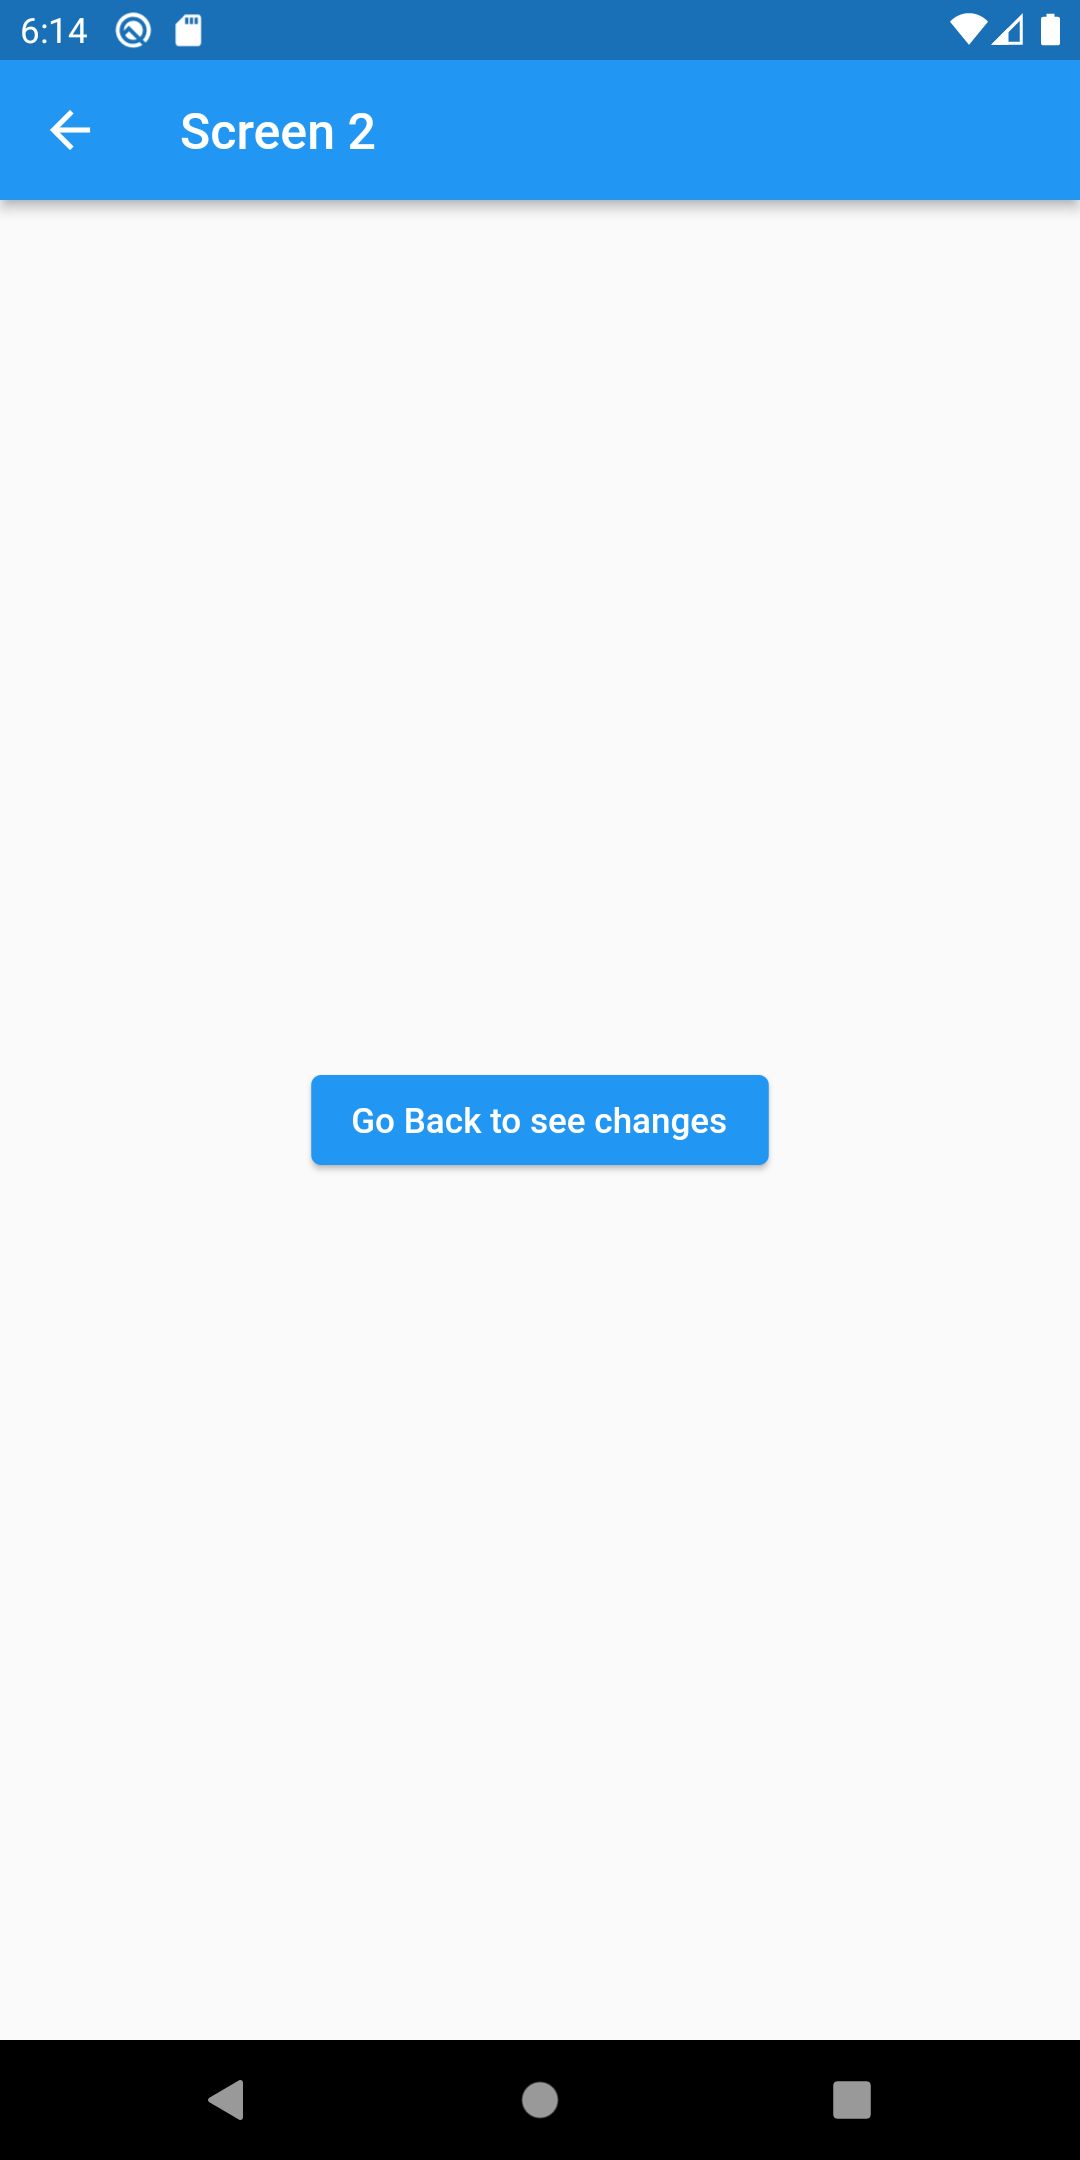
@override Widget build(BuildContext context) { return Scaffold( appBar: AppBar( title: const Text('Screen 2'), ), body: Center( child: ElevatedButton( onPressed: () { Navigator.pop(context, 'refresh'); }, child: const Text('Go Back to see changes')), ), ); } } |
Output:
 |
 |
 |
Conclusion: In this way, we have learned how you can pass data to the previous screen in Flutter using Navigator.