How to build TabView using Flutter GetX
Discover how to create a tab view using the GetX library in Flutter. RRTutors shows how to implement efficient state management for your Flutter tabs.
In Flutter Using Stateless Widget can improve your app performance a lot so, in today's tutorial we will see you can build tabview in stateless widget using GetX in Flutter.
Let's start
Step 1: Create a new Flutter Application.
Step 2: Add a line like this to your package's pubspec.yaml
|
Step 3: Create a new Controller class that extends GetXController with SingleGetTickerProviderMixin and declare your tabs inside this class also declare your tab controller.
for example
|
class MyTabController extends GetxController with SingleGetTickerProviderMixin { final List<Tab> myTabs = const <Tab>[ Tab(text: 'LEFT'), Tab(text: 'RIGHT'), ]; late TabController controller; @override void onInit() { super.onInit(); controller = TabController(vsync: this, length: myTabs.length); } @override void onClose() { controller.dispose(); super.onClose(); } } |
Step 4: Now create a stateless class where you want your tab view to be and inside that class declare an object of your controller class using Get.put()
|
final MyTabController _tabx = Get.put(MyTabController()); |
Now we can use _tabx to create tabs and tabview as use Tabbar and add controller like _tabx.controller and for tabs use _tabx.tabs same goes for TabbarView we can use _tabx for controller and tabs.
for example
|
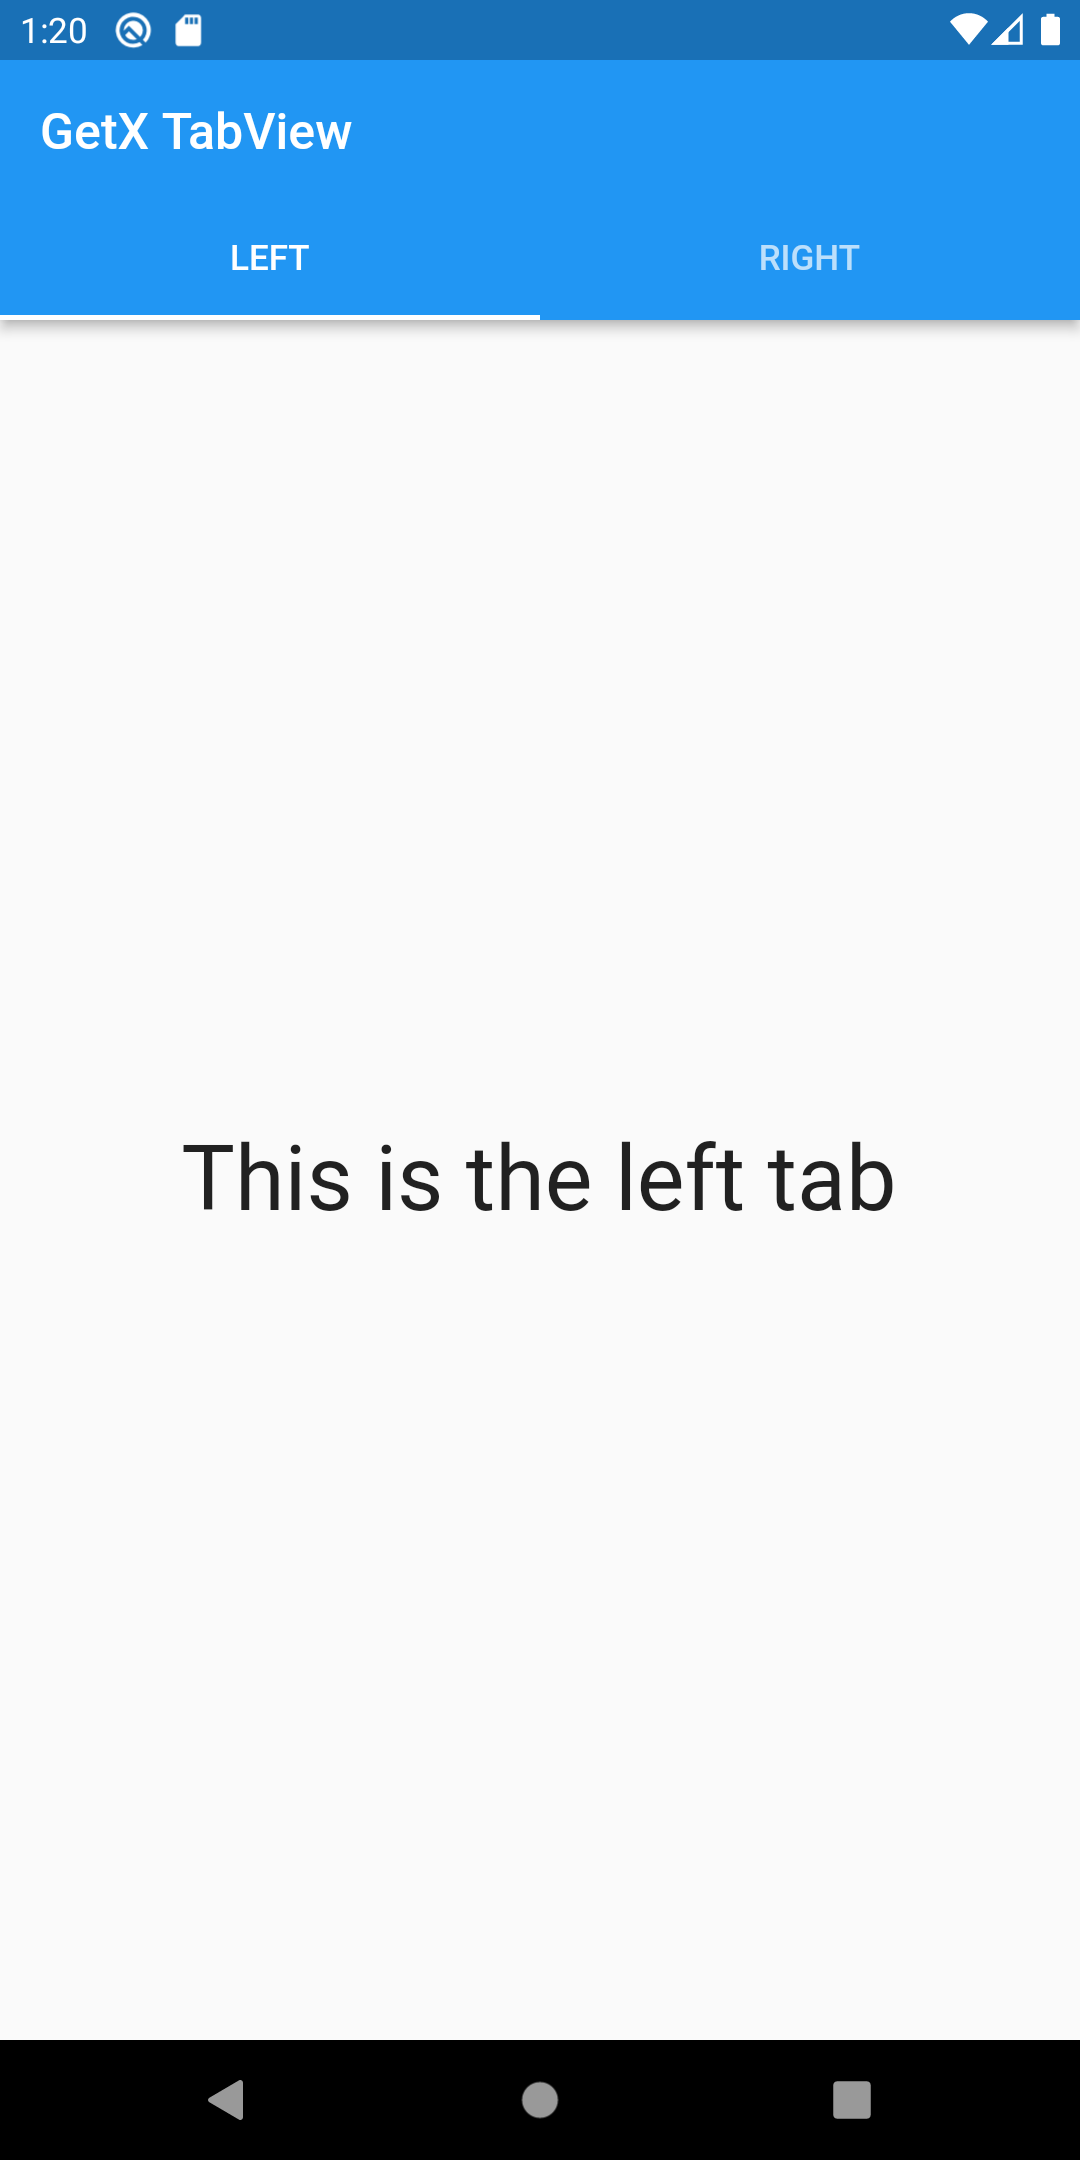
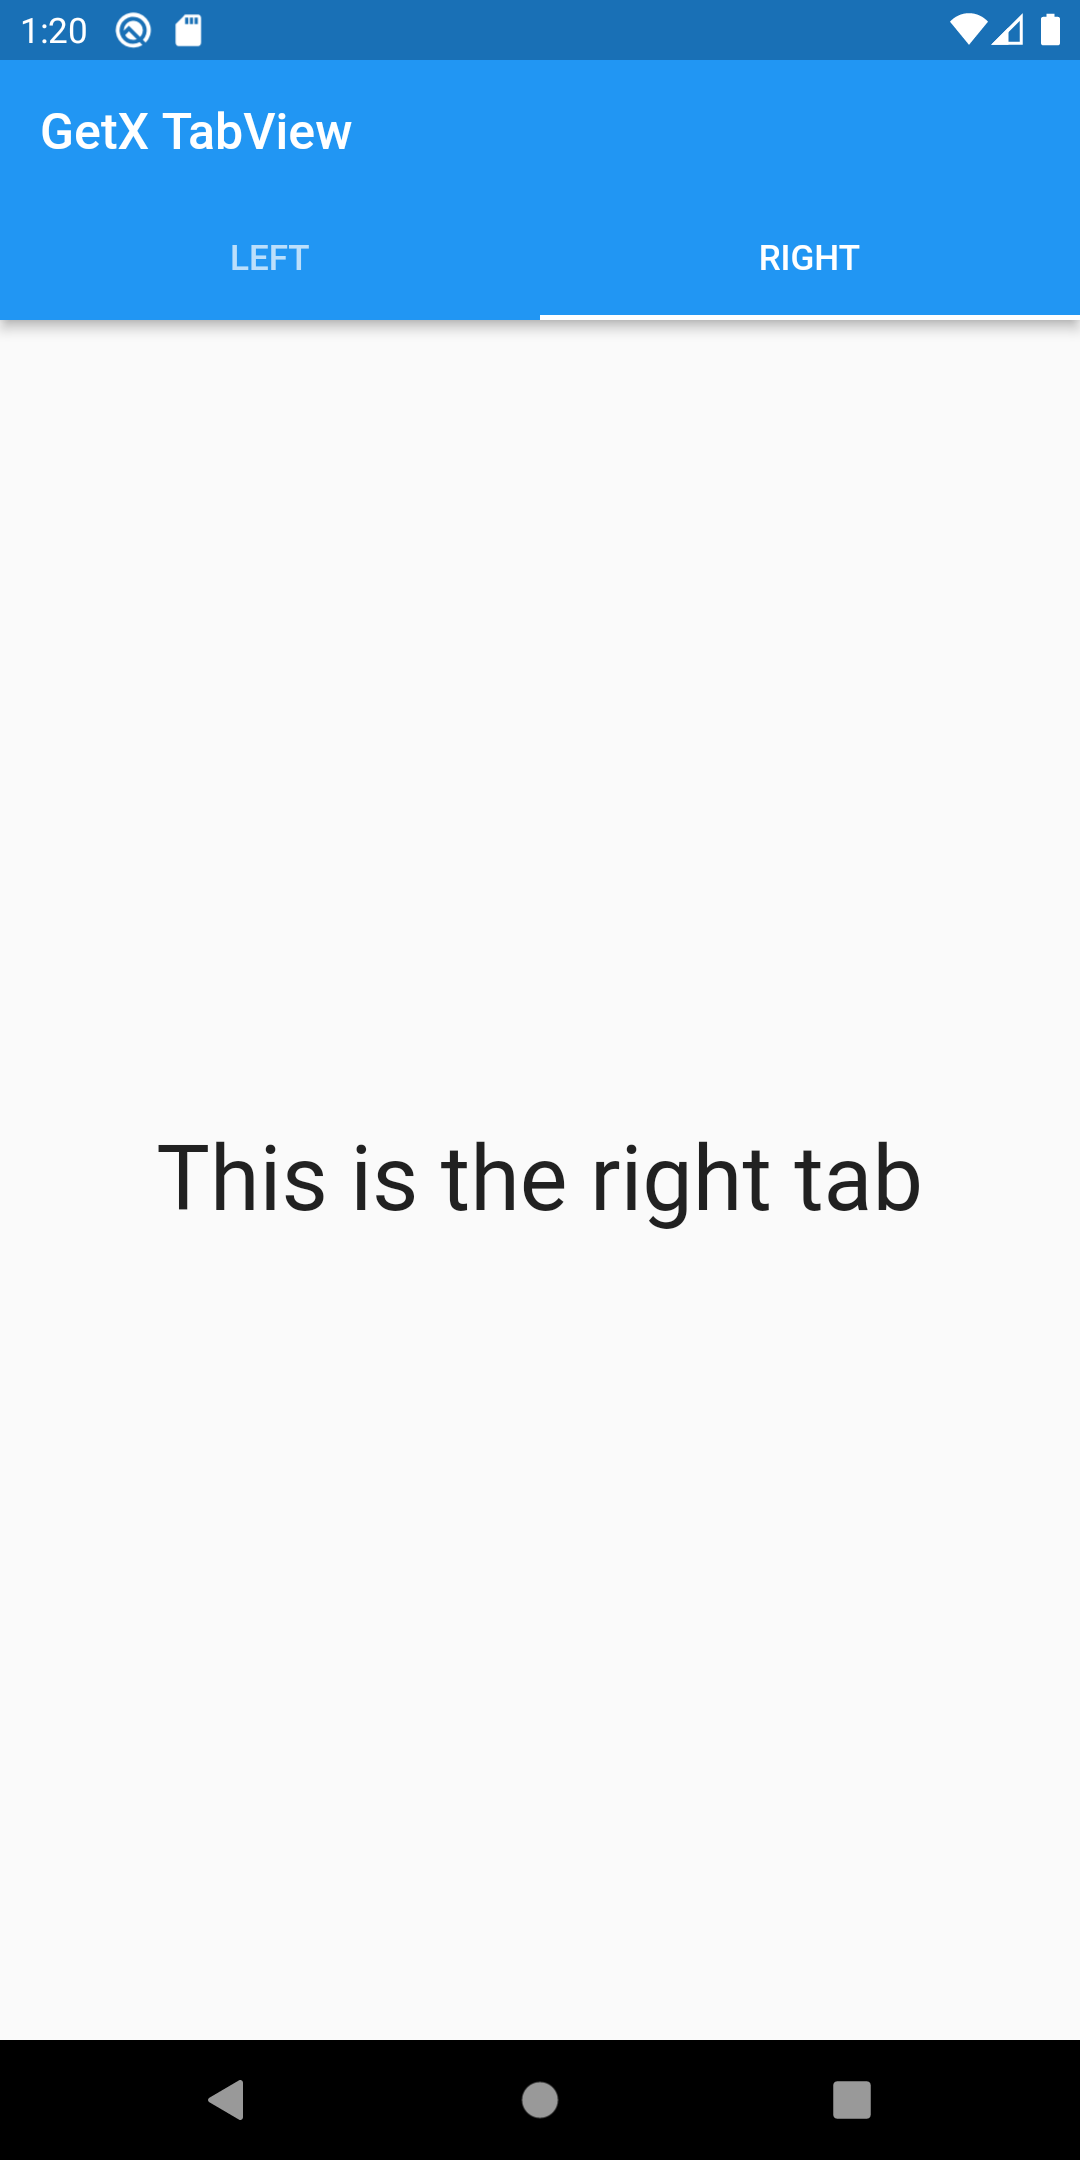
body: TabBarView( controller: _tabx.controller, children: _tabx.myTabs.map((Tab tab) { final String label = tab.text!.toLowerCase(); return Center( child: Text( 'This is the $label tab', style: const TextStyle(fontSize: 36), ), ); }).toList(), ), |
Full Source Code to try
|
import 'package:flutter/material.dart'; import 'package:get/get.dart';
void main() { runApp(GetMaterialApp( debugShowCheckedModeBanner: false, home: MyTabbedWidget())); }
class MyTabController extends GetxController with SingleGetTickerProviderMixin { final List<Tab> myTabs = const <Tab>[ Tab(text: 'LEFT'), Tab(text: 'RIGHT'), ];
late TabController controller;
@override void onInit() { super.onInit(); controller = TabController(vsync: this, length: myTabs.length); }
@override void onClose() { controller.dispose(); super.onClose(); } }
class MyTabbedWidget extends StatelessWidget { @override Widget build(BuildContext context) { final MyTabController _tabx = Get.put(MyTabController()); // ↑ init tab controller
return Scaffold( appBar: AppBar( title: const Text('GetX TabView'), bottom: TabBar( controller: _tabx.controller, tabs: _tabx.myTabs, ), ), body: TabBarView( controller: _tabx.controller, children: _tabx.myTabs.map((Tab tab) { final String label = tab.text!.toLowerCase(); return Center( child: Text( 'This is the $label tab', style: const TextStyle(fontSize: 36), ), ); }).toList(), ), ); } } |
Output:
 |
 |
Conclusion: In this way, we have learned how you can build a tabview using GetX in Flutter.