How to Get Glassmorphism Effect in Flutter
Glassmorphism Effect in Flutter| Create a stunning glassy background effect in Flutter. Step-by-step guide with examples available on rrtutors.com.
What is Glassmorphism?
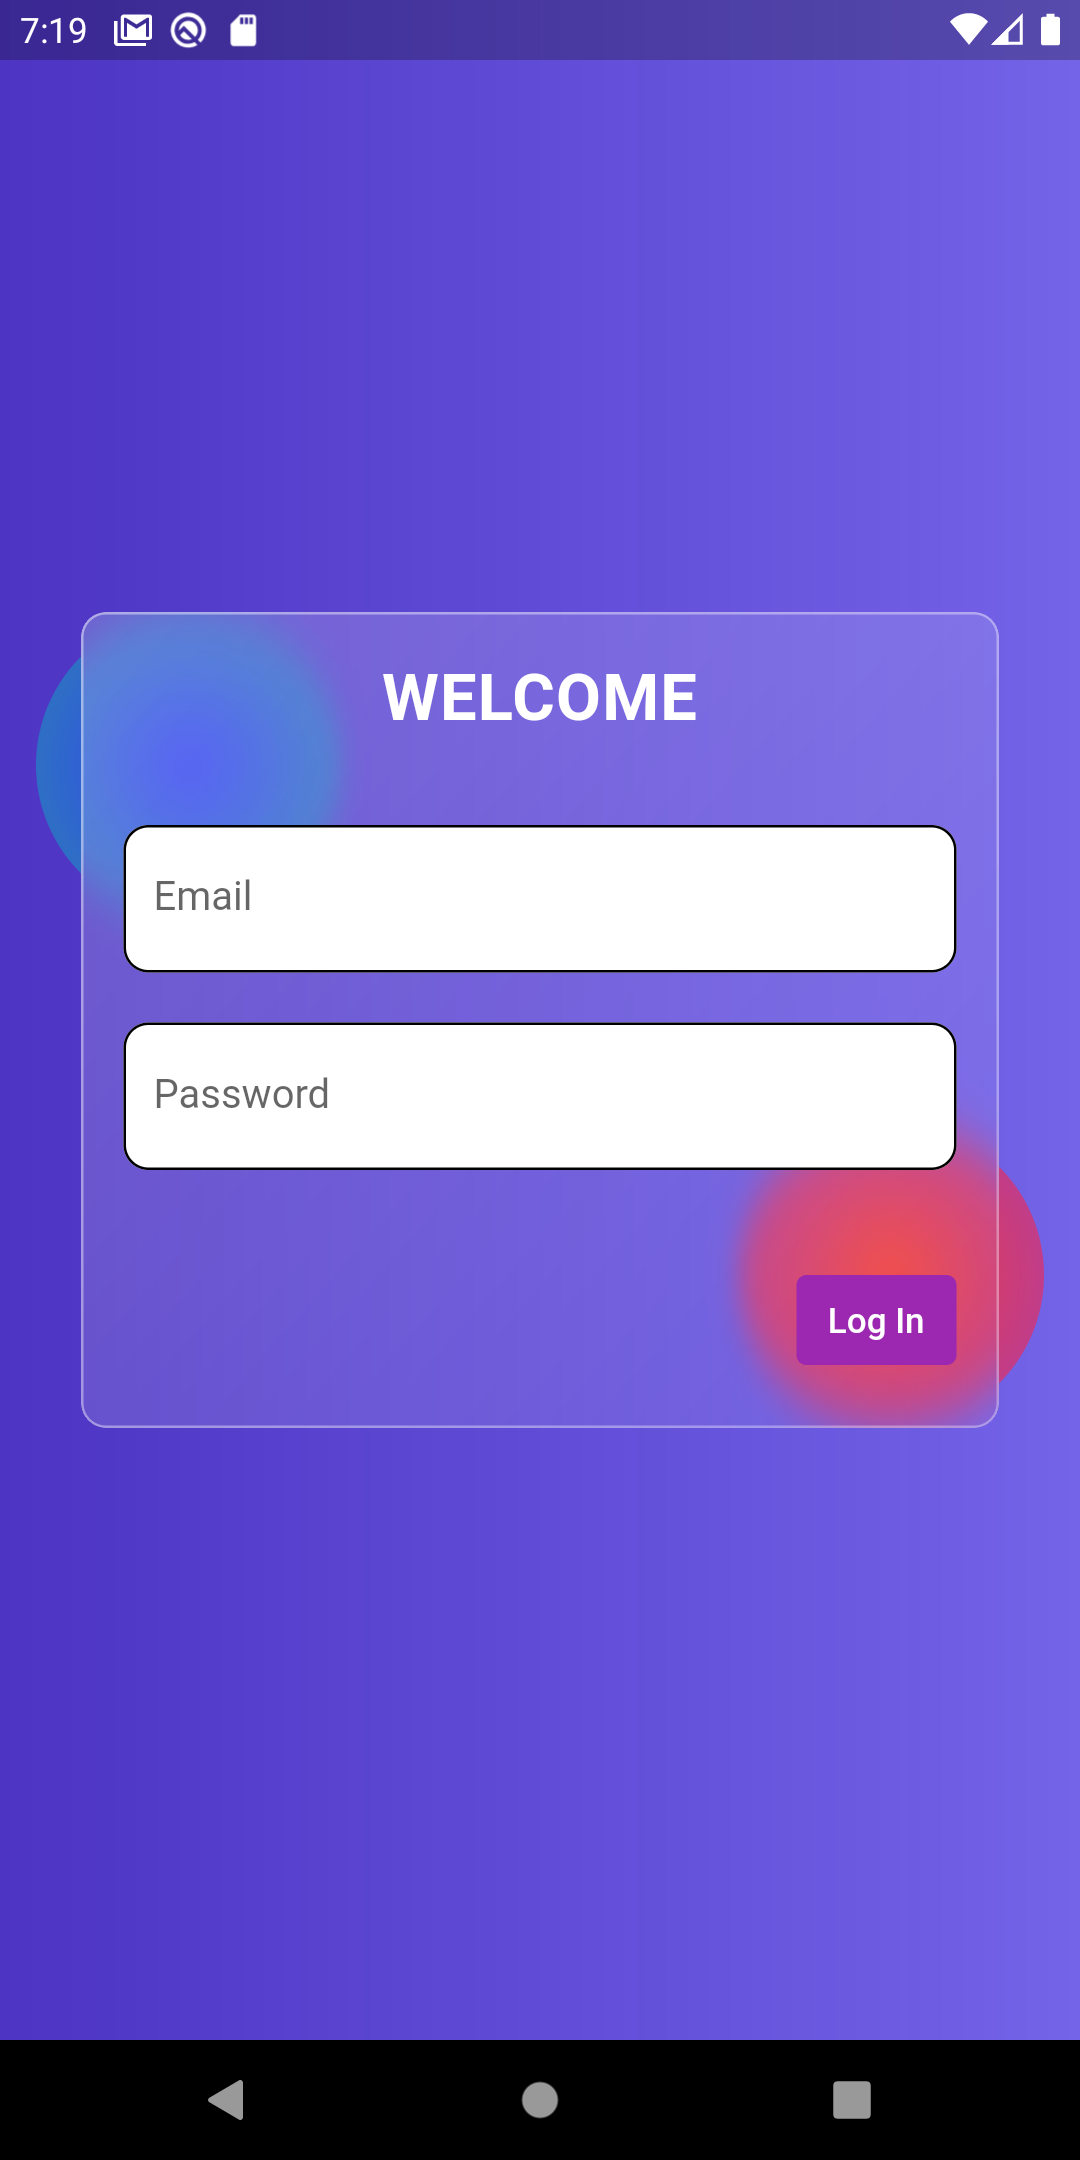
Glassmorphism is a term used to describe UI design that emphasizes light or dark objects, placed on top of colorful backgrounds. A background blur is placed on the objects which allows the background to shine through – giving it the impression of frosted glass.
In today's tutorial, we will see you can get glassmorphism effect in Flutter
Let's start
Step 1: Create a new Flutter Application.
Step 2: You can wrap your widget with Back Drop Filter and add an image filter but, this process is a bit complicated so, we will see an easy way all you have to do is add a line like this to your package's pubspec.yaml.
|
Step 3: Once installed you will get access to a widget called GlassmorphicContainer, it has various properties
-
width: used to control the width of the container. -
height: used to control the height of the container. borderRadius: used to change the border radius.-
linearGradient: used to provide background gradient with different colors.
child: which will hold all our widget that will have this effect.
we can add gradient like this for example
|
LinearGradient(colors: [ Colors.white.withOpacity(0.2), Colors.white.withOpacity(0.05) ], begin: Alignment.topLeft, end: Alignment.bottomRight), |
this will have the most common white forsted glass effect.
Full Source code to try
|
import 'package:flutter/material.dart'; import 'dart:ui';
import 'package:glassmorphism/glassmorphism.dart';
class DemoApp extends StatelessWidget { @override Widget build(BuildContext context) { return Scaffold( body: Container( height: MediaQuery.of(context).size.height, width: MediaQuery.of(context).size.width, decoration: BoxDecoration( gradient: LinearGradient(colors: [ Color.fromRGBO(60, 32, 189, 0.91), Color.fromRGBO(60, 38, 223, 0.71) ], begin: Alignment.centerLeft, end: Alignment.centerRight)), child: LayoutBuilder( builder: (context, constraints) { return Stack( children: [ Positioned( top: constraints.maxHeight * 0.3, left: constraints.maxWidth * 0.00, child: Container( height: constraints.maxHeight * 0.15, width: constraints.maxWidth * 0.35, decoration: BoxDecoration( gradient: RadialGradient( colors: [ Color.fromRGBO(52, 64, 245, 1), Color.fromRGBO(44, 130, 177, 1) ], radius: 0.7, ), //color: Colors.red, shape: BoxShape.circle), )), Positioned( top: constraints.maxHeight * 0.55, right: constraints.maxWidth * 0.00, child: Container( height: constraints.maxHeight * 0.15, width: constraints.maxWidth * 0.35, decoration: BoxDecoration( gradient: RadialGradient( colors: [Colors.red, Colors.pink.withOpacity(0.5)], radius: 0.7, ), // color: Colors.red, shape: BoxShape.circle), )), Center( child: ClipRRect( borderRadius: BorderRadius.circular(10), child: GlassmorphicContainer( border: 1, blur: 5, borderRadius: 10, height: MediaQuery.of(context).size.height * 0.4, width: MediaQuery.of(context).size.width * 0.85, linearGradient: LinearGradient(colors: [ Colors.white.withOpacity(0.2), Colors.white.withOpacity(0.05) ], begin: Alignment.topLeft, end: Alignment.bottomRight), borderGradient: LinearGradient(colors: [ Colors.white.withOpacity(0.2), Colors.white.withOpacity(0.05) ], begin: Alignment.topLeft, end: Alignment.bottomRight), child: Container( decoration: BoxDecoration( border: Border.all( color: Colors.white.withOpacity(0.3), ), borderRadius: BorderRadius.circular(10)), child: Column( mainAxisAlignment: MainAxisAlignment.center, children: [ Text( 'WELCOME', style: TextStyle( color: Colors.white, fontSize: 26, letterSpacing: 0.5, fontWeight: FontWeight.bold), ), SizedBox( height: 20, ), Container( margin: EdgeInsets.all(16), child: Column( children: [ TextFormField( decoration: InputDecoration( hintText: 'Email', filled: true, fillColor: Colors.white, border: OutlineInputBorder( borderRadius: BorderRadius.circular(10), ), focusedBorder: OutlineInputBorder( borderRadius: BorderRadius.circular(10), ), enabledBorder: OutlineInputBorder( borderRadius: BorderRadius.circular(10), ), ), ), SizedBox( height: 20, ), TextFormField( decoration: InputDecoration( hintText: 'Password', filled: true, fillColor: Colors.white, border: OutlineInputBorder( borderRadius: BorderRadius.circular(10), ), focusedBorder: OutlineInputBorder( borderRadius: BorderRadius.circular(10), ), enabledBorder: OutlineInputBorder( borderRadius: BorderRadius.circular(10), ), ), ), ], ), ), SizedBox( height: 20, ), Container( margin: EdgeInsets.only(right: 16), alignment: Alignment.centerRight, child: TextButton( style: ButtonStyle( backgroundColor: MaterialStateProperty.all( Colors.purple)), onPressed: () {}, child: Text( 'Log In', style: TextStyle(color: Colors.white), )), ) ], )), ), ), ) ], ); }, ), ), ); } }
|
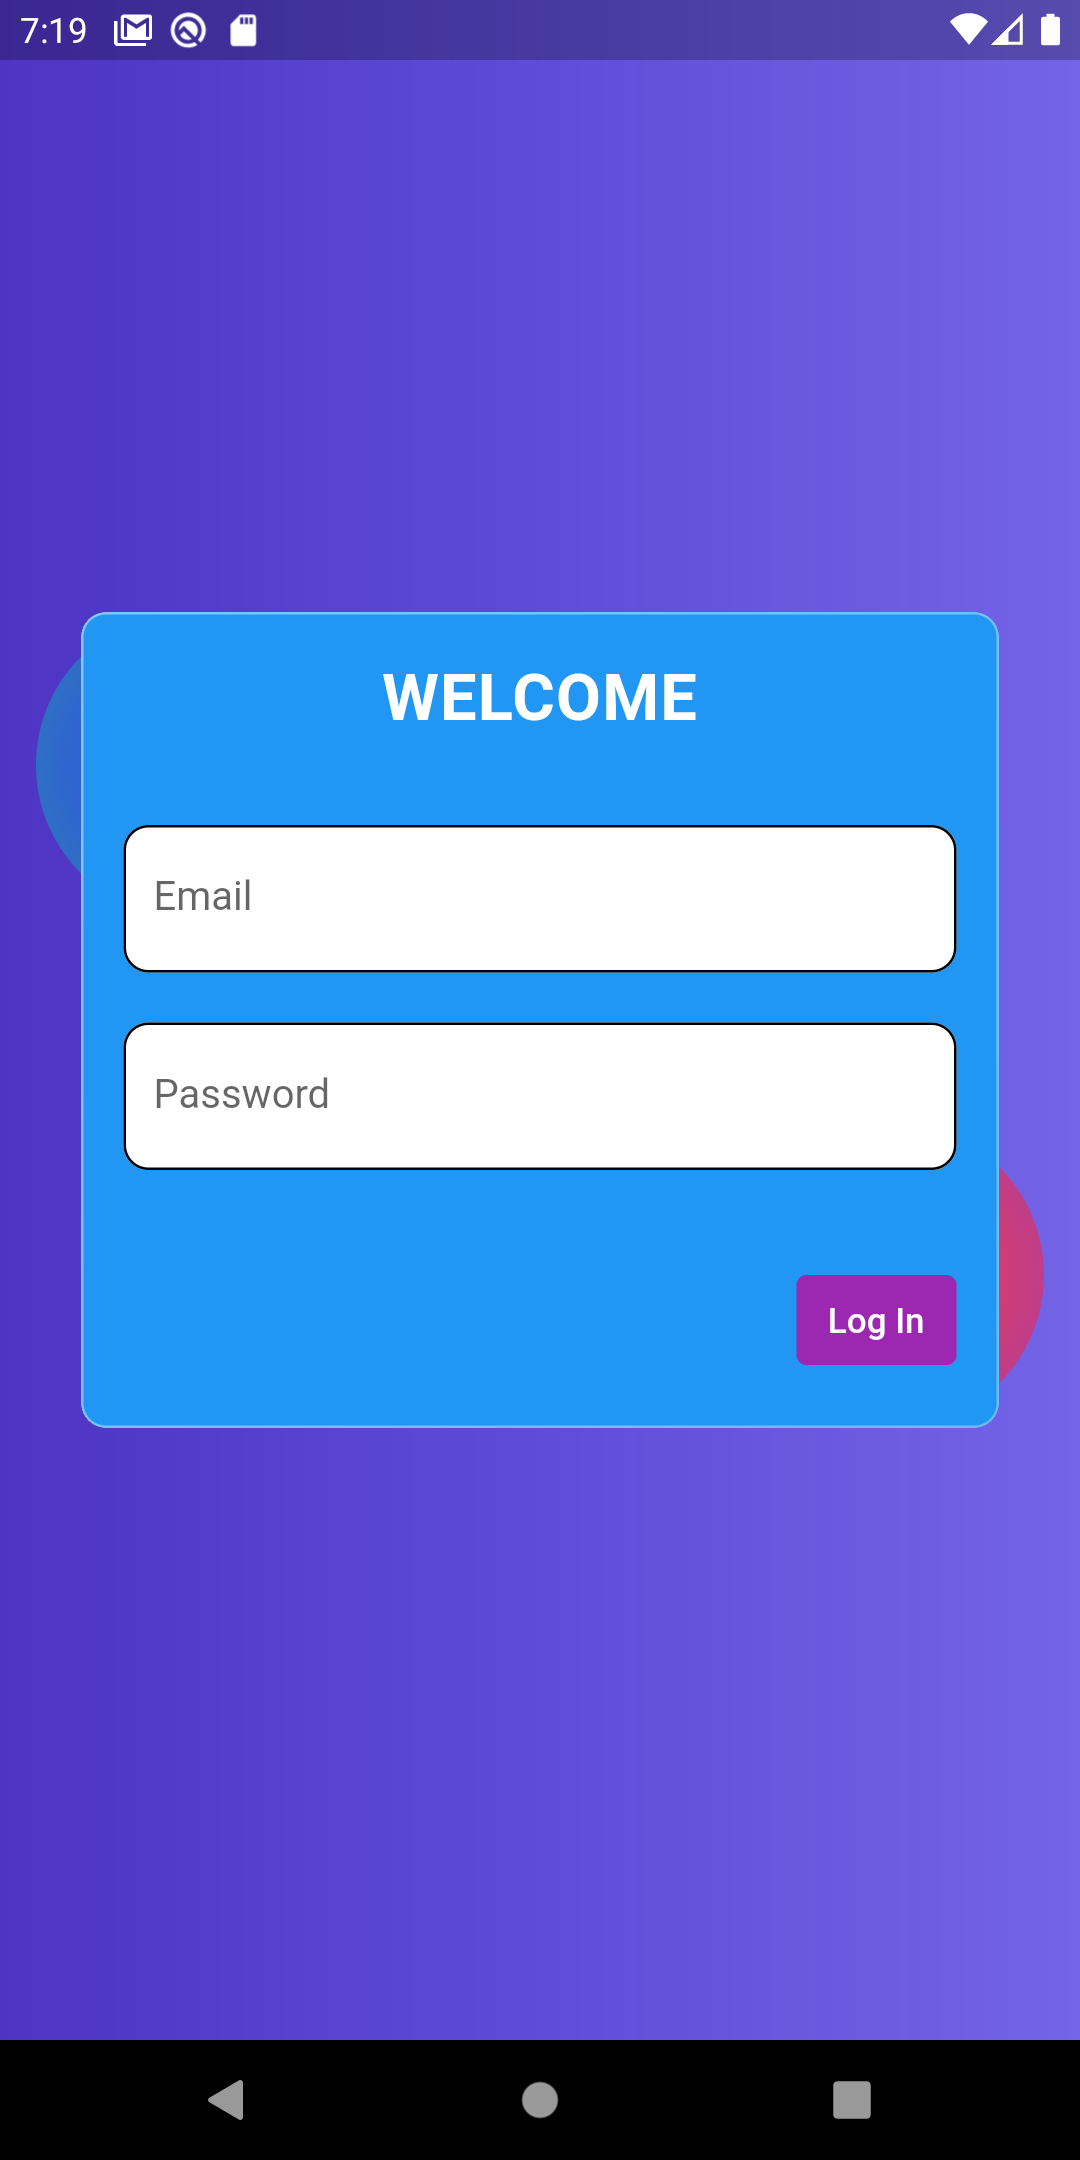
Output:
 |
 |
Conclusion: In this way, we have seen how easily we can create a Glassmorphism UI in Flutter.