How to control phone brightness in Flutter
Change mobile brightness with Flutter code. Control device brightness programmatically with Flutter tutorials on rrtutors.com. Start building today!
Flutter can be used to make create Animations as well as high-performance apps but in today's tutorial, we will see how you can use the native feature of the phone i.e how you can control the brightness of the phone using Flutter
Let's start
Step 1: Create a new Flutter Application.
Step 2: Add a line like this to your package's pubspec.yaml
|
Step 3: Now you need to add the permission in the Android Manifest in your android app which is
So with this permission, we will get access to control the screen brightness of the device, now first you need to initialize the brightness and as a result, you will get a double value which indicates the value of the brightness
if the value is 1.0 the brightest is at MAX and if 0.0 the brightness is at the LOWEST
for example:
|
Future initPlatformBrightness() async { double bright; try { bright = await FlutterScreenWake.brightness; } on PlatformException { bright = 1.0; } if (!mounted) return; setState(() { brightness = bright; }); } |
in this function, we will get the value in our brightness variable.
Now to keep the phone screen Always ON you can use the FlutterScreenWake.isKeptOn and to set the brightness use FlutterScreenWake.setBrightness(brightness) where it will take the double value as brightness.
for the example, we will take a slider in our app and the user can control the brightness using the slider as Slider gives us the double value between the two values that we set.
|
Slider( value: brightness, onChanged: (value) { setState(() { brightness = value; }); FlutterScreenWake.setBrightness(brightness); if (brightness == 0) { toggle = true; } else { toggle = false; } }) |
You can create a brightness that controls the phone brightness using the above methods
Complete souce code to control Phone brightness in flutter
|
import 'package:flutter/material.dart'; import 'package:flutter/services.dart'; import 'package:flutter_screen_wake/flutter_screen_wake.dart';
class DemoApp extends StatefulWidget { DemoApp({Key? key}) : super(key: key);
@override _DemoAppState createState() => _DemoAppState(); }
class _DemoAppState extends State { double brightness = 0.0; bool toggle = false;
@override void initState() { super.initState(); initPlatformBrightness(); }
Future initPlatformBrightness() async { double bright; try { bright = await FlutterScreenWake.brightness; } on PlatformException { bright = 1.0; } if (!mounted) return;
setState(() { brightness = bright; }); }
@override Widget build(BuildContext context) { return Scaffold( appBar: AppBar( title: const Text('Demo App'), ), body: Center( child: Container( margin: const EdgeInsets.all(20), padding: const EdgeInsets.all(20), decoration: BoxDecoration( color: Colors.white, border: Border.all(color: Colors.black26), boxShadow: const [ BoxShadow(color: Colors.black26, spreadRadius: 2, blurRadius: 2) ]), child: Column( mainAxisSize: MainAxisSize.min, children: [ const SizedBox( height: 10, ), Row( children: [ AnimatedCrossFade( firstChild: const Icon( Icons.brightness_7, size: 50, ), secondChild: const Icon( Icons.brightness_3, size: 50, ), crossFadeState: toggle ? CrossFadeState.showSecond : CrossFadeState.showFirst, duration: const Duration(seconds: 1)), Expanded( child: Slider( value: brightness, onChanged: (value) { setState(() { brightness = value; }); FlutterScreenWake.setBrightness(brightness); if (brightness == 0) { toggle = true; } else { toggle = false; } })) ], ), const Text('Slide to Adjust the brightness') ], ), ), ), ); } } |
Output:
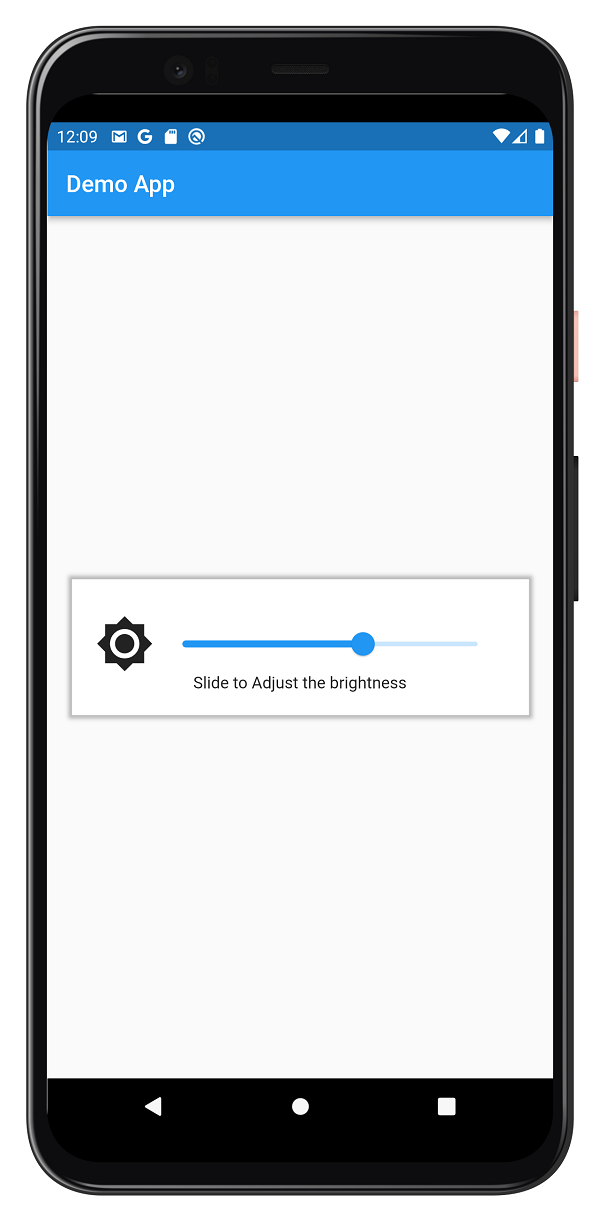 |
Conclusion: In this way, you can use Flutter to control the brightness of your phone and create a fun application in Flutter.