Build a Photo Editor App in Flutter with IMG.ly
Create a Photo Editor app in Flutter: Build a photo editor application for Android and iOS using IMG.ly and Flutter for rich media editing. | RRTutors
In this flutter example tutorial we will learn how to create Photo Editor app using img.ly photo editor sdk. This img.ly provides a sdk which we can us to edit the photos and videos. You can read more about img.ly how they provide these sdks.
Now we can learn how to add photo editor sdk to flutter application and implement photo edit feature inside application.
Let get started
Step 1: Create flutter application in Android studio. You can refer how to create first flutter application in android studio.
Step 2: Add required plugin to pubspec.yaml file
In this example we have used two libraries Photo_editor_sdk and image_picker. Let add them
dependencies:
  flutter:
    sdk: flutter
  photo_editor_sdk: ^2.6.0
  image_picker: ^0.8.5+3
|
image_picker plugin will used to pick/capture image and photo_editor_sdk is used to edit the images and apply different filters to the image.
Step 3: Configure Photo editor sdk for Android
To work with photo editor sdk in android devices we need to add few lines of code in build.gradle file at app level and project level files.
in android/build.gradle file the code should add below lines
buildscript {
    ext.kotlin_version = '1.6.10'
    repositories {
        google()
        mavenCentral()
        maven { url "https://artifactory.img.ly/artifactory/imgly" }
    }

    dependencies {
        classpath 'com.android.tools.build:gradle:7.1.2'
        classpath "org.jetbrains.kotlin:kotlin-gradle-plugin:$kotlin_version"
        classpath 'ly.img.android.sdk:plugin:10.1.1'
    }
}

allprojects {
    repositories {
        google()
        mavenCentral()
        maven { url 'https://artifactory.img.ly/artifactory/imgly' }
    }
}
|
inside android/app/gradle file under apply plugin: "com.android.application"
apply plugin: 'ly.img.android.sdk'
apply from: "$flutterRoot/packages/flutter_tools/gradle/flutter.gradle"
imglyConfig {
modules {
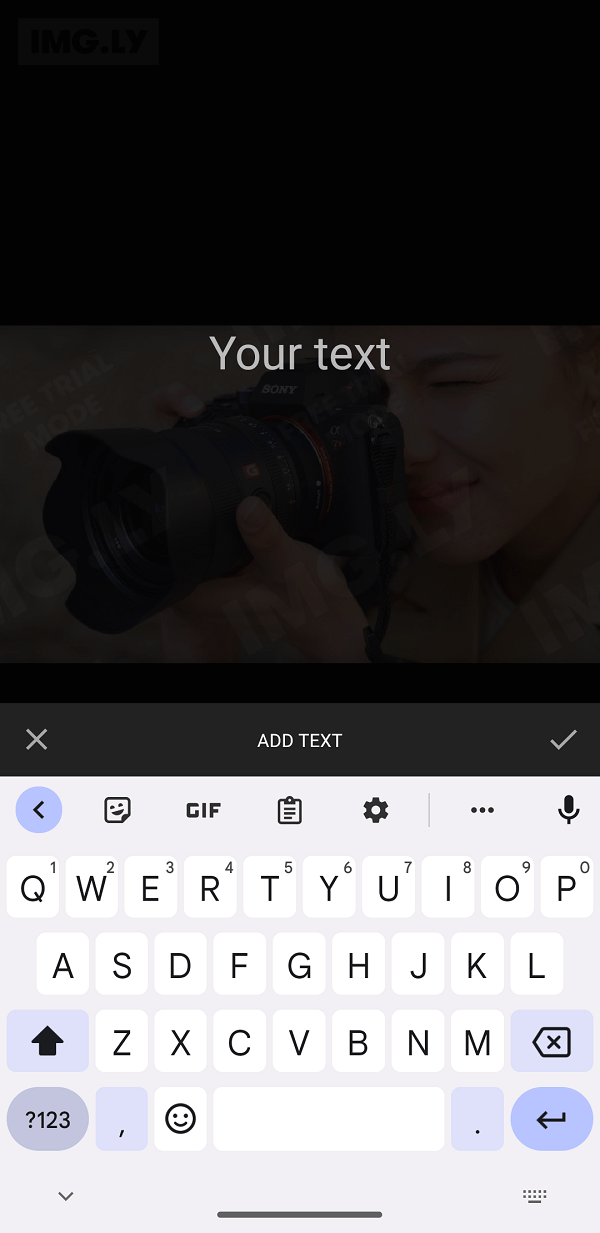
include 'ui:text'
include 'ui:focus'
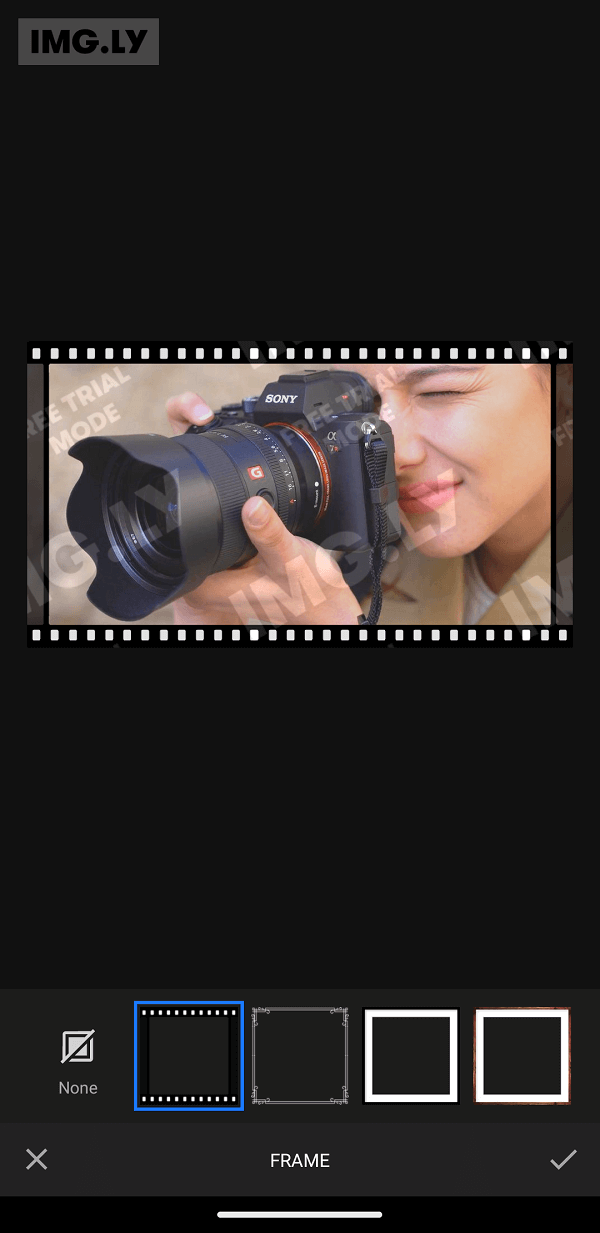
include 'ui:frame'
include 'ui:brush'
include 'ui:filter'
include 'ui:sticker'
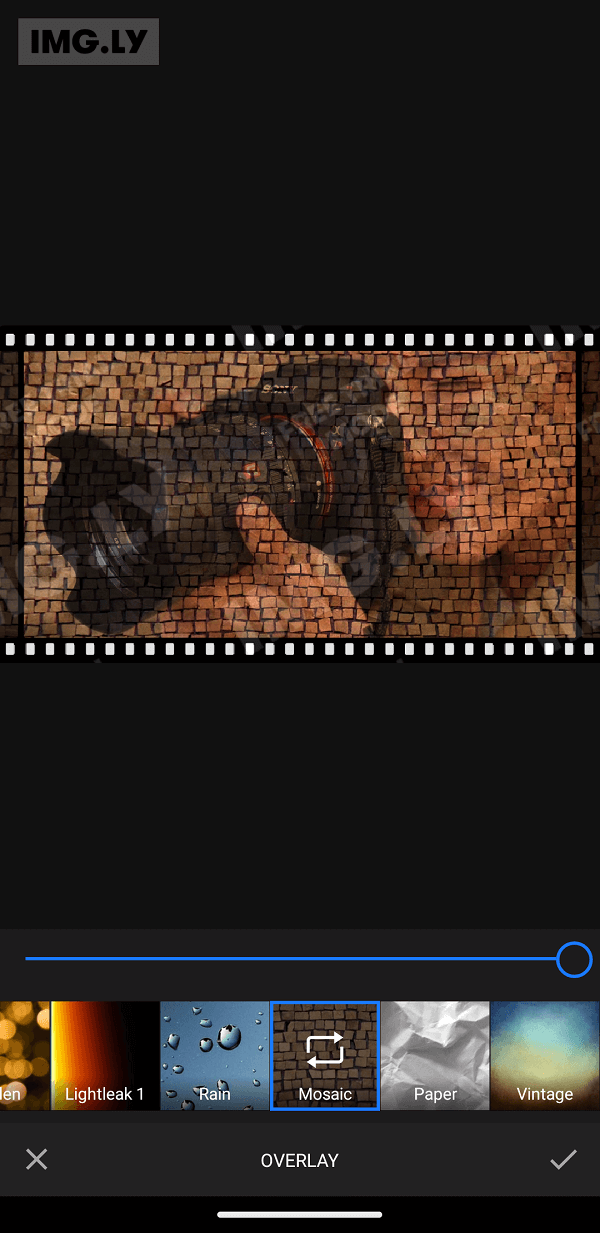
include 'ui:overlay'
include 'ui:transform'
include 'ui:adjustment'
include 'ui:text-design'
// This module is big, remove the serializer if you don't need that feature.
include 'backend:serializer'
// Remove the asset packs you don't need, these are also big in size.
include 'assets:font-basic'
include 'assets:frame-basic'
include 'assets:filter-basic'
include 'assets:overlay-basic'
include 'assets:sticker-shapes'
include 'assets:sticker-emoticons'
include 'backend:sticker-smart'
include 'backend:background-removal'
}
}
|
Step 4: Configure Photo editor sdk for ios
Add below lines of code under ios/Runner/info.plist file
NSPhotoLibraryUsageDescription
              app needs permission for the photo library
              NSCameraUsageDescription
              app needs access to the camera.
              NSMicrophoneUsageDescription
              app needs access to the microphone, if you intend to record videos.
|
Step 5: Now update main. dart file with below code
import 'package:flutter/cupertino.dart';
import 'package:flutter/material.dart';
import 'package:image_picker/image_picker.dart';
import 'package:imgly_sdk/imgly_sdk.dart';
import 'package:photo_editor_sdk/photo_editor_sdk.dart';
void main() {
runApp(MaterialApp(
title: "App",
home: MyApp(),
));
}
class MyApp extends StatefulWidget {
@override
_MyAppState createState() => _MyAppState();
}
class _MyAppState extends State {
//imgly_sdk configurations
Configuration createConfiguration() {
/// You can add your own custom stickers.
final flutterSticker = Sticker(
"example_sticker_logos_flutter", "Flutter", "assets/Flutter-logo.png");
/// A completely custom category.
final logos = StickerCategory(
"example_sticker_category_logos", "Logos", "assets/Flutter-logo.png",
items: [flutterSticker]);
/// A predefined category.
final emoticons =
StickerCategory.existing("imgly_sticker_category_emoticons");
/// A customized predefined category.
final shapes =
StickerCategory.existing("imgly_sticker_category_shapes", items: [
Sticker.existing("imgly_sticker_shapes_badge_01"),
Sticker.existing("imgly_sticker_shapes_arrow_02")
]);
final categories = [logos, emoticons, shapes];
final configuration = Configuration(
sticker:
StickerOptions(personalStickers: true, categories: categories));
return configuration;
}
imgFromGallery(bool openWithConfig) async {
final _image = await ImagePicker().pickImage(source: ImageSource.gallery);
if (_image != null) {
setState(() {
imglyEditor(_image.path, openWithConfig);
});
}
}
imglyEditor(image, config) async {
if(config == true) {
await PESDK.openEditor(image: image, configuration: createConfiguration());
}else{
await PESDK.openEditor(image: image);
}
}
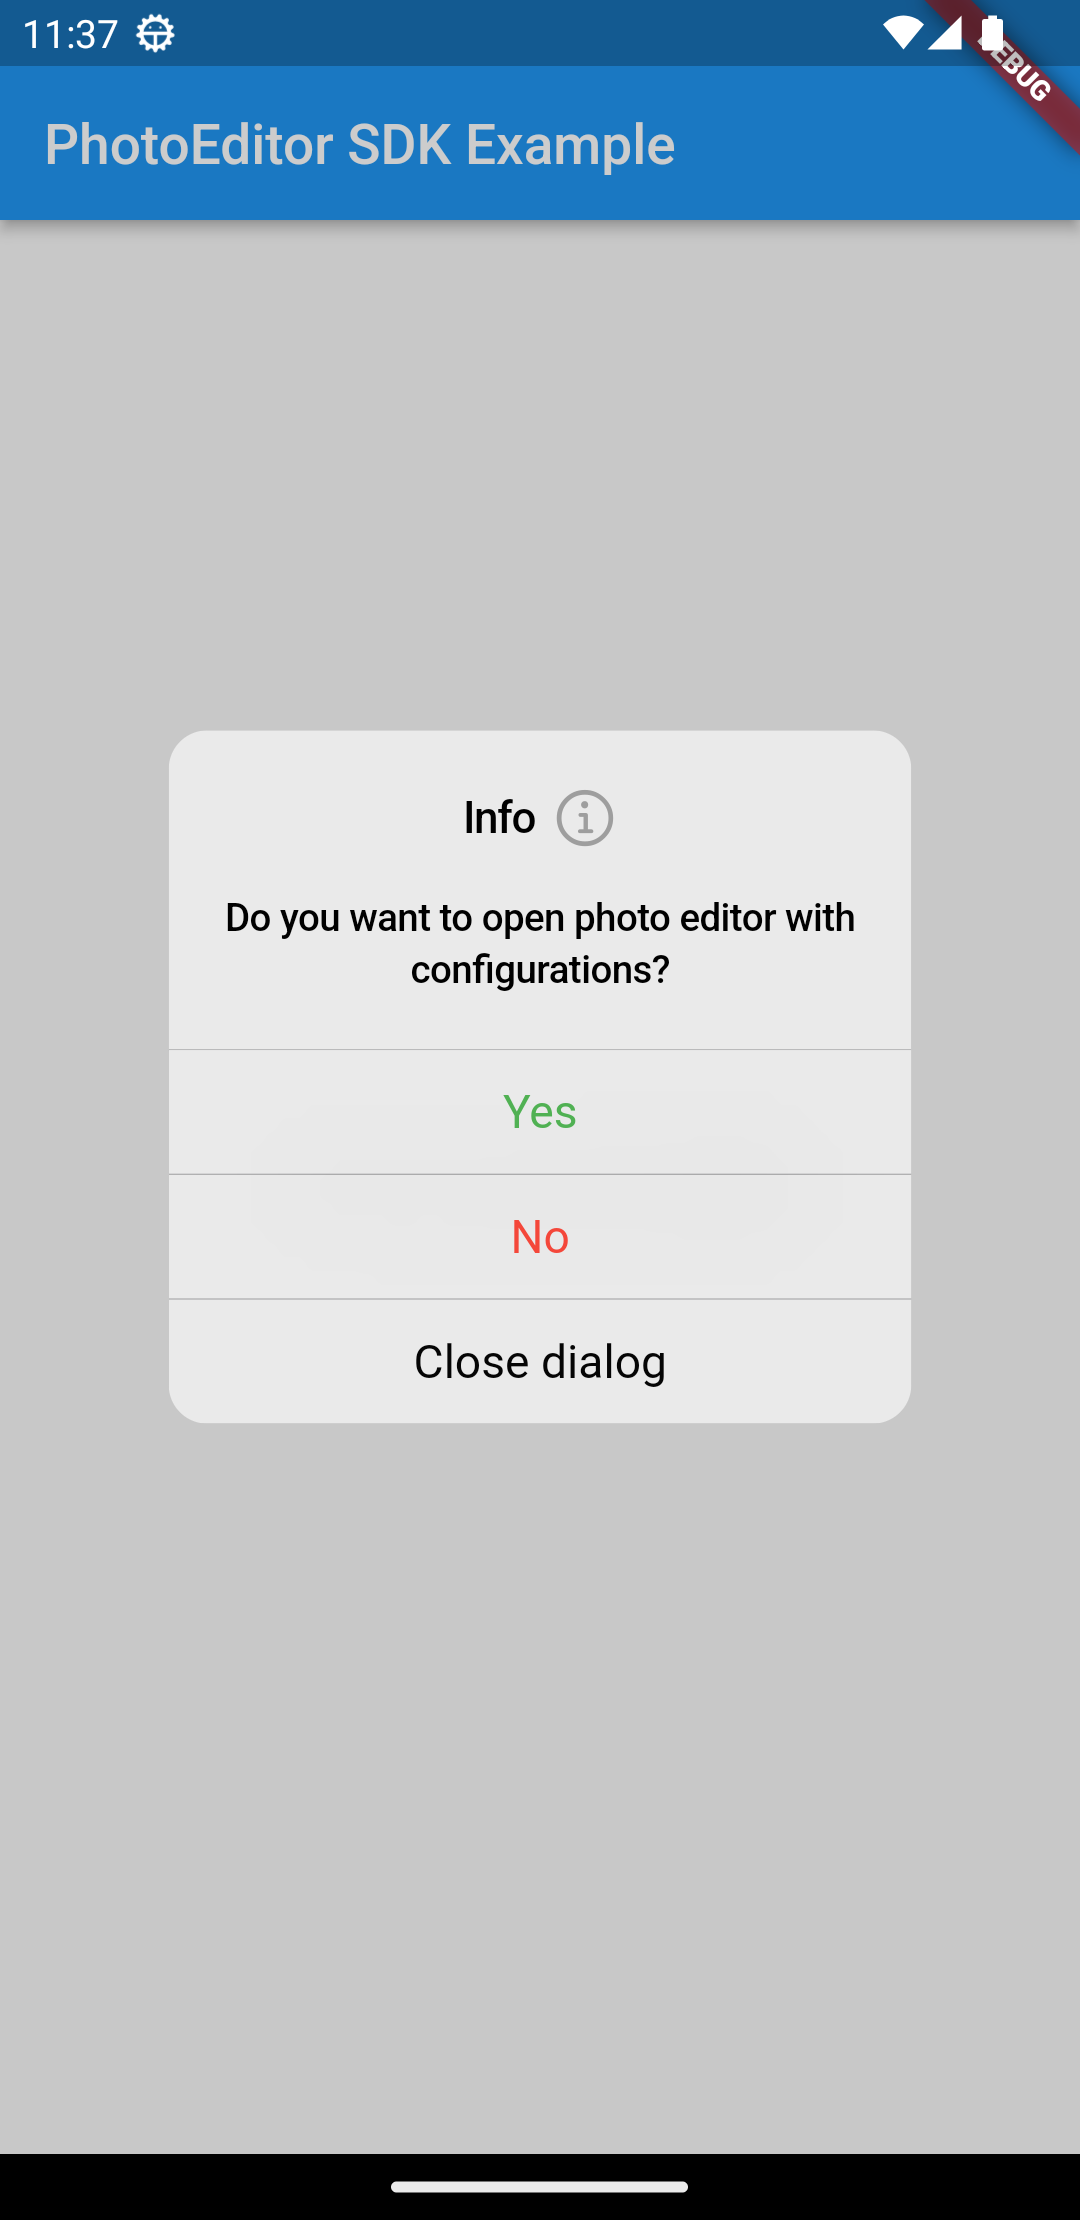
optionDialog() {
showCupertinoDialog(
context: context,
builder: (BuildContext context) {
return CupertinoAlertDialog(
title: Row(
mainAxisAlignment: MainAxisAlignment.center,
children: [
Text(
'Info',
style: TextStyle(
fontSize: 16,
fontFamily: 'Montserrat',
fontWeight: FontWeight.w500,
),
),
SizedBox(width: 6.0),
Icon(
CupertinoIcons.info,
color: Colors.grey,
)
],
),
content: Padding(
padding: EdgeInsets.only(top: 12.0),
child: Text(
'Do you want to open photo editor with configurations?',
style: TextStyle(
fontSize: 14,
fontFamily: 'Montserrat',
fontWeight: FontWeight.w500,
),
),
),
actions: [
CupertinoDialogAction(
onPressed: (){
imgFromGallery(true);
Navigator.pop(context);
},
child: Text(
'Yes',
style: TextStyle(color: Colors.green.withAlpha(250)),
),
),
CupertinoDialogAction(
onPressed: (){
imgFromGallery(false);
Navigator.pop(context);
} ,
child: Text(
'No',
style: TextStyle(color: Colors.red.withAlpha(250)),
),
),
CupertinoDialogAction(
onPressed: (){
Navigator.pop(context);
} ,
child: Text(
'Close dialog',
style: TextStyle(color: Colors.black.withAlpha(250)),
),
),
],
);
},
);
}
@override
Widget build(BuildContext context) {
return Scaffold(
appBar: AppBar(
title: const Text('PhotoEditor SDK Example'),
),
body: Center(
child: GestureDetector(
onTap: () => optionDialog(),
child: Row(
mainAxisAlignment: MainAxisAlignment.center,
children: [
Text("Click to open photo editor"),
Icon(Icons.edit)],
),
),
),
);
}
}
|
Step 6: Now run application on emulator/simulator or real device and you can apply filters on image that you selected.
 |
 |
Keywords: Flutter Photo editor, Image filters, Image editor