Flutter Screen Navigation with Animation
Flutter Screen Navigation with Animation. Learn to add animations to screen transitions with tutorials on rrtutors.com. Start building your app today!
Last updated Jan 08, 2020
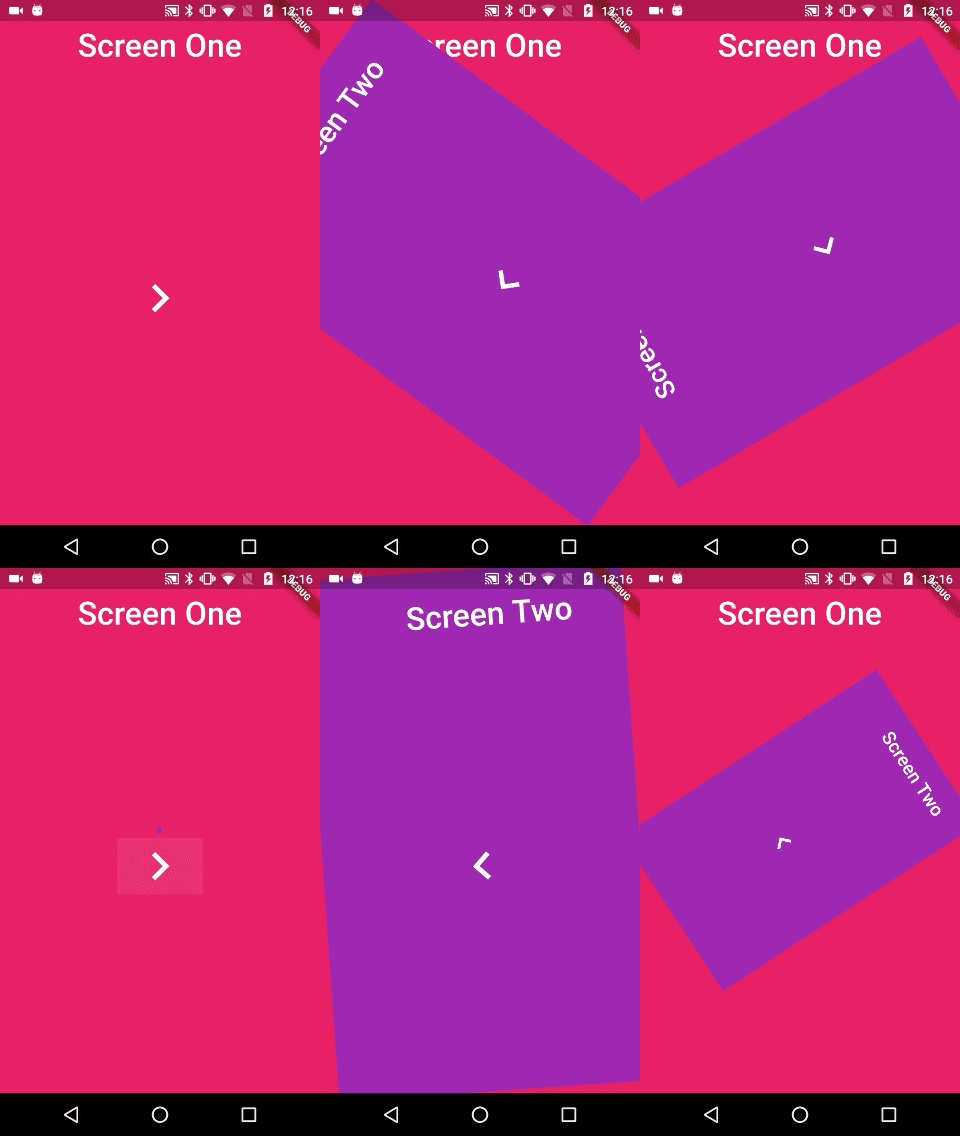
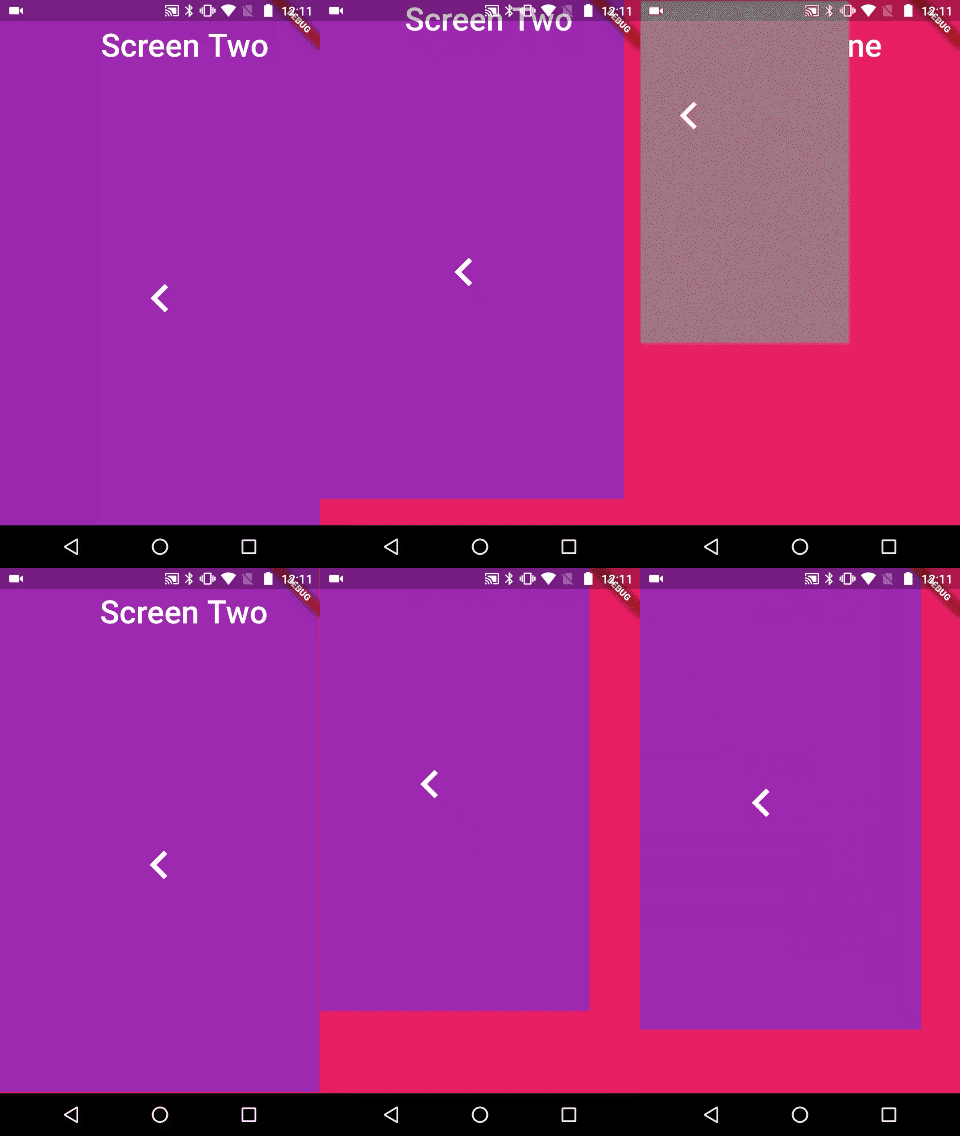
Hello Guys, In this Post I am going to share you how to put animation when navigation between Screens


For this I have created two pages ScreenOne and ScreenTwo and making the Navigation from ScreenOne to ScreenTwo.
To Apply the Animation I have used Constance CustomRoutePage wich extends from PageRouteBuilder
Lets check the Code
CustomRoutePage
class CustomRoutePage extends PageRouteBuilder {
  final Widget widget;

  CustomRoutePage(this.widget):super(

              transitionDuration: const Duration(seconds: 2),

              pageBuilder: (BuildContext context, Animation<double> animation,

              Animation<double> secondaryAnimation) {
                   return widget;
              },
            transitionsBuilder: (BuildContext context,
                Animation<double> animation,
            Animation<double> secondaryAnimation,
                Widget child) {


              return roatateAnimation(child,animation);


              }
              );


  static fadeAnimation(child,animation)
  {
    return FadeTransition(
      opacity: Tween(begin: 0.0, end: 1.0).animate(CurvedAnimation(
          parent: animation, curve: Curves.fastOutSlowIn)),
      child: child,
    );
  }

  static roatateAnimation(child,animation)
  {
    return RotationTransition(
      turns: Tween(begin: -1.0, end: 1.0).animate(CurvedAnimation(
          parent: animation, curve: Curves.fastOutSlowIn)),
      child: ScaleTransition(
        scale: Tween(begin: 0.0, end: 1.0).animate(CurvedAnimation(
            parent: animation, curve: Curves.fastOutSlowIn)),
        child: child,
      ),
    );
  }

  static slideAnimation(child,animation)
  {
    return SlideTransition(
      position:
      Tween<Offset>(begin: Offset(-1.0, -1.0), end: Offset(0.0, 0.0))
          .animate(CurvedAnimation(
          parent: animation, curve: Curves.easeOutExpo)),
      child: child,
    );
  }

  static ScaleAnimation(child,animation)
  {
    return  ScaleTransition(
            scale: Tween(begin: 0.0, end: 1.0).animate(CurvedAnimation(
                parent: animation, curve: Curves.fastOutSlowIn)),
            child: child,
            );
  }

}
|
ScreenOne
class ScreenOne extends StatefulWidget{
  @override
  State<StatefulWidget> createState() {
    // TODO: implement createState
    return ScreenOneState();
  }

}

class ScreenOneState extends State<ScreenOne>
{
  @override
  Widget build(BuildContext context) {
    // TODO: implement build
    return Scaffold(
      backgroundColor: Colors.pink,
      appBar: AppBar(
        backgroundColor: Colors.pink,
        title: Center(
          child: Text(
            'Screen One',
            style: TextStyle(fontSize: 36.0),
          ),
        ),
        elevation: 0.0,
      ),
      body: Center(
        child: MaterialButton(
            child: Icon(
              Icons.navigate_next,
              color: Colors.white,
              size: 64.0,
            ),
            onPressed: () =>
                Navigator.of(context).push(
                    CustomRoutePage(ScreenTwo()))),
      ),
    );
  }

}
|
ScreenTwo
class ScreenTwo extends StatefulWidget{
  @override
  State<StatefulWidget> createState() {
    // TODO: implement createState
    return ScreenTwoState();
  }

}

class ScreenTwoState extends State<ScreenTwo>{
  @override
  Widget build(BuildContext context) {
    // TODO: implement build
    return Scaffold(
      backgroundColor: Colors.purple,
      appBar: AppBar(
        title: Center(child: Text('Screen Two',style: TextStyle(fontSize: 36.0),)),
        backgroundColor: Colors.purple,
        leading: Container(),
        elevation: 0.0,
      ),
      body: Center(
        child: MaterialButton(
            child: Icon(
              Icons.navigate_before,
              color: Colors.white,
              size: 64.0,
            ),
            onPressed: () => Navigator.of(context).pop()),
      ),
    );
  }

}
|
Main
void main() => runApp(MyApp());

class MyApp extends StatelessWidget {
  // This widget is the root of your application.
  @override
  Widget build(BuildContext context) {
    return MaterialApp(
      title: 'Flutter Screen Animation',
      theme: ThemeData(

        primarySwatch: Colors.blue,
      ),
      home: ScreenOne(),
    );
  }
}
|
Lets run App and check the Animation Effect on Navigation of screens