Push Notification in Flutter - Local Notification Part -2

Last updated Dec 19, 2021

In this Flutter Notification example we will cover how to handle click events of Notification and navigate to other screen when we click on notification. we learned in previous example about  how to create Local notification in flutter  and display notification on status bar.

In this post we are going to learn Notification Customization like change the color of the notification icon, notification tap events...

We are showing the downloading progress on notification


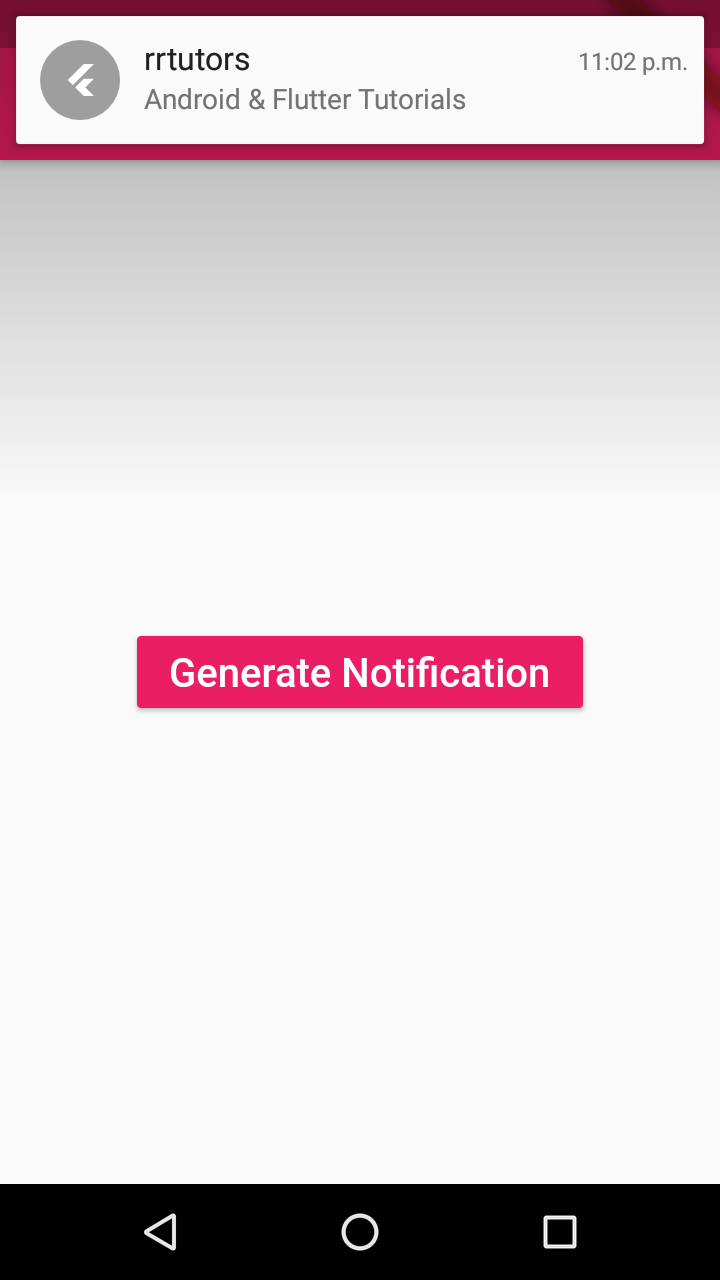
The default notification showing like below

Flutter Local Notifications click events


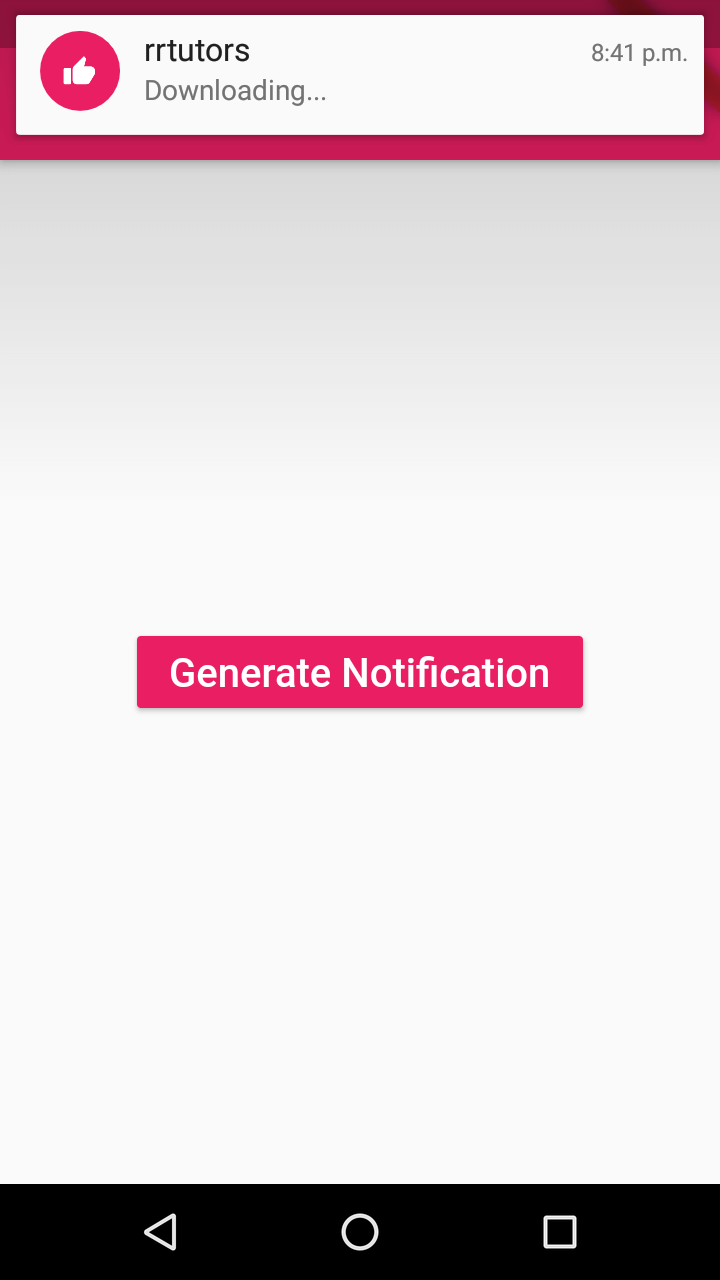
Now we are going to change the color of Notification and icon 

color: Colors.pink 
icon : like


Now the notification will show like this


Flutter Notification click events

autoCancel: Auto cancel Notification

By using this property we can cancel the Notification on click by set value true


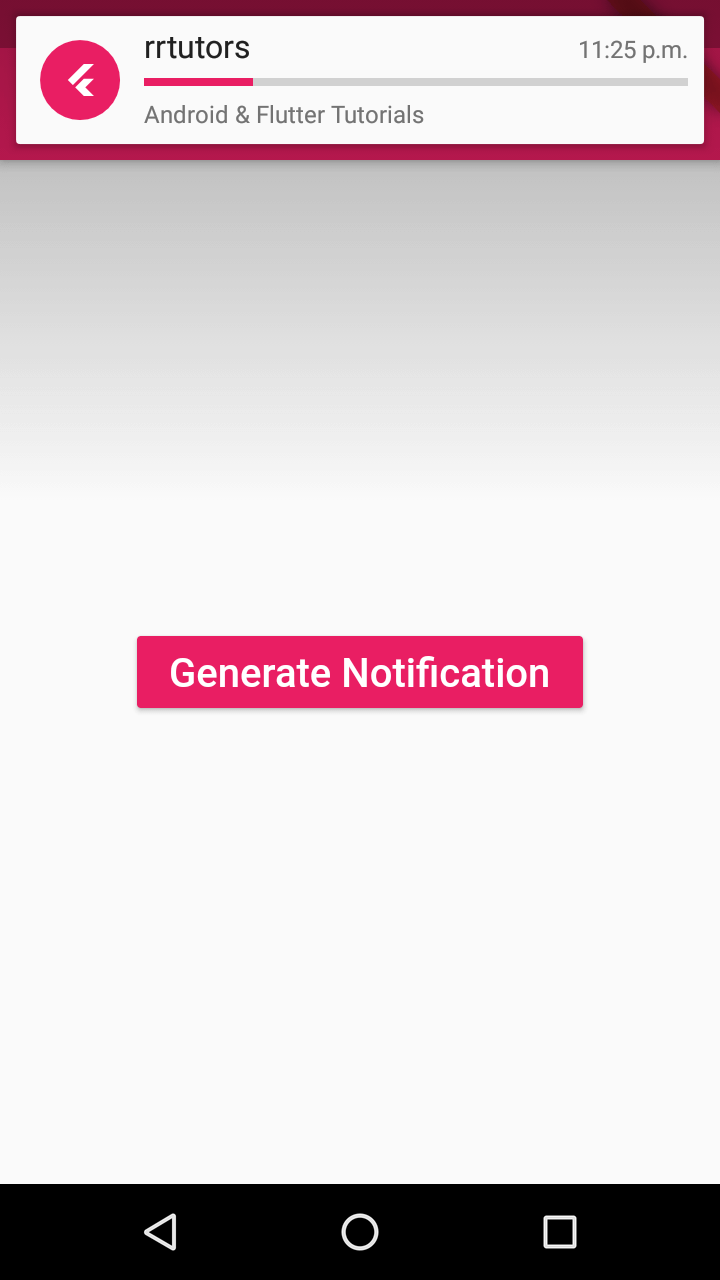
How to show the Progress notification 

By using the progress property we can achieve this.

In the example i am going to show the notification progress update by every 2 seconds

import 'package:flutter/material.dart';

import 'package:flutter_local_notifications/flutter_local_notifications.dart';

void main() => runApp(MyApp());

class MyApp extends StatelessWidget {
  // This widget is the root of your application.
  @override
  Widget build(BuildContext context) {
    return MaterialApp(
      title: 'Flutter Demo',
      theme: ThemeData(

        primarySwatch: Colors.pink,
      ),
      home: MyHomePage(title: 'Flutter Push Local Notification'),
    );
  }
}

class MyHomePage extends StatefulWidget {
  MyHomePage({Key key, this.title}) : super(key: key);


  final String title;

  @override
  _MyHomePageState createState() => _MyHomePageState();
}

class _MyHomePageState extends State {

  GlobalKey _scaffoldKey = GlobalKey();
  FlutterLocalNotificationsPlugin flutterLocalNotificationsPlugin =
  new FlutterLocalNotificationsPlugin();
  @override
  void initState() {

    print("Initialize 1");
    initNotifications();
    super.initState();
  }
  @override
  Widget build(BuildContext context) {


    return Scaffold(
      appBar: AppBar(
        // Here we take the value from the MyHomePage object that was created by
        // the App.build method, and use it to set our appbar title.
        title: Text(widget.title),
      ),
      body: Center(
        child: RaisedButton(
          child: Text("Generate Notification",style: TextStyle(color: Colors.white,fontSize: 20),),
          onPressed: _onTap,
          color: Colors.pink,
        ),
      ),
      // This trailing comma makes auto-formatting nicer for build methods.
    );


  }
  _onTap() async {
    for(var k=0;k<10;k++)
      {
        var msg="Downloading...";
        if(k==9)
          msg="Completed";
       await Future.delayed(Duration(seconds: 5),() async {
          var androidPlatformChannelSpecifics = AndroidNotificationDetails(
              '1', 'rrtutors', 'flutter snippets',
              importance: Importance.Max, priority: Priority.High,
              showProgress: true,progress: (k+1)*10,autoCancel: false,maxProgress: 100,color: Colors.pink,
              icon: 'like'
          );
          var iOSPlatformChannelSpecifics = IOSNotificationDetails();
          var platformChannelSpecifics = NotificationDetails(
              androidPlatformChannelSpecifics, iOSPlatformChannelSpecifics);
          await flutterLocalNotificationsPlugin.show(0, 'rrtutors',
              msg, platformChannelSpecifics,
              payload: 'item x');

        });
      }


  }
  void initNotifications() async{

    var initializationSettingsAndroid =
    new AndroidInitializationSettings('ic_launcher');
    var initializationSettingsIOS = new IOSInitializationSettings(
        onDidReceiveLocalNotification: (i, string1, string2, string3) {
          print("received notifications");
        });
    var initializationSettings = new InitializationSettings(
        initializationSettingsAndroid, initializationSettingsIOS);
    flutterLocalNotificationsPlugin.initialize(initializationSettings,
        onSelectNotification: (string) {
          print("selected notification $string");
        });


  }


}


While run the above code the notification will update its progress.

Flutter Notification click events to navigate other screen


How to Navigation other screen while open Notification

flutterLocalNotificationsPlugin.initialize(initializationSettings,
        onSelectNotification: (string) {
          print("selected notification $string");

          Navigator.push(context, MaterialPageRoute(builder: (context){

            return Scaffold(
              appBar: AppBar(title: Text("Notification Screen"),),

                body: Center(
                  child: Container(
                    color: Colors.pink,
                    padding: EdgeInsets.all(8),
                    child: Text("Navigation from Notifiation ",style: TextStyle(color: Colors.white,fontSize: 20),),
                  ),
                )
            );
          }));
        });
        

With the above code on tap on Notification we are Navigating the other Screen.


Conclusion: We covered how to customize flutter local notifications and handle notification click events while open  the notification navigate to other screens.


Article Contributed By :
https://www.rrtutors.com/site_assets/profile/assets/img/avataaars.svg

3018 Views